
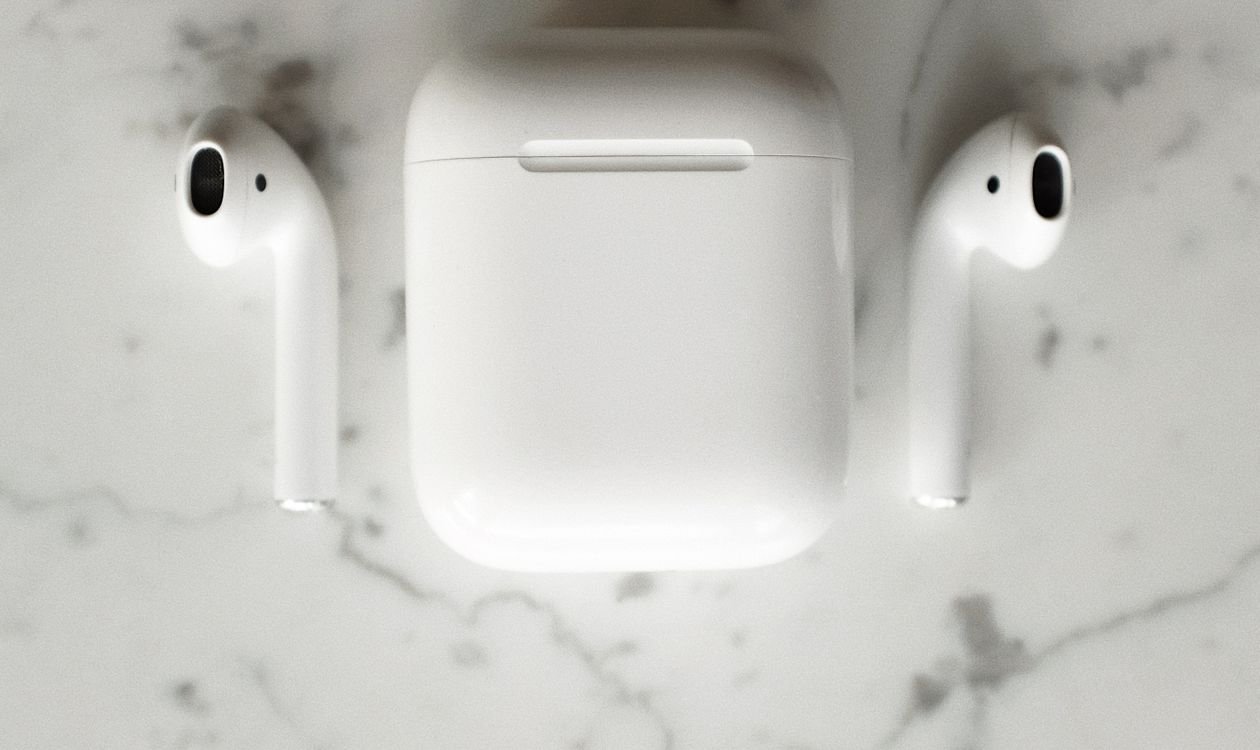
You put your AirPods in the case at night, you expect a full charge in the morning, and then one AirPod is dead while the other is ready to go. The case looks clean. The light was on. Nothing looks broken. That one sided failure is frustrating, and it is also one of the most common AirPods problems in the United States. Before you book a repair, check the small metal charging contacts inside the case, because a thin layer of dirt on those contacts is often the whole problem. Learning how to clean AirPods case charging contacts takes only a few minutes, it costs almost nothing, and it fixes the issue far more often than most owners expect.
This guide walks you through the exact process, in the right order, with the right tools. You will start dry, you will use liquid only when it is truly needed, and you will learn how to tell dirty contacts apart from a dead battery or a bad cable. By the end you will have a simple monthly routine that keeps both AirPods charging evenly.
Why one AirPod stops charging even when the case looks fine
Every AirPod charges through two tiny metal contacts at the bottom of each stem. Inside the case, matching metal pins sit at the bottom of each charging well. When you drop an AirPod into place, those two sets of metal touch and power flows. The connection needs clean metal on clean metal. Even a thin film can break it.
That film builds up slowly. Pocket lint, skin oil, sweat after a workout, dust from a bag, and residue from hand lotion all collect in the wells. The AirPod you use more, or the one you handle more, often collects dirt faster. That is why the problem is so often one sided. The case can look fine from above while the contacts at the bottom are coated in a dull grey or greenish layer that you can only see if you look closely with a light.
The case light can mislead you here. A green light may mean the case itself has charge, not that both AirPods received charge. If one AirPod sits slightly high in its well, or if dirt stops the metal from touching, that AirPod will sit in the case all night and gain nothing. You may also see the battery level jump up and down, or one AirPod may show a much lower percentage than the other in the Bluetooth settings on your iPhone. Those are classic signs of a contact problem rather than a dead battery.
Before you clean anything, do a quick check. Open the case near your iPhone and look at the battery widget. Note the level of each AirPod. Take both AirPods out, put them back in firmly, close the lid, wait thirty seconds, and check again. If the level for one side has not moved at all, or if it drops while the other rises, dirty contacts are a likely cause. Cleaning them is the cheapest first fix, and it is the step Apple Support guidance also points to when charging is inconsistent.
How to clean AirPods case charging contacts safely

The rule for this job is simple. Start dry, stay gentle, and add liquid only in a tiny amount and only on the metal contacts. You are cleaning small electrical contacts, not scrubbing a kitchen surface. Pressure and liquid are the two things that cause damage, so both stay light through the whole process.
What you need before you start
Gather everything before you open the case so you are not hunting for tools with dirty hands. You need a dry cotton swab, a second clean cotton swab, a soft dry microfiber cloth, and a bright light such as your phone flashlight. If dry cleaning does not work, you will also need 70% isopropyl alcohol, which is widely sold at US drugstores such as CVS and Walgreens for a few dollars. Use 70% isopropyl alcohol only. Do not use 90% or higher strength, do not use rubbing alcohol with added oils or fragrance, and do not use nail polish remover, hydrogen peroxide, or household cleaners.
Work on a clean table in good light. Wash and dry your hands first so you do not add more skin oil to the contacts. Put the case on the table with the lid open and the wells facing up. If your AirPods are in the case, take them out and set them on the cloth. Check that the case has at least some charge, and unplug any charging cable so you are not working around a live cable.
Start with a dry clean first
Dry cleaning alone fixes most cases, and it carries no risk of liquid getting where it should not go. Take a dry cotton swab and gently roll the tip inside one charging well, right at the bottom where the metal pins sit. Use a light circular motion. Do not push hard, and do not force the swab down. The goal is to lift lint and dust, not to scrape metal.
After a few gentle passes, tap the case lightly upside down over the cloth so loose dust falls out. Look into the well with your phone flashlight. Clean metal should look bright and even. Dirty contacts often look dull, dark, or slightly green. If you still see a film, use a fresh dry swab and repeat the same light motion. A soft dry toothbrush with clean bristles can help with loose lint around the rim of the well, but keep the bristles away from hard scrubbing on the pins themselves.
Now clean the metal contacts at the bottom of each AirPod stem with the same dry swab. Hold the AirPod by the upper part, not by the tip, and wipe the small silver ring at the very bottom of the stem. Turn the AirPod slowly as you wipe so you cover the whole ring. If you wear your AirPods while running, sweat and dust collect here faster, and a quick wipe after workouts helps a lot. For more on keeping earbuds secure during exercise, see our guide on how to stop earbuds falling out when running, which also covers sweat and fit problems that add to dirt buildup.
Put both AirPods back in the case, close the lid, and wait one minute. Open the case near your iPhone and check the battery levels again. If both sides are now rising, the dry clean worked and you can stop here. If one side is still stuck, move on to the next step. Do not repeat the dry scrub with more force. More pressure will not help and it can bend a pin.
When to use 70% isopropyl alcohol on the metal contacts
If dry cleaning did not restore charging, a barely damp swab with 70% isopropyl alcohol is the next step. This strength is the right choice because it evaporates quickly, it dissolves skin oil and sticky residue that a dry swab leaves behind, and it is the type of alcohol commonly recommended for cleaning small electronics contacts. The key word is barely damp. The swab should feel cool and slightly moist, never wet, and no liquid should drip from it.
Put one small drop of 70% isopropyl alcohol on the tip of a fresh cotton swab. Press the swab lightly against a clean cloth first to remove any excess. Then touch the swab gently to the metal pins inside one charging well and roll it slowly. Use only a few light passes. Do the same for the metal ring at the bottom of the matching AirPod stem, using a fresh swab or the clean end of the same swab. Work on one side at a time so you can see which side improves.
Leave the case open for at least five minutes after the alcohol step so any trace of moisture evaporates fully. Do not close the lid, do not put the AirPods back in while the wells feel damp, and do not plug in a charging cable until the case is fully dry to the touch. Once dry, put the AirPods back in, close the lid, wait one minute, and check the battery levels again. In most cases the stuck side will now charge normally. If it charges for a few minutes and then stops again, repeat the alcohol step once with a fresh swab. Two careful passes are enough. If two passes do not fix it, the problem is likely not dirt, and the next section will help you tell the difference.
Clean the AirPods themselves as well as the case
Cleaning only the case leaves half the connection dirty. The metal ring on each AirPod stem deserves the same attention. Wipe it dry first, then use the barely damp alcohol swab only if the dry wipe leaves a visible film. Also wipe the mesh speaker area gently with a dry swab, but do not press liquid into the mesh and do not use alcohol on the mesh. Sound quality drops when wax or lint blocks that mesh, and a light dry wipe keeps it clear without risk.
Check the fit of each AirPod in its well after cleaning. It should drop in smoothly and sit flush, with no wobble and no gap at the top. If one AirPod sits higher than the other, lint may still be packed at the bottom of the well, or the AirPod may not be seated straight. Take it out, look again with a light, and remove any remaining lint with a dry swab. A good seat matters as much as clean metal, because a tilted AirPod may touch only one pin and charge slowly or not at all.
What never to do when cleaning charging contacts
A few common cleaning ideas can damage your AirPods permanently, so avoid them even if you see them suggested online. Never pour or drip any liquid directly into the charging wells. Never use a wet wipe, a wet cloth, or a swab that drips. Liquid that pools at the bottom of a well can reach the inside of the case and cause corrosion that no cleaning will reverse.
Never use a metal pick, a needle, a paperclip, or a SIM ejector tool inside the wells. Metal tools scratch the pins, bend them, and can short the contacts. Never use a sharp wooden toothpick with force either. If lint is stuck, a dry cotton swab and patience will lift it. Force is not a cleaning method here.
Never blow compressed air into the charging port or wells at close range. A strong blast can push dust deeper into the case, and the cold liquid that sometimes comes out of a compressed air can will leave moisture on the contacts. A gentle puff from a distance will not help much, and a close blast can do real harm. Leave compressed air out of this job entirely.
Never use abrasive materials such as a rough cloth, sandpaper, an eraser, or a scouring pad on the contacts. The metal is thin and plated. Once the plating is scratched away, corrosion follows and charging becomes unreliable even after cleaning. Never submerge the case or the AirPods in water or alcohol, and never put them in a dishwasher, an ultrasonic cleaner, or a washing machine. AirPods are water resistant, not waterproof, and the case is not meant to be soaked.
Finally, never charge the case while it is still damp from cleaning. Wait until every surface feels dry, then wait a few minutes more. Charging a damp case is the fastest way to turn a simple dirt problem into a real electrical fault.
How to tell dirty contacts apart from a dead battery or a bad cable

Cleaning is the right first fix, but it cannot fix every charging problem. Knowing how to separate dirt from hardware trouble saves you time and stops you from cleaning again and again when the fault lies elsewhere. Use these simple checks in order.
First, swap the sides. If the left AirPod will not charge in the left well, try it in the right well for a minute. If it charges in the other well, the problem is in the first well, which points to dirt or a pin problem in that well. If the same AirPod fails in both wells, the problem is more likely in that AirPod itself, either its own contacts or its battery.
Second, test the cable and charger. Try a different Lightning or USB C cable and a different wall charger or USB port on your computer. If charging improves with a new cable, the old cable was the problem. A cable can look fine and still fail to deliver steady power, and a new cable can also reveal a slow charge problem. For a closer look at cable faults, read our guide on why your phone charges slowly with a new cable, which covers the same cable and charger checks that apply here.
Third, check the case battery itself. Open the case near your iPhone and look at the case percentage. If the case is at 100% and still cannot charge an AirPod, the case battery is not the issue. If the case drains very fast, or if it will not hold a charge at all, the case battery may be worn. AirPods batteries lose capacity after two to three years of daily use, and at that point one AirPod may die much faster than the other even with clean contacts.
Fourth, check for software trouble. Make sure your iPhone is updated, forget the AirPods in Bluetooth settings and pair them again, and reset the AirPods by holding the setup button on the back of the case until the light flashes amber and then white. A reset takes less than a minute and it clears pairing faults that can look like charging faults. If the same AirPod still will not charge after a clean, a cable swap, and a reset, book a battery service check with Apple rather than cleaning harder.
How often should you clean AirPods case charging contacts
For most owners, a quick dry clean once a month is enough. If you use your AirPods every day, carry them in a pocket, or work out with them, clean them every two weeks. A monthly routine takes less than five minutes and it prevents the slow buildup that causes one sided charging failures. Think of it as part of the same routine as wiping your phone screen.
Clean sooner if you notice any warning sign. If one AirPod charges slower than the other, if the battery level jumps or drops suddenly, if an AirPod feels loose in its well, or if you can see dull or dark metal when you look inside with a light, clean the contacts that day. Waiting only lets the film harden, and hardened residue is harder to remove with a dry swab.
Your environment matters too. Dusty workplaces, beach trips, gym bags, and pockets full of lint all speed up buildup. If you keep the case in a pocket with keys or coins, lint and metal dust collect faster. A small protective case cover helps, and storing the AirPods in the case with the lid closed when you are not using them keeps dust out of the wells.
A simple monthly routine that keeps both AirPods charging evenly
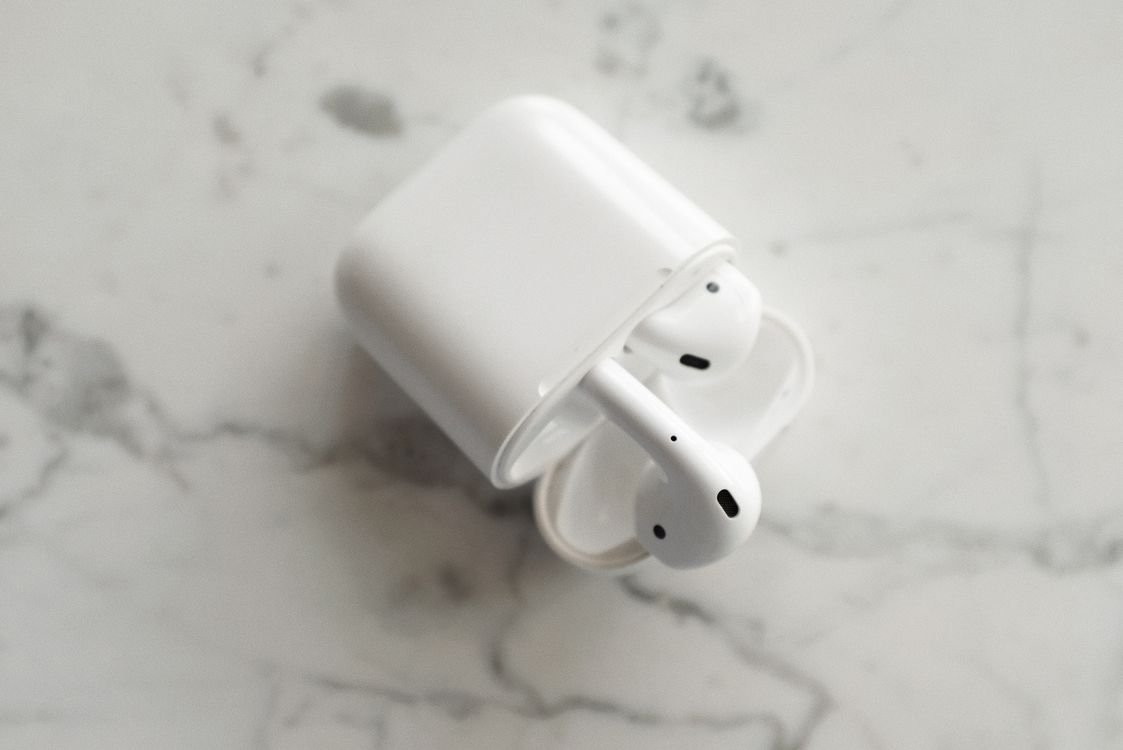
Set a reminder for the first day of each month and follow the same five minute routine. Take the AirPods out, wipe each stem contact dry, and wipe the inside of each well dry with a fresh cotton swab. Tap out any loose dust, check the metal with a light, and put the AirPods back in to confirm both sides charge. That dry pass is the core of how to clean AirPods case charging contacts on a regular basis, and it will keep most owners trouble free all year.
Once every three months, add the alcohol step only if you see a dull film that the dry swab did not remove. Use one small drop of 70% isopropyl alcohol on a fresh swab, wipe the metal contacts lightly, and let the case dry open for five minutes. Do not make alcohol part of every clean. Dry cleaning is the routine, alcohol is the occasional deeper clean.
Keep a small kit together so the routine stays easy. A pack of cotton swabs, a microfiber cloth, and a small bottle of 70% isopropyl alcohol from a US drugstore costs only a few dollars and lasts for many months. Store the kit where you charge your phone so you see it often. If you use other wireless devices, the same dry first habit helps there too. For example, if a TV or a speaker drops its connection often, the cause is usually different, but the habit of checking the simple fix first still applies, as explained in our guide on why your TV keeps disconnecting from wifi.
Conclusion
One AirPod that will not charge is annoying, but it is often a simple fix, not a broken product. Dirty charging contacts break the metal to metal connection that power needs, and the case can look clean while the contacts at the bottom of the wells are coated in lint, oil, and dust. Learning how to clean AirPods case charging contacts gives you a fast home fix that works in minutes.
Remember the order. Start dry with a cotton swab and a light touch. Use a barely damp swab with 70% isopropyl alcohol only if dry cleaning leaves a visible film. Never use metal tools, never pour liquid into the wells, and never use compressed air at close range. Let the case dry fully before you charge it again.
If cleaning fixes the problem, keep it fixed with a quick dry clean once a month. If the same AirPod still fails after a clean, a cable swap, and a reset, the fault is likely a worn battery or a hardware problem, and an Apple service check is the right next step. Most of the time, though, a five minute clean is all it takes to get both AirPods charging evenly again.
Frequently asked questions
Can I use alcohol on AirPods charging contacts?
Yes, use 70% isopropyl alcohol only, on a barely damp cotton swab, and only on the metal contacts. Let the case dry open for at least five minutes before you put the AirPods back in or plug in a cable. Do not pour liquid into the wells.
What tool is safe for cleaning the charging port and wells?
A dry cotton swab is the safest tool. Use a light circular motion at the bottom of each well and on the metal ring of each AirPod stem. Do not use metal picks, needles, paperclips, or sharp tools, because they scratch and bend the pins.
Why will one AirPod not charge while the other charges fine?
The most common cause is dirty contacts on one side. Lint, skin oil, and sweat coat one set of contacts faster than the other, so power cannot flow to that AirPod. Clean both the well and the AirPod stem, then check if the level rises.
How often should I clean AirPods case charging contacts?
Clean them with a dry swab once a month for normal use, or every two weeks if you work out with your AirPods or carry them in a pocket daily. Clean sooner if one side charges slowly or the metal looks dull.
Is compressed air safe for cleaning AirPods charging contacts?
No, do not use compressed air into the wells or port at close range. It can push dust deeper and leave cold moisture on the contacts. A dry cotton swab is safer and more effective for this job.
