
You set a cold glass down on the coffee table, get distracted for an hour, and come back to a pale white circle staring up at you. It looks permanent, but it almost never is. Learning how to remove water rings from wood furniture is one of those small home skills that saves real money, because most rings vanish in minutes with things you already own.
The trick is matching the method to the mark. White or cloudy rings sit in the finish and respond to gentle heat or mild abrasion. Dark stains have soaked through the finish into the wood itself and need stronger treatment. Work from the gentlest method upward and you will fix the problem without refinishing the piece.
This guide walks you through nine proven fixes, ordered from easiest to strongest, plus the mistakes that can ruin a finish and the simple habits that stop rings from forming in the first place. For most people, the first method below solves the problem completely.
What Water Rings Actually Are
A white ring forms when moisture gets trapped in the finish of the wood, not in the wood itself. The finish turns cloudy where the water sits, which is why the mark looks white. This is good news. The wood beneath is untouched, and the cloudiness can usually be cleared by drawing the moisture out or gently polishing the finish.
A dark ring or black stain means water has passed through the finish and reacted with the wood fibers. These marks need more work. Some respond to fine abrasives and oil, and the worst cases need oxalic acid, the wood bleach sold at home stores like Home Depot and on Amazon for around $16 for a one pound bag. Either way, start gentle and escalate only if the mark survives.
Before you try any method, test it on a hidden spot, such as the underside of the table or the back of a leg. Finishes vary, and a method that is safe on polyurethane can dull an older shellac or wax finish. A thirty second spot test saves a lot of regret.
How to Remove Water Rings From Wood Furniture: Pick the Right Approach
Pick your method by color. For white rings, try heat first, then mild abrasives, then oil based treatments. For dark stains, skip ahead to the steel wool method or oxalic acid. Never start with the strongest option first.
Work in good light so you can see the mark clearly, and let the area dry between attempts. If one method lightens the ring but does not erase it, repeat it once before moving on to a stronger one. Patience beats pressure in almost every case.
1. The Iron Method: Draw the Moisture Out With Heat
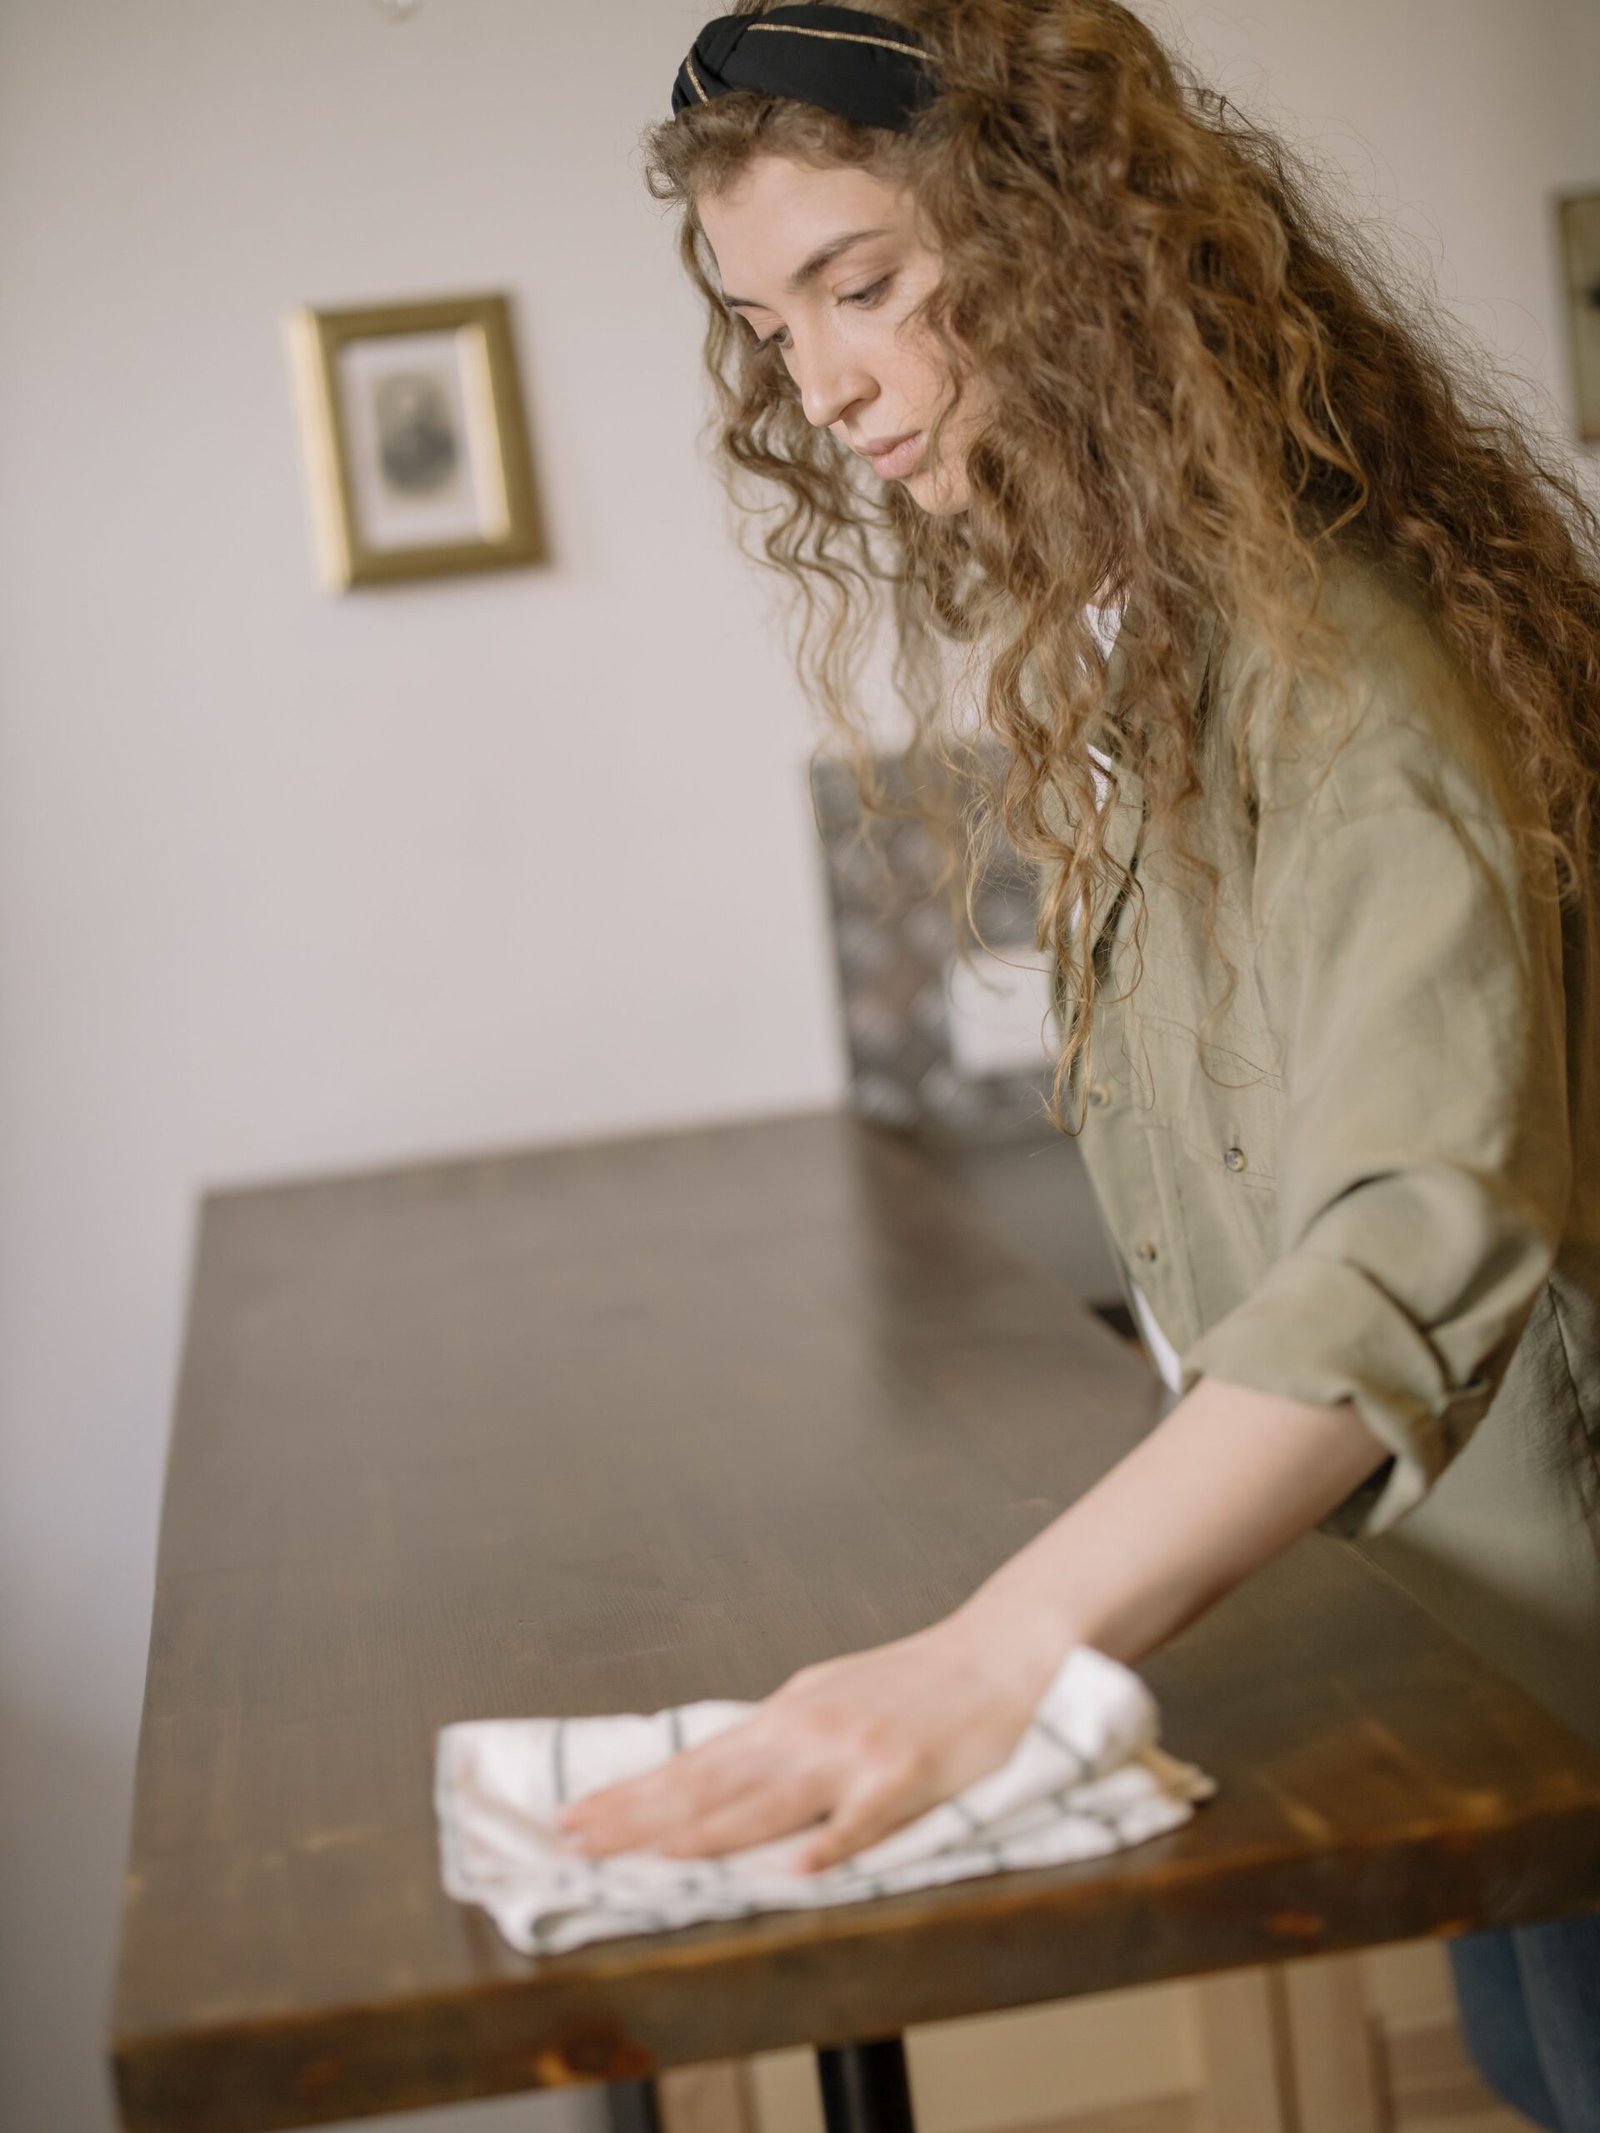
This is the fastest fix for white rings and the one most people wish they had tried first. Place a clean, dry cotton cloth or towel over the ring. Set a clothes iron to its lowest heat setting with the steam turned off. Press the iron onto the cloth for a few seconds at a time, lifting it often to check your progress.
The gentle heat evaporates the moisture trapped in the finish, and the white haze usually fades within a minute or two. Keep the iron moving and never let it sit in one place, because too much heat can melt or bubble the finish. This method works best on lacquer and polyurethane finishes and on rings that are less than a few weeks old.
What you need: a clothes iron, a clean cotton cloth or towel. Time: about five minutes.
2. The Mayonnaise Method: Let Oil Displace the Water Overnight
It sounds strange, but the oil in mayonnaise slowly penetrates the finish and displaces trapped water. Spread a generous layer of plain full fat mayonnaise over the ring and let it sit for several hours or overnight. Wipe it off with a soft cloth and buff the area dry.
Petroleum jelly works the same way if you prefer it. This method is completely passive, which makes it a great choice for antique pieces where you want to avoid heat and abrasion. If the ring lightens but remains, apply a second round before trying anything stronger.
What you need: plain mayonnaise or petroleum jelly, a soft cloth. Time: several hours, mostly waiting.
3. Baking Soda Paste: A Mild Abrasive for Light Marks
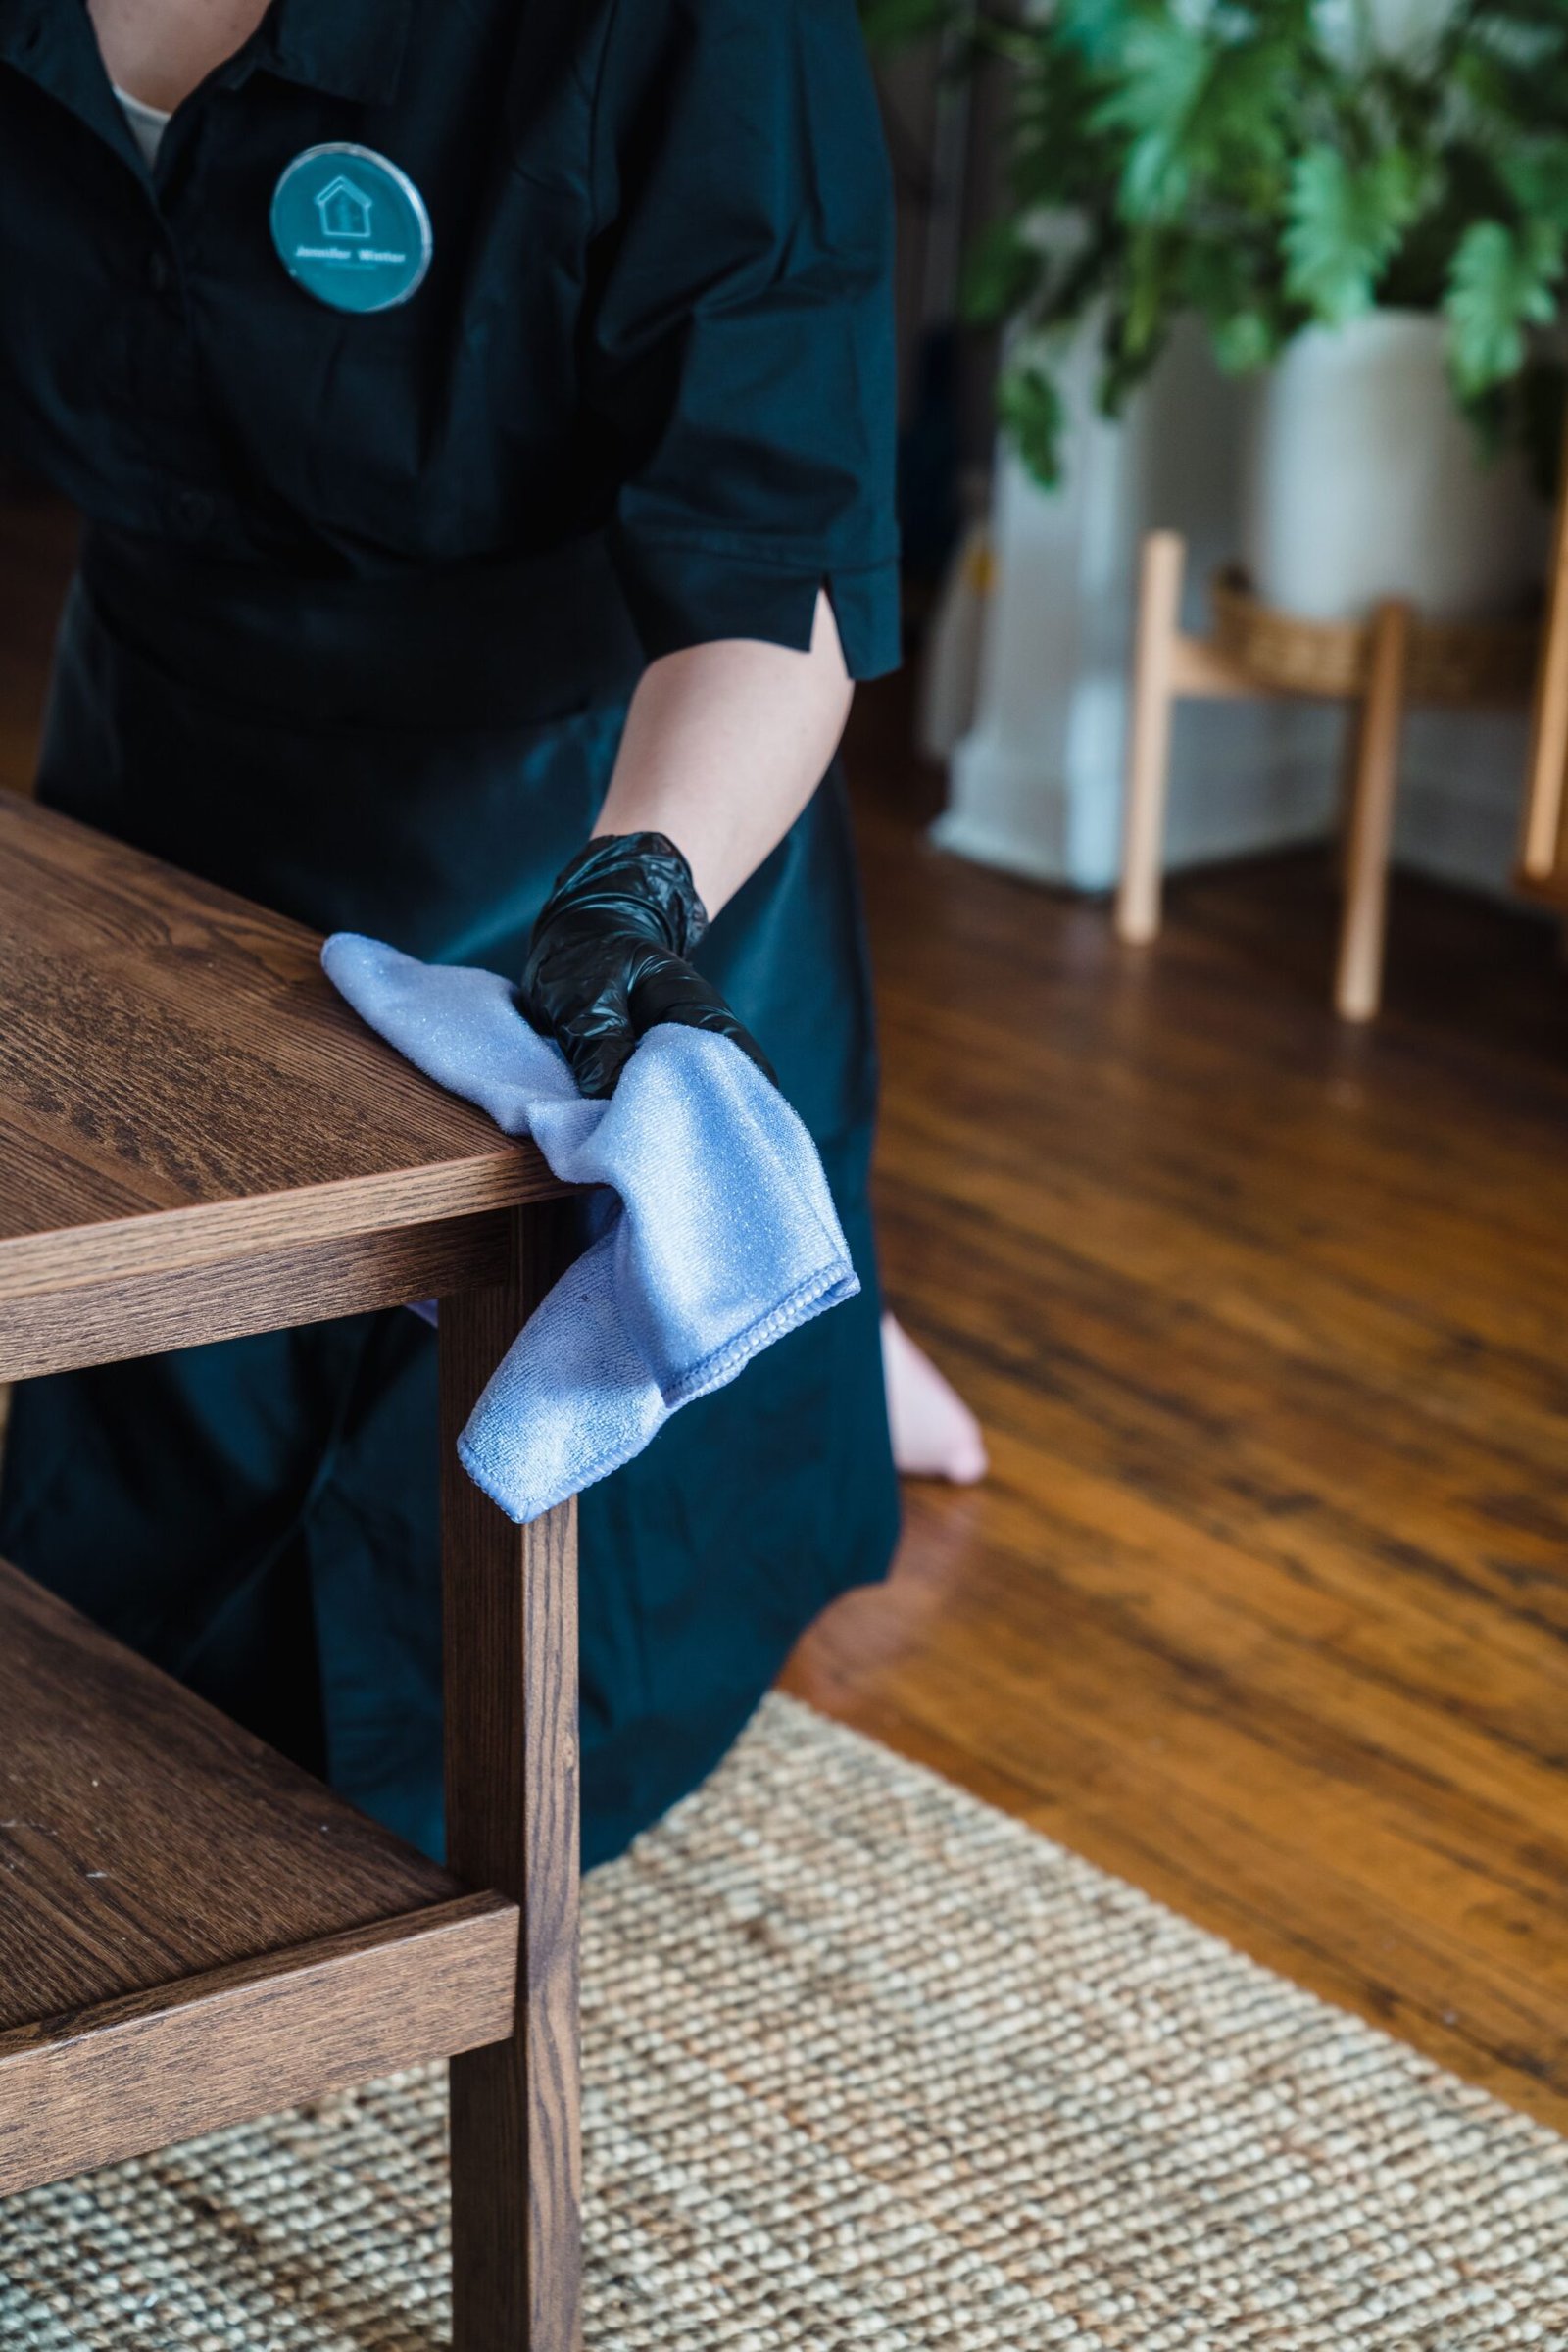
Mix two parts baking soda with one part water to form a thick paste. Dab it onto the ring with a soft cloth and rub gently in small circles, following the direction of the wood grain. Wipe the paste away with a damp cloth, then dry the surface completely.
Baking soda is abrasive enough to polish light cloudiness out of the finish but gentle enough not to cut through it when used with light pressure. This is a good second step when the iron method leaves a faint shadow of the ring behind.
What you need: baking soda, water, a soft cloth. Time: about ten minutes.
4. Non Gel Toothpaste: A Targeted Fix for Small Rings
Plain white non gel toothpaste works like a finer version of the baking soda paste. Squeeze a small amount onto a soft cloth and rub the ring in gentle circles for about a minute. Wipe clean with a damp cloth and dry thoroughly.
Use white paste only. Gel formulas lack the mild abrasive that does the work, and whitening toothpastes with extra grit can be too aggressive for delicate finishes. As always, test on a hidden spot first.
What you need: plain white non gel toothpaste, a soft cloth. Time: about five minutes.
5. Vinegar and Olive Oil: Clean and Polish in One Pass
Mix equal parts distilled white vinegar and olive oil in a small bowl. Dip a soft cloth in the mixture and rub it over the ring, working with the grain. The vinegar helps dissolve mineral residue while the oil reconditions the finish. Buff the area dry with a clean cloth. Vinegar is a genuine workhorse around the house. We use it for everything from wood care to our guide on how to clean a microwave with lemon and vinegar.
This combination is especially useful when the ring sits alongside general dullness or light grime, because it cleans and polishes at the same time. Do not use it on unfinished or waxed wood without a spot test, since oil can darken raw wood.
What you need: distilled white vinegar, olive oil, two soft cloths. Time: about ten minutes.
6. The Hair Dryer Method: Slow Heat for Delicate Finishes
If you are nervous about using an iron, a hair dryer on a low or medium heat setting does the same job more slowly. Hold it a few inches from the surface and keep it moving over the ring for several minutes. The steady warm air draws the moisture out of the finish without the risk of scorching.
This is the safest heat option for veneer and thin or older finishes. It takes longer than the iron method, but the control it gives you is worth the extra minutes.
What you need: a hair dryer. Time: ten to fifteen minutes.
7. Rubbing Alcohol: For Cloudy, Stubborn Marks
Dampen a soft cloth with rubbing alcohol and rub the mark gently in small circles. Alcohol evaporates quickly and pulls moisture out of the finish as it goes, which makes it effective on cloudy patches that survived the gentler methods.
Use a light touch and work in a ventilated room. Alcohol can dull some finishes if you soak the surface, so keep the cloth damp rather than wet, and stop as soon as the mark clears.
What you need: rubbing alcohol, a soft cloth. Time: about five minutes.
8. 0000 Steel Wool and Oil: For Marks That Sit Deeper
When surface methods fail, very fine 0000 grade steel wool with mineral oil or lemon oil can reach slightly deeper. Apply a little oil to the mark and to the steel wool, then rub with the grain using the lightest possible pressure. Wipe away the residue often and check your progress.
The key word is light. Coarser steel wool will scratch through the finish, and even 0000 grade can dull a finish if you press hard. This method bridges the gap between cosmetic fixes and the chemical approach below.
What you need: 0000 grade steel wool, mineral oil or lemon oil, a soft cloth. Time: about fifteen minutes.
9. Oxalic Acid: The Last Resort for Dark Stains
Dark stains that have soaked into the wood fibers need oxalic acid, the wood bleach sold at home stores like Home Depot and on Amazon for around $16 for a one pound bag. Wear gloves and eye protection, mix the powder with water according to the package directions, and brush it onto the stain. Let it dry, then rinse and neutralize as the package directs.
Oxalic acid lightens the stained wood itself, which is why it works where surface methods cannot. The treated spot will usually need a light coat of finish afterward to blend in, so reserve this method for stains that nothing else touches.
What you need: oxalic acid powder, gloves, eye protection, a brush. Time: about an hour including drying.
Mistakes That Can Ruin the Finish
Most damaged finishes come from rushing, not from the method itself. Avoid these common errors:
- Holding too much heat in one spot, which can bubble or melt lacquer
- Scrubbing hard with coarse abrasives or the rough side of a sponge
- Soaking the wood with water or vinegar based cleaners and leaving it wet
- Skipping the spot test on antiques or unknown finishes
- Layering methods without drying the surface between attempts, which traps new moisture in the finish
When in doubt, go gentle. That is the same approach behind our guide on how to clean a burnt saucepan without scrubbing, where patience replaces elbow grease. If a mark looks worse after a treatment, stop, let the area dry for a full day, and reassess before trying again.
How to Keep Water Rings From Coming Back
Prevention is simpler than any cure. Keep coasters within reach of every seat, and use felt pads under plant pots and vases. Wipe up spills the moment they happen instead of discovering them the next morning.
For tables that see daily use, a coat of furniture wax or a wipe on polyurethane adds a sacrificial layer that takes the hit instead of the finish underneath. The same habit protects every surface in the house. While you are at it, our guide on how to remove tea stains from mugs covers the cups that cause most of these rings.

Conclusion: What to Try First
To remove water rings from wood furniture, start with the iron method for white rings and work through the gentler options before reaching for anything stronger. Most marks disappear with heat, oil, or a mild abrasive, and only dark stains need oxalic acid.
Key takeaways:
- White rings mean moisture is trapped in the finish, and heat usually clears them in minutes
- Dark stains mean water reached the wood fibers, so escalate to steel wool or oxalic acid
- Always run a spot test on a hidden area before treating the visible mark
- Coasters, felt pads, and quick wipe ups prevent the next ring from ever forming
Frequently Asked Questions
Can water rings be removed without refinishing?
Yes. White rings sit in the finish and almost always respond to heat, oil, or mild abrasives with no refinishing needed. Only severe dark stains require any finish work afterward.
How long does the mayonnaise method take?
Plan on several hours or overnight. The oil needs time to penetrate the finish and displace the trapped moisture, so this is a set it and forget it fix.
Will these methods work on veneer?
Yes, but stick to the gentlest options, the hair dryer method and the mayonnaise method, and test first. Veneer is thin, and aggressive abrasion can go right through it.
What is the difference between white and dark water stains?
White marks are moisture trapped in the finish. Dark marks mean water passed through the finish and reacted with the wood fibers, so they need stronger treatment like oxalic acid.
Can I prevent rings without using coasters?
Tablecloths, placemats, and felt pads all work. A fresh coat of wax or polyurethane also adds protection, but wiping up spills quickly remains the most reliable habit.
