
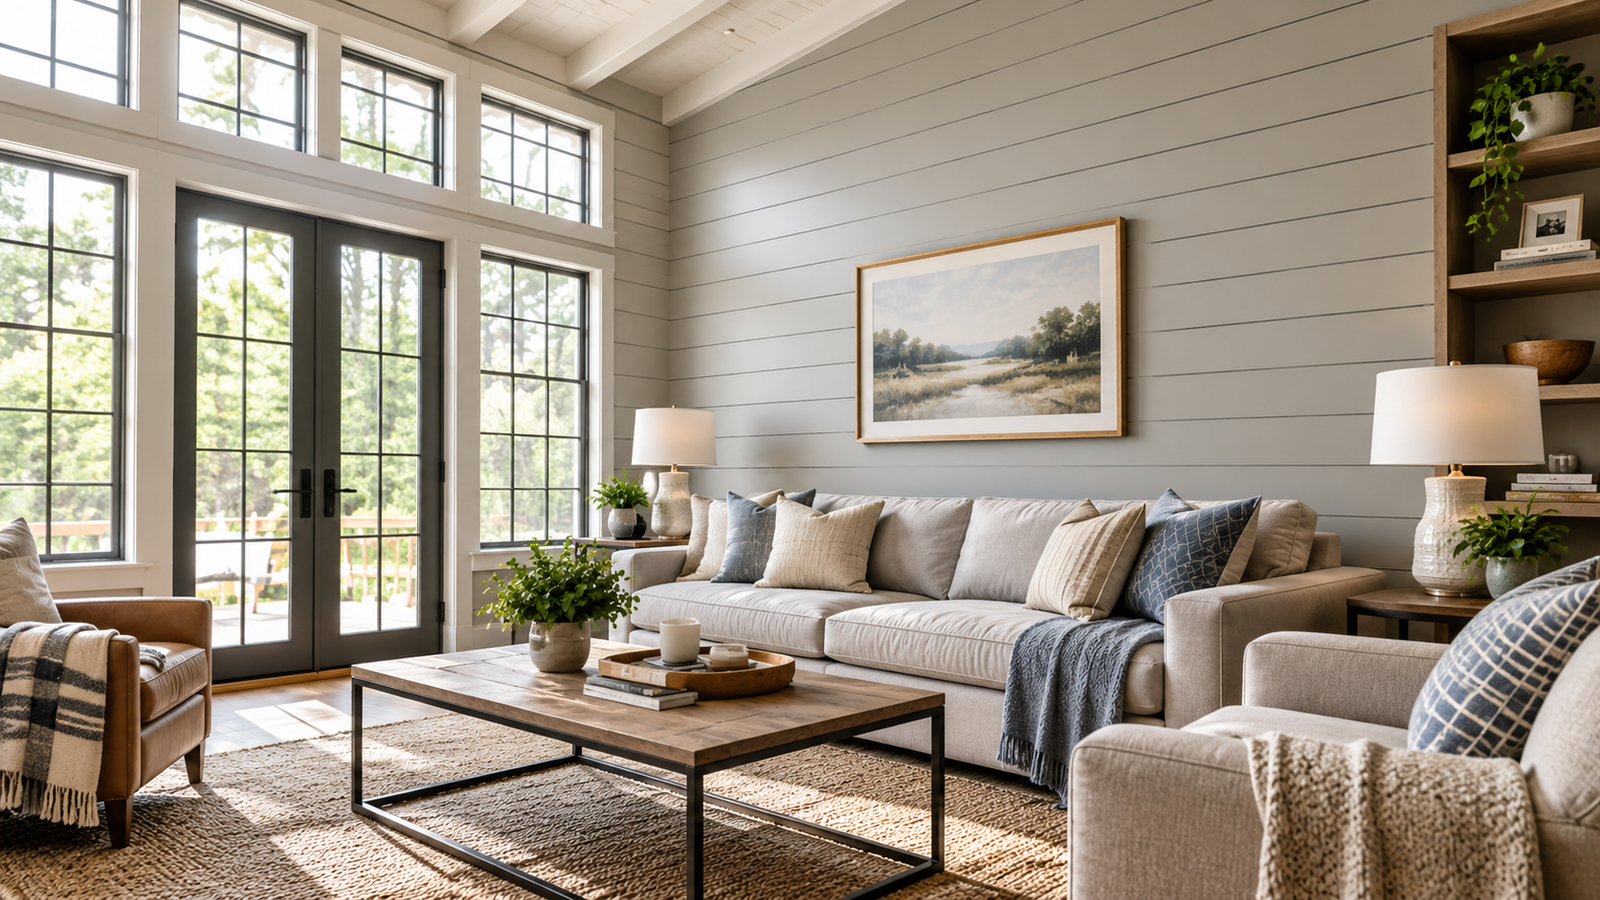
Shiplap paneling has outgrown its farmhouse reputation. You now see it on bedroom accent walls, fireplace surrounds, bathroom ceilings, and even kitchen islands. That popularity has created a lot of confusion about what to buy, what it costs, and where it actually belongs.
This guide walks through the main types, the real costs, and the rooms where each style performs best. You will also find practical installation advice and the mistakes that make a finished wall look flat or cheap. By the end, you should be able to pick the right shiplap paneling for your space and budget with confidence.
What Shiplap Paneling Actually Is
Shiplap is a board with a notch cut along the top and bottom edges. When one board sits on the next, the notches overlap and leave a narrow channel between them. That channel is called the reveal, and it creates the shadow line that gives shiplap its character.
The name comes from its original job. Builders used overlapping boards to shed water on ship hulls, barns, and sheds long before anyone thought of painting them white and hanging them in a living room.
Shiplap vs. Tongue and Groove and Other Wall Styles
Many people use “shiplap” to describe any horizontal wood wall, which is where mistakes begin. Tongue and groove boards lock together with a raised edge on one side and a slot on the other. The result is a tighter, flatter surface with little or no visible gap.
Beadboard has a small rounded groove running down each board, giving it a more traditional look. Board and batten uses wide flat panels covered by thin vertical strips. Each style has its place, but only shiplap gives you that clean, stepped shadow line.
The Three Main Types of Shiplap Paneling
The material you choose affects cost, durability, and how forgiving the install will be. Most products fall into three groups.
Solid Wood Boards
Traditional shiplap comes as individual boards in pine, cedar, fir, poplar, or hardwood. Boards typically measure between 5 and 8 inches wide and range from 1/2 inch to 3/4 inch thick. Pine is the everyday choice for painted walls, while cedar suits stained finishes and slightly damp areas.
Real wood gives you the most authentic look and can be sanded, repainted, and repaired for decades. It also moves with humidity, so small gaps and seasonal shifts are normal. Expect some knots and grain variation, which many homeowners consider part of the appeal.
Engineered and Sheet Paneling
Engineered products use MDF or plywood. Some come as individual planks, and others as large 4 by 8 foot sheets with grooves cut in to mimic the shiplap look. The grooves are often called a nickel gap, named for the consistent spacing that once matched the thickness of a nickel.
Sheets install quickly and cost less, which makes them popular for bedroom accent walls. The trade off is thickness. Thin sheets need a reasonably flat wall and a good adhesive to lie properly, and you will see seams on any wall taller or wider than the panel.
MDF also absorbs water badly. It swells when exposed to moisture, so it does not belong in bathrooms, laundry rooms, or any space that stays damp.
PVC and Peel and Stick Options
PVC shiplap boards are waterproof, lightweight, and do not rot. They work well in bathrooms, mudrooms, and covered outdoor areas. The finish can look less warm than wood up close, so check samples in your own lighting before you commit.
Peel and stick planks use a factory applied adhesive backing. They suit renters, small projects, and anyone who wants to skip the saw. Prices per square foot tend to run higher, and adhesion depends heavily on a clean, smooth, properly prepared wall.
What Shiplap Paneling Really Costs
Costs vary by region and material, so treat the figures below as typical ranges, not quotes. Always confirm current prices at your local supplier.
Typical material costs per square foot:
- Pine boards: roughly $2 to $4
- Cedar boards: roughly $3 to $7
- Hardwood boards: roughly $1.50 to $6, depending on species
- MDF or plywood planks: roughly $1 to $5
- Thin 4 by 8 sheets: usually among the lowest priced options
- PVC and peel and stick: mid range to higher, depending on brand
Labor is the second half of the budget. Professional installers commonly charge by the hour or by the square foot, and quotes differ widely between a simple flat wall and a room full of corners, windows, and outlets. If you are hiring out the work, ask for a written estimate that separates materials from labor.
The Costs People Forget
The boards are rarely the whole bill. Plan for primer, paint, finish nails, construction adhesive, wood filler, caulk, and trim for edges and corners. If you do not own a nail gun and a miter saw, renting them adds to the total.
Here is a quick example. A wall that is 12 feet wide and 8 feet tall covers 96 square feet. Add 10 percent for waste and you need about 106 square feet of material. At $3 per square foot for pine, that is roughly $318 in boards before supplies.
Buying a little extra also protects you if a board arrives warped or a cut goes wrong. Keep the leftovers for future repairs, since exact matches can be hard to find later.
Choosing the Right Shiplap Style for Every Room
The best shiplap paneling depends less on trends and more on how the room is used. Moisture, light, and traffic all matter.
Living Rooms and Fireplace Walls
A living room can handle almost any material. Solid pine or a quality primed board gives fireplace walls and media walls a substantial look. Paint the paneling a soft neutral for a light feel, or go deep charcoal or green for a moodier, more modern space.
If you plan to mount a television or heavy shelving, locate the studs before you start. Marking them on the wall first saves you from guessing later.
Bedrooms
Bedrooms are the easiest place to experiment. An accent wall behind the bed works like a built in headboard and adds texture without overwhelming the room. Sheet paneling or peel and stick planks are sensible choices here because the moisture risk is low.
Kitchens and Dining Areas
In kitchens, shiplap works well on islands, range hoods, and dining nooks. Keep it away from spots that see direct splashing, and choose a durable, wipeable paint finish. Semi gloss or satin holds up better to cleaning than flat paint.
Bathrooms and Laundry Rooms
Moisture changes the rules. Skip MDF entirely and choose PVC, cedar, or properly sealed solid wood. Good ventilation matters as much as the material, so run the exhaust fan during showers and afterward.
Seal every cut edge and use a moisture resistant primer and paint. Even quality boards fail when steam and trapped humidity have nowhere to go.
Ceilings, Entryways, and Hallways
Shiplap on a ceiling draws the eye upward and adds warmth to rooms that feel plain overhead. Porches and covered patios look great with it too, provided you choose exterior rated material. Entryways and hallways suit shiplap because the walls are narrow, easy to cover, and get plenty of visual attention.
Horizontal, Vertical, or Something Different
Direction changes how a room feels. Horizontal boards lead the eye across the space and can make a narrow room seem wider. Vertical boards emphasize height, which helps low ceilings feel taller.
Some designers stagger board lengths or run planks at an angle for a custom look. These patterns take more planning and create more waste, so budget for 15 to 20 percent extra.
Gap width matters too. A tight reveal reads as clean and modern, while a wider one looks more rustic and casual. Color completes the effect: white and cream feel bright and traditional, while dark tones make the shadow lines more dramatic.
A Practical Installation Overview
Shiplap is one of the friendlier DIY projects, but preparation decides the result. This is the general sequence most installers follow.
- Let the boards sit in the room for a few days so they adjust to the humidity.
- Locate and mark the studs, which are commonly spaced 16 inches apart.
- Establish a level starting line. Do not trust the ceiling or floor to be straight.
- Fasten each board into the studs with a nail gun or hammer and finish nails.
- Cut around outlets and switches, and extend the electrical boxes if needed for safety.
- Fill nail holes, caulk the edges, then prime and paint.
Installing shiplap directly over drywall is common and works well when you nail into studs. Leave a small gap at the ends of boards to allow for seasonal movement. For any electrical work behind the wall, follow local code and call a licensed electrician when unsure.
Common Mistakes That Make Shiplap Look Cheap
Most disappointing shiplap walls suffer from the same handful of problems. Avoiding them makes a bigger difference than upgrading the material.
- Skipping the level line. Small errors at the start grow into a visibly slanted wall.
- Ignoring wall flatness. Thin sheets follow every dip and bump underneath.
- Poor seam placement. Stagger end joints so they do not stack in one vertical line.
- Bare edges. Untrimmed corners and ends look unfinished. Use corner trim or clean mitered cuts.
- Wrong material for the room. MDF in a damp space is the classic example.
- Rushing the paint. Two thin coats of good paint beat one thick one, and the gaps need attention with a small brush.
One honest drawback is worth knowing. The reveals collect dust over time, so you will need an occasional wipe with a damp cloth or a brush attachment on the vacuum.
Is Shiplap Still in Style?
The all white, every wall version of the farmhouse look has cooled. What has replaced it is more selective: a single feature wall, a ceiling treatment, or a darker color that feels current. Designers now blend shiplap with modern furniture, coastal palettes, and traditional trim.
For resale, restraint is the safer approach. One well executed accent wall appeals to most buyers, while covering every room may narrow your audience. Choose a style you enjoy living with, since that matters more than any trend cycle.
Conclusion
Shiplap paneling rewards good planning more than expensive materials. Start by choosing the type that fits your room, with solid wood for character, sheets for speed, and PVC for moisture. Then set a realistic budget that includes supplies and waste, and finish the job with careful leveling, clean corners, and a durable coat of paint.
If you are unsure where to begin, try a single accent wall in a bedroom or entryway. It is a low risk way to learn the process, and it often delivers the biggest visual change for the money.
Frequently Asked Questions
Is shiplap paneling the same as shiplap boards?
Not exactly. Boards are individual planks with overlapping edges, while paneling often refers to larger sheets grooved to imitate the look. Both create similar shadow lines, but boards give a more authentic result.
Can I install shiplap paneling over drywall?
Yes, this is the most common method. Nail through the drywall into the wall studs, and use adhesive as well if you are working with thin sheets.
Is shiplap suitable for bathrooms?
Yes, with the right material. Choose PVC, cedar, or sealed solid wood, avoid MDF, and make sure the room has good ventilation.
How much extra shiplap should I order?
Plan for about 10 percent waste on a straight layout. Angled or staggered patterns can need 15 to 20 percent.
Is shiplap cheaper than drywall?
Usually not. Drywall is typically less expensive per square foot, but shiplap adds texture and character that a flat painted wall cannot match.
