
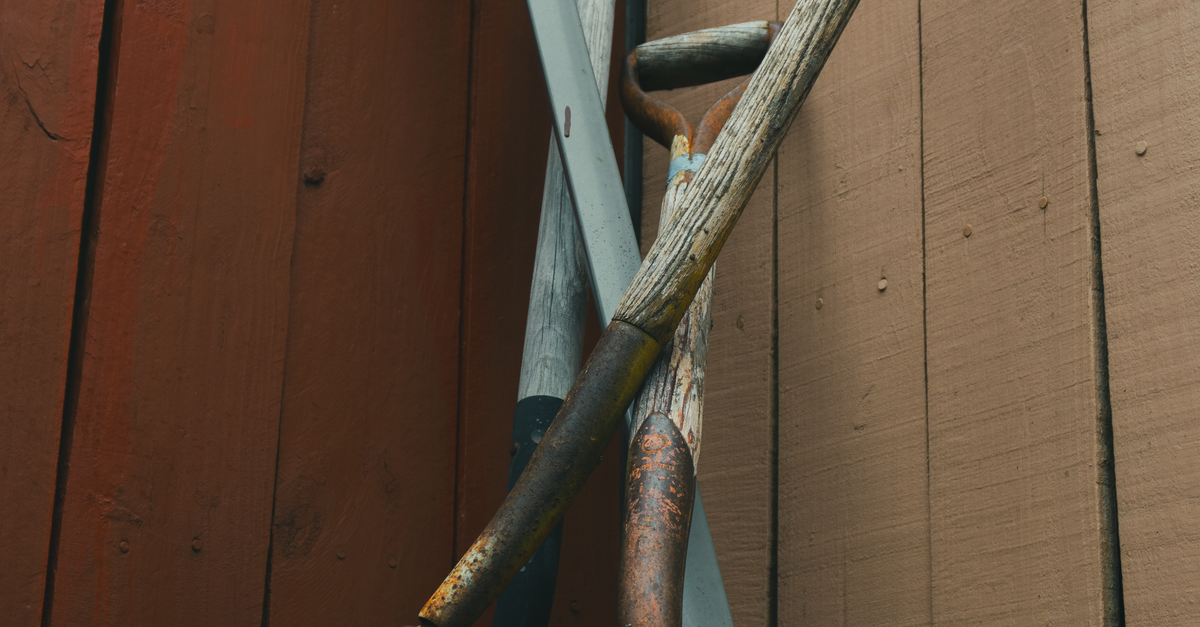
There is nothing more frustrating than reaching for your favorite trowel in spring and finding it coated in orange rust. Before you toss those tools in the trash, know this. Learning how to remove rust from garden tools is one of the easiest weekend projects you can take on, and it costs almost nothing. Most rusted tools can be brought back to life with plain white vinegar, a little scrubbing, and a thin coat of oil. This guide walks you through the whole process, from judging how bad the rust is to the storage habits that keep it from coming back.
Why Garden Tools Rust in the First Place
Rust is what happens when iron or steel meets water and air at the same time. The metal slowly turns into iron oxide, which is the flaky orange coating you see on old tools. Garden tools live a hard life. They dig in wet soil, sit out in the rain, and often get tossed into a damp shed without a second thought. That combination makes rust almost inevitable if you do nothing to stop it.
Not all rust is equal. Light surface rust looks like a dusting of orange powder and wipes off easily. This is the best case and takes the least work to fix. Moderate rust forms rough patches that feel bumpy under your fingers. Deep rust pits the metal and weakens it. If a tool head is crumbling or the metal feels thin and brittle, it may be past saving. Most tools fall into the first two groups though, and those are very much worth restoring.
Different tools rust in different ways. Pruning shears rust around the hinge and along the blade edge, right where you need them sharpest. Shovels and spades rust across the wide flat blade where soil sits longest. Hand trowels and cultivators rust all over because they are small and often left lying in the dirt. Knowing where to look helps you catch rust early, when it is still easy to remove.
What You Will Need
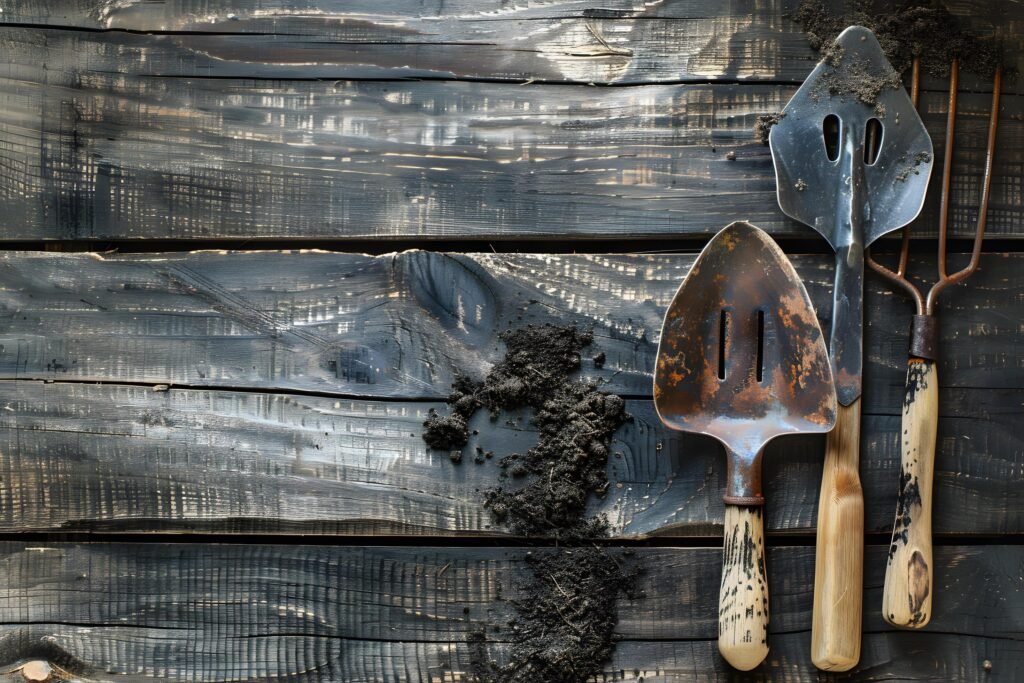
The good news is that you probably own most of this already. You do not need expensive rust removers or special equipment to get great results. Here is a simple list of supplies for the methods below.
- Plain white distilled vinegar
- Baking soda
- Table salt and a lemon
- A bucket or plastic tub large enough to hold your tools
- A stiff brush, an old toothbrush, and steel wool or a scouring pad
- Medium and fine grit sandpaper
- Clean rags or old towels
- Rubber gloves and safety glasses
- A light lubricating oil such as mineral oil, 3 in 1 oil, or boiled linseed oil
That is really all it takes. If you are missing one or two items, a quick trip to the hardware store will cost far less than replacing a full set of tools. Keep your supplies together in a small caddy so the job feels easy the next time you do it.
How to Remove Rust from Garden Tools
There are several ways to remove rust from garden tools, and the right one depends on how bad the rust is. Start with the gentlest method that fits your situation. You can always move to a stronger approach if the first one does not finish the job. Work outdoors or in a well ventilated garage, wear your gloves and glasses, and take your time.
Method 1: The Overnight Vinegar Soak
This is the most popular method for a reason. The mild acid in white vinegar dissolves rust while you sleep, so the actual hands on work is minimal. Fill a bucket or tub with enough undiluted white vinegar to cover the rusted metal parts of your tools. For small hand tools like trowels and pruners, a deep bowl or even a sturdy plastic jug with the top cut off works well.
Lower the tools in and let them soak. Light rust usually loosens in 4 to 6 hours. Moderate rust needs a full overnight soak of 8 to 12 hours. Check the tools now and then. Once the rust looks soft and flaky, pull them out. Do not leave tools soaking for days on end, because the acid can start to dull sharp edges and etch the bare metal once the rust is gone.
For large tools like shovels and rakes that will not fit in a bucket, soak old rags in vinegar and wrap them tightly around the rusted areas. Cover the wrapped tool with a plastic bag to keep the rags wet, and leave it overnight the same way. This trick works surprisingly well and uses far less vinegar.
After soaking, scrub the loosened rust with a stiff brush or steel wool under running water. The rust should come off as a dark sludge. Rinse the tools well and dry them completely with a clean towel right away. This drying step matters more than people think, because bare metal can start to flash rust within hours if it stays damp.
Vinegar is a workhorse around the house. We have used the same trick to descale appliances in our guide on how to clean a kettle without vinegar, so a big jug of it is always worth keeping in the cupboard.
Method 2: Baking Soda Paste for Light Rust
If your tools only have a light dusting of rust, you may not need a full soak. Mix baking soda with a little water until it forms a thick paste, about the texture of toothpaste. Spread the paste over the rusted spots and let it sit for 30 minutes to an hour. The mild abrasive action lifts the rust while the alkalinity helps neutralize any remaining acidity on the metal.
Scrub the paste with a stiff brush or an old toothbrush, working in small circles. Rinse with clean water and dry the tool fully. This method is gentle enough for tools with painted handles or delicate finishes, and it is a good first try before moving to vinegar. It also works well as a follow up step after a vinegar soak to neutralize the acid and polish the surface.
Method 3: Scrubbing and Sanding for Heavy Rust
Thick, crusty rust needs muscle. Start by knocking off the loose flakes with a stiff wire brush or a putty knife. Then work the surface with steel wool or medium grit sandpaper, always sanding along the shape of the tool rather than across it. This keeps scratches even and avoids gouging the metal.
Once the rough rust is gone, switch to fine grit sandpaper to smooth the surface. Wipe away the dust with a damp rag, then dry the tool at once. Sanding alone can restore even badly rusted shovel blades, though it takes more effort than a vinegar soak. Many gardeners combine the two, soaking first to soften the rust and sanding after to finish the surface.
Method 4: Salt and Lemon for Small Spots
For small rust spots on pruners or hand tools, the salt and lemon trick is quick and satisfying. Sprinkle table salt generously over the rusted area, then rub it with half a lemon, cut side down. The citric acid in the lemon dissolves the rust while the salt acts as a gentle scrubber. Let the juice sit on the metal for 15 to 20 minutes, then scrub and rinse.
This method smells much better than vinegar and uses ingredients from your kitchen. It is best for spot treatment rather than whole tool restoration. Lemon is another gentle acid that works well on metal, and our guide on how to clean a microwave with lemon and vinegar shows more of what this pairing can do around the home.
Protecting Wooden Handles and Moving Parts
Metal is only half the story. Many garden tools have wooden handles that dry out, crack, and splinter over the years, and pruning shears have hinges that stiffen up. While your tools are apart for rust removal, give these parts some attention too.
Never submerge wooden handles in vinegar. The acid and the long soak can swell the wood and loosen the head. If a handle gets splashed, rinse it quickly and dry it. Sand rough or splintered handles with fine grit sandpaper until smooth, wiping with the grain. Then rub in a coat of boiled linseed oil with a rag. The oil feeds the wood, keeps moisture out, and gives the handle a warm, comfortable feel in your hand. Let it soak in for an hour and wipe off the excess.
For pruning shears, loppers, and other hinged tools, add a drop of light oil to the pivot point and work the blades open and closed a few times. If the blades are dull, sharpen them with a small file or sharpening stone, following the original angle of the edge. A sharp, oiled pruner cuts cleaner, which is better for your plants too.
Rust removal is part of a wider home maintenance habit. If your garden shed door sticks after a damp winter, our guide on how to fix a door that will not latch walks through a simple repair you can do in an afternoon.
Oiling Your Tools After Derusting
This is the step people skip, and it is the reason rust comes back. Freshly cleaned metal is completely unprotected. Without a barrier, moisture in the air starts the rusting process all over again, sometimes within days. Oiling takes two minutes and makes all the difference.
Put a few drops of mineral oil, 3 in 1 oil, or another light lubricating oil on a clean rag. Wipe a thin, even coat over every metal surface. You are aiming for a light sheen, not a dripping layer. Too much oil attracts dust and soil, which holds moisture against the metal and defeats the purpose. For tools you use for edible plants, stick with food safe mineral oil rather than petroleum based products.
Some gardeners keep a bucket of sand mixed with a cup of oil in the shed. After each use, they plunge the tool heads into the oily sand a few times. It cleans off soil and leaves a light oil coating in one motion. It is an old trick, and it works beautifully once you try it.
How to Stop Rust from Coming Back
Removing rust once is satisfying. Never having to do it again is better. A few simple habits will keep your tools in great shape for years.
Clean your tools after every use. Knock off the soil, rinse if needed, and dry them before they go back in the shed. This single habit prevents most rust before it starts. It takes less than a minute per tool and saves hours of restoration later.
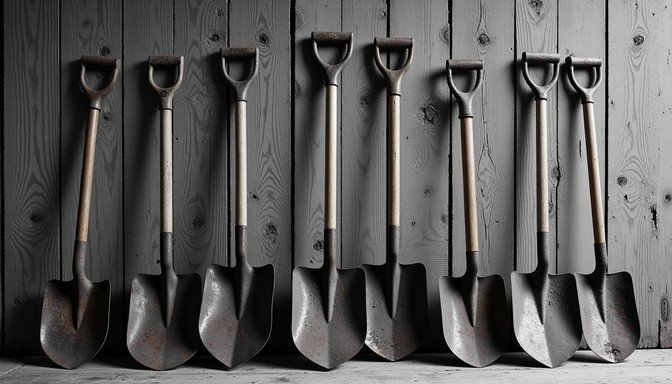
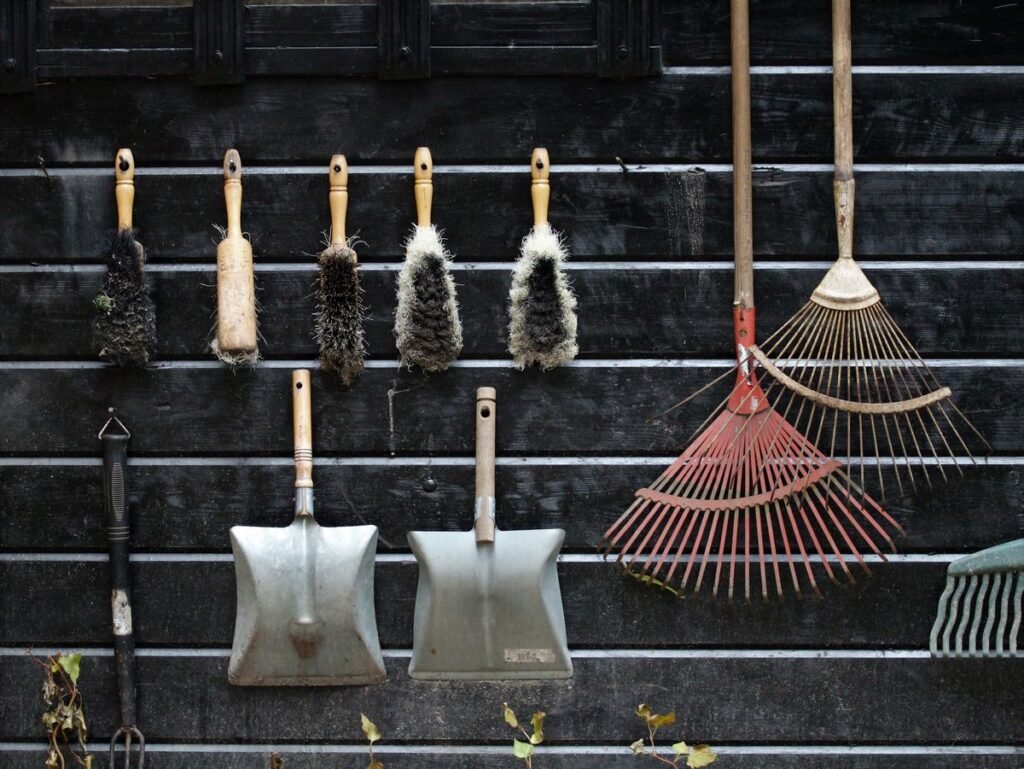
Store tools in a dry place, off the ground, with air moving around them. Hang shovels and rakes on wall hooks instead of leaning them in a damp corner. Keep hand tools in a dry toolbox or hung on a pegboard rather than piled in a bucket where moisture collects. If your shed leaks or feels damp, a small dehumidifier or even a bag of silica gel desiccant near the tools helps a lot.
Give your tools a seasonal checkup twice a year, once in spring before the busy season and once in fall before winter storage. Clean, sharpen, oil, and tighten anything loose. Treat wooden handles with linseed oil at the same time. This routine takes an afternoon and adds years to the life of every tool you own.
Mistakes That Make Rust Removal Harder
A few common errors can undo your good work or even damage your tools. Watch out for these.
First, do not soak tools in vinegar for longer than about 24 hours. Once the rust is gone, the acid keeps working on the good metal underneath, which can pit the surface and dull cutting edges. Set a timer and check progress every few hours.
Second, never put tools away wet. This sounds obvious, but it is the number one cause of repeat rust. Even a quick rinse needs a thorough towel dry afterward. If you are in a hurry, a few minutes in warm sunlight finishes the job.
Third, avoid harsh chemical rust removers unless you truly need them. Products based on strong acids work fast but can burn skin, damage finishes, and harm plants if residue transfers to soil. The vinegar, baking soda, and elbow grease methods in this guide handle nearly every case safely.
Finally, do not ignore the handles. A beautifully derusted blade on a cracked, splintered handle is still a poor tool. A few minutes of sanding and oiling completes the restoration and makes the tool pleasant to use again.
Conclusion
Now you know how to remove rust from garden tools using simple, affordable methods that actually work. Start by judging how bad the rust is, then pick the right approach. A vinegar soak handles moderate rust with almost no effort, baking soda paste takes care of light spots, and sanding tackles the heavy cases. Always dry your tools completely and finish with a thin coat of oil, because that protective layer is what keeps the rust from returning.
The real secret is not any single method. It is the habit of cleaning, drying, and storing your tools properly after each use. Do that, add a quick seasonal checkup twice a year, and your tools will stay sharp and rust free for many seasons to come. Your garden, and your wallet, will thank you.
Frequently Asked Questions
How long should I soak garden tools in vinegar to remove rust?
Soak lightly rusted tools for 4 to 6 hours and moderately rusted tools for 8 to 12 hours, usually overnight. Check progress every few hours and remove the tools once the rust feels soft and flaky. Avoid soaking longer than 24 hours, as the acid can start to etch the bare metal.
Does vinegar damage garden tools?
White vinegar is safe for the metal parts of garden tools when used sensibly. The risk comes from over soaking or from submerging wooden handles, which can swell and loosen. Keep soak times reasonable, keep handles out of the bath, and rinse and dry tools promptly after scrubbing.
Can badly rusted garden tools be saved?
Yes, in most cases. Tools with surface or moderate rust almost always come back with a vinegar soak followed by scrubbing or sanding. Only retire a tool if the metal is deeply pitted, crumbling, or so thin it might break during use, which can be unsafe.
What is the best oil to use on garden tools after removing rust?
A light mineral oil or 3 in 1 oil works well for most tools. Use food safe mineral oil on tools that touch edible plants. For wooden handles, boiled linseed oil is the classic choice. Apply a thin coat and wipe off the excess so the surface does not attract dust.
How do I keep my garden tools from rusting again?
Clean and dry tools after every use, store them off the ground in a dry shed with good airflow, and oil the metal surfaces twice a year. Hanging tools on hooks instead of piling them in a damp corner makes the biggest difference of all.
