
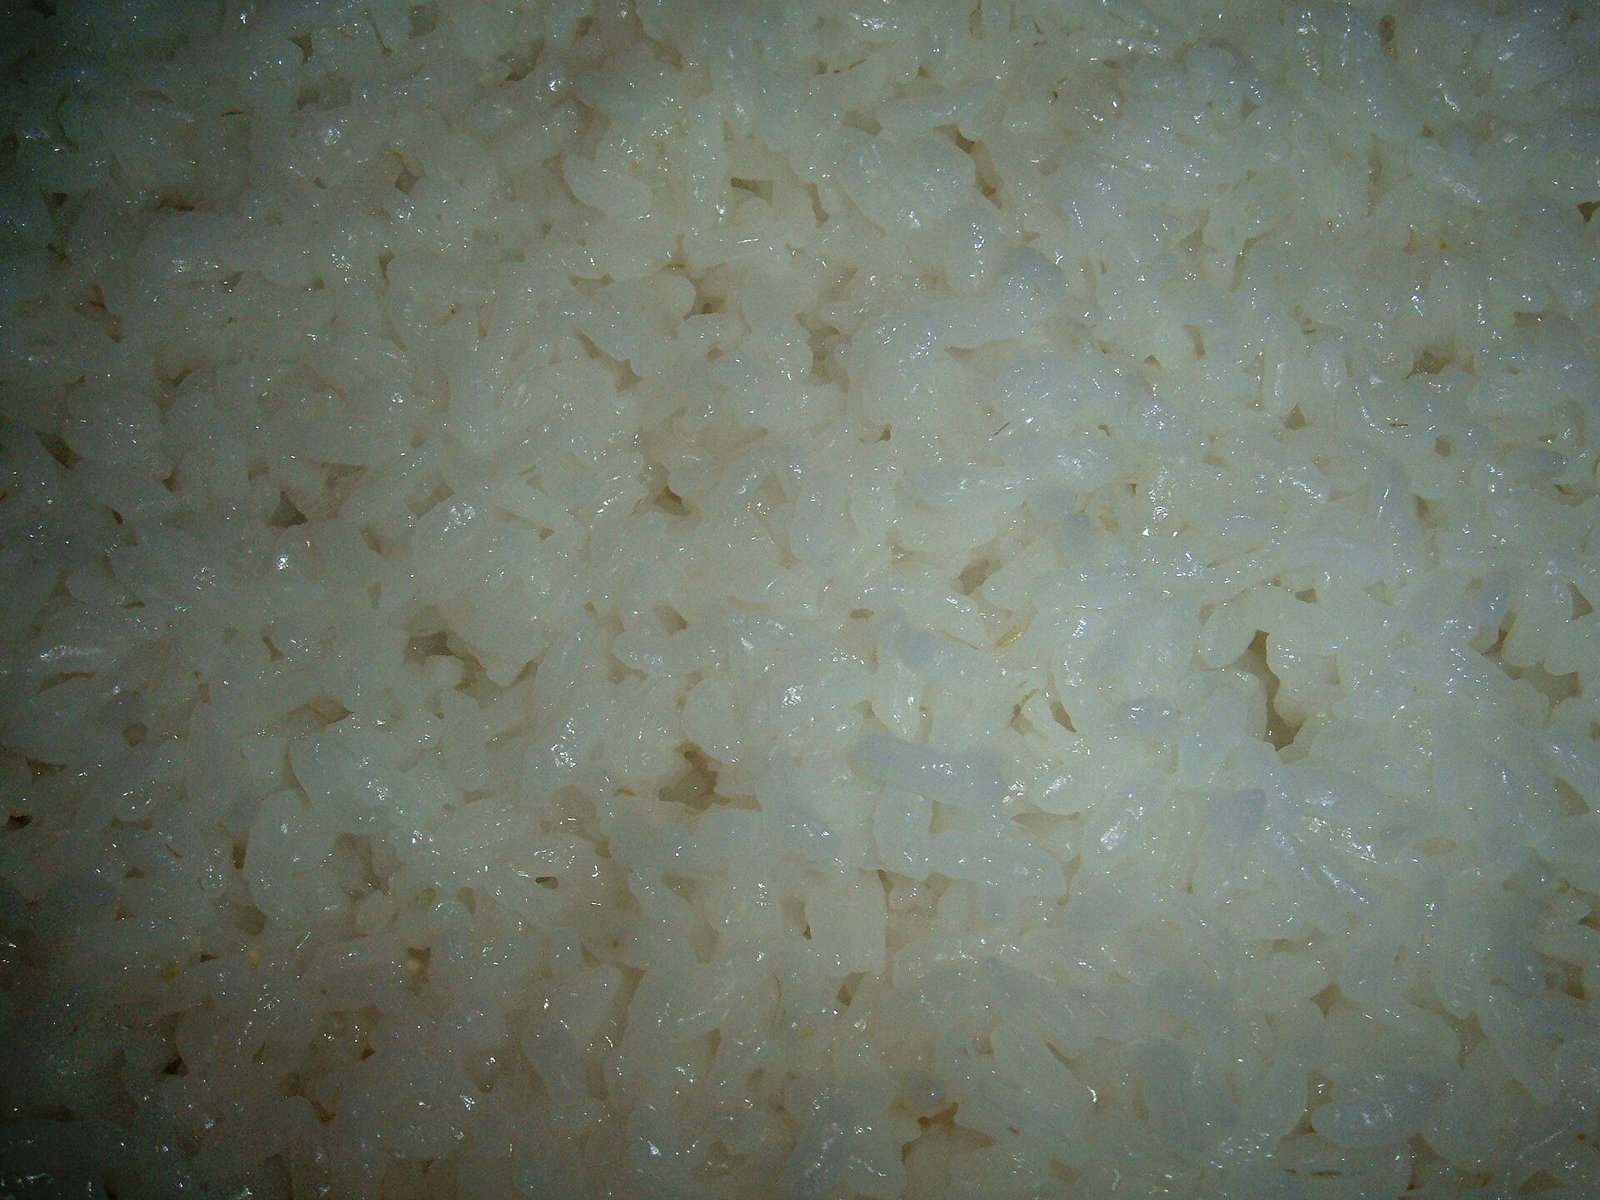
If your rice cooker keeps scorching the bottom layer, you are not alone. That stubborn crust of browned grains welded to the pot is one of the most common rice cooker complaints in the world, and it happens to beginners and experienced cooks alike. The good news is that a rice cooker that burns rice is almost always fixable, and the fix is usually simpler than you expect.
In this guide you will learn exactly how to stop a rice cooker from burning rice. We will start with how the cooker decides your rice is done, then walk through nine practical fixes ordered from the most common cause to the least common, plus how to rescue a batch that is already burnt.
Why Your Rice Cooker Burns Rice at the Bottom
To fix the problem it helps to know what is happening inside the pot. A basic rice cooker is beautifully simple. It heats the inner pot at full power, the water reaches boiling point, and the rice absorbs it. While liquid water is present, the temperature of the pot cannot climb much above 100 degrees Celsius. Once the water is absorbed, the temperature starts to rise fast, and that rise is the signal the thermostat waits for. The click you hear is the thermostat tripping and switching the cooker to warm mode.
Burning happens when that signal fires at the wrong moment or when heat keeps attacking the bottom layer after cooking is done. Too little water means the temperature spikes before the grains are tender. A dirty heating plate or a warped pot means heat does not spread evenly, so one hot spot scorches while the rest is fine. And leaving the cooker on warm for many hours slowly toasts the bottom layer into a crust.
Every fix below targets one of these causes. Start at the top, because the first three fixes solve the problem for most people.
Fix 1: Measure Your Water Carefully
The single most common reason a rice cooker burns rice is simply not enough water. When the water runs out too early, the thermostat thinks cooking is finished and the dry grains at the bottom start to fry instead of steam. Guessing the amount by eye is the fastest route to a scorched pot.
Use the measuring cup that came with your cooker for both the rice and the water, and use the water lines printed inside the inner pot as your guide. Different rice types need different amounts of water, so one universal ratio does not exist. Use this table as a starting point for 1 cup of uncooked rice:
| Rice type | Water | Notes |
|---|---|---|
| Short grain white, such as Japanese or sushi rice | 1.1 to 1.2 cups | The everyday rice in Japan; needs less water than long grain |
| Jasmine rice | 1.25 cups | Slightly more water for a soft fragrant result |
| Basmati rice | 1.5 cups | Long grains need extra water to cook through |
| Brown rice | 2 to 2.5 cups | Use the brown rice setting if your cooker has one; the cycle is longer |
If your rice still burns after measuring carefully, add 2 extra tablespoons of water next time and see if the problem disappears. Small adjustments beat big ones here.
Fix 2: Rinse the Rice Before Cooking
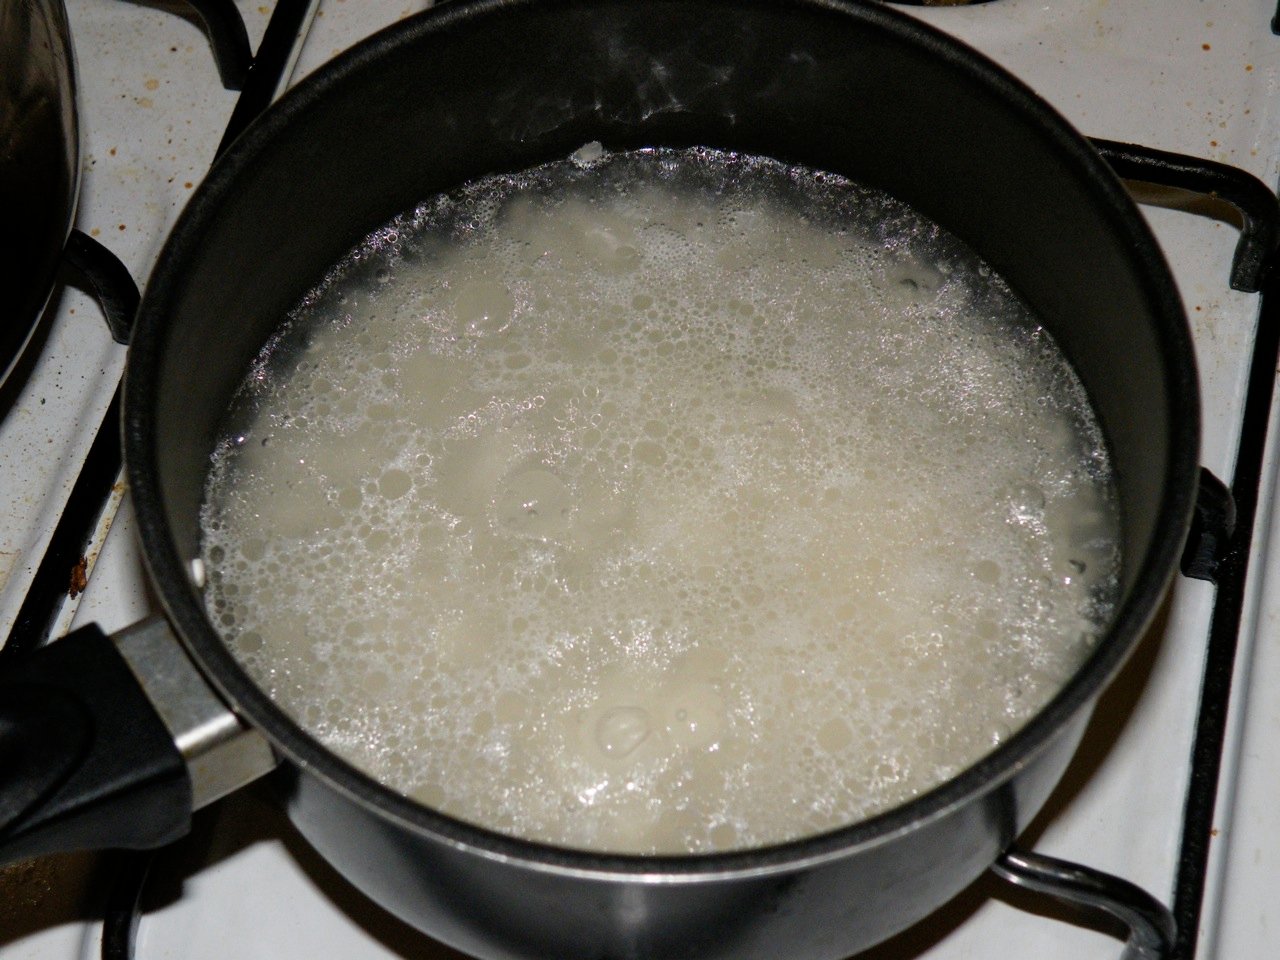
Unrinsed rice carries a coating of loose surface starch. In the pot, that starch turns the cooking water thick and foamy, and the thick liquid scorches far more easily than clear water. Rinsing takes two minutes and prevents a whole class of burning problems.
Put the rice in the inner pot or a bowl, cover it with cold water, and swirl it gently with your hand. Pour off the cloudy water and repeat 3 or 4 times until the water runs mostly clear. Drain well before adding your measured cooking water. Do not scrub the grains aggressively; a gentle swirl is enough. Brown rice benefits from a 20 to 30 minute soak after rinsing, which shortens the cooking time and helps it cook evenly.
Fix 3: Do Not Leave Keep Warm On All Day
This is the habit behind most of the burnt bottom complaints on cooking forums. Keep warm mode is gentle, but it is still heat, and heat applied to the bottom of the pot for 6 or 8 hours will dry out and brown the lowest layer of rice. Many manufacturers say their cookers can hold rice on warm for 5 to 12 hours, and some models sold in Japan even advertise extended keep warm modes that run for 24 hours or more. Safe does not mean tasty. After about 4 hours the bottom layer starts to dry, yellow, and develop a toasted crust.
The simple rule: serve the rice soon after the cooker clicks to warm, ideally within 1 to 2 hours. If nobody is ready to eat, switch the cooker off and move the rice to a covered container. For food safety, cooked rice should not sit at room temperature for more than 2 hours, so refrigerate leftovers promptly and reheat them thoroughly the next day.
Fix 4: Let the Rice Rest After the Click
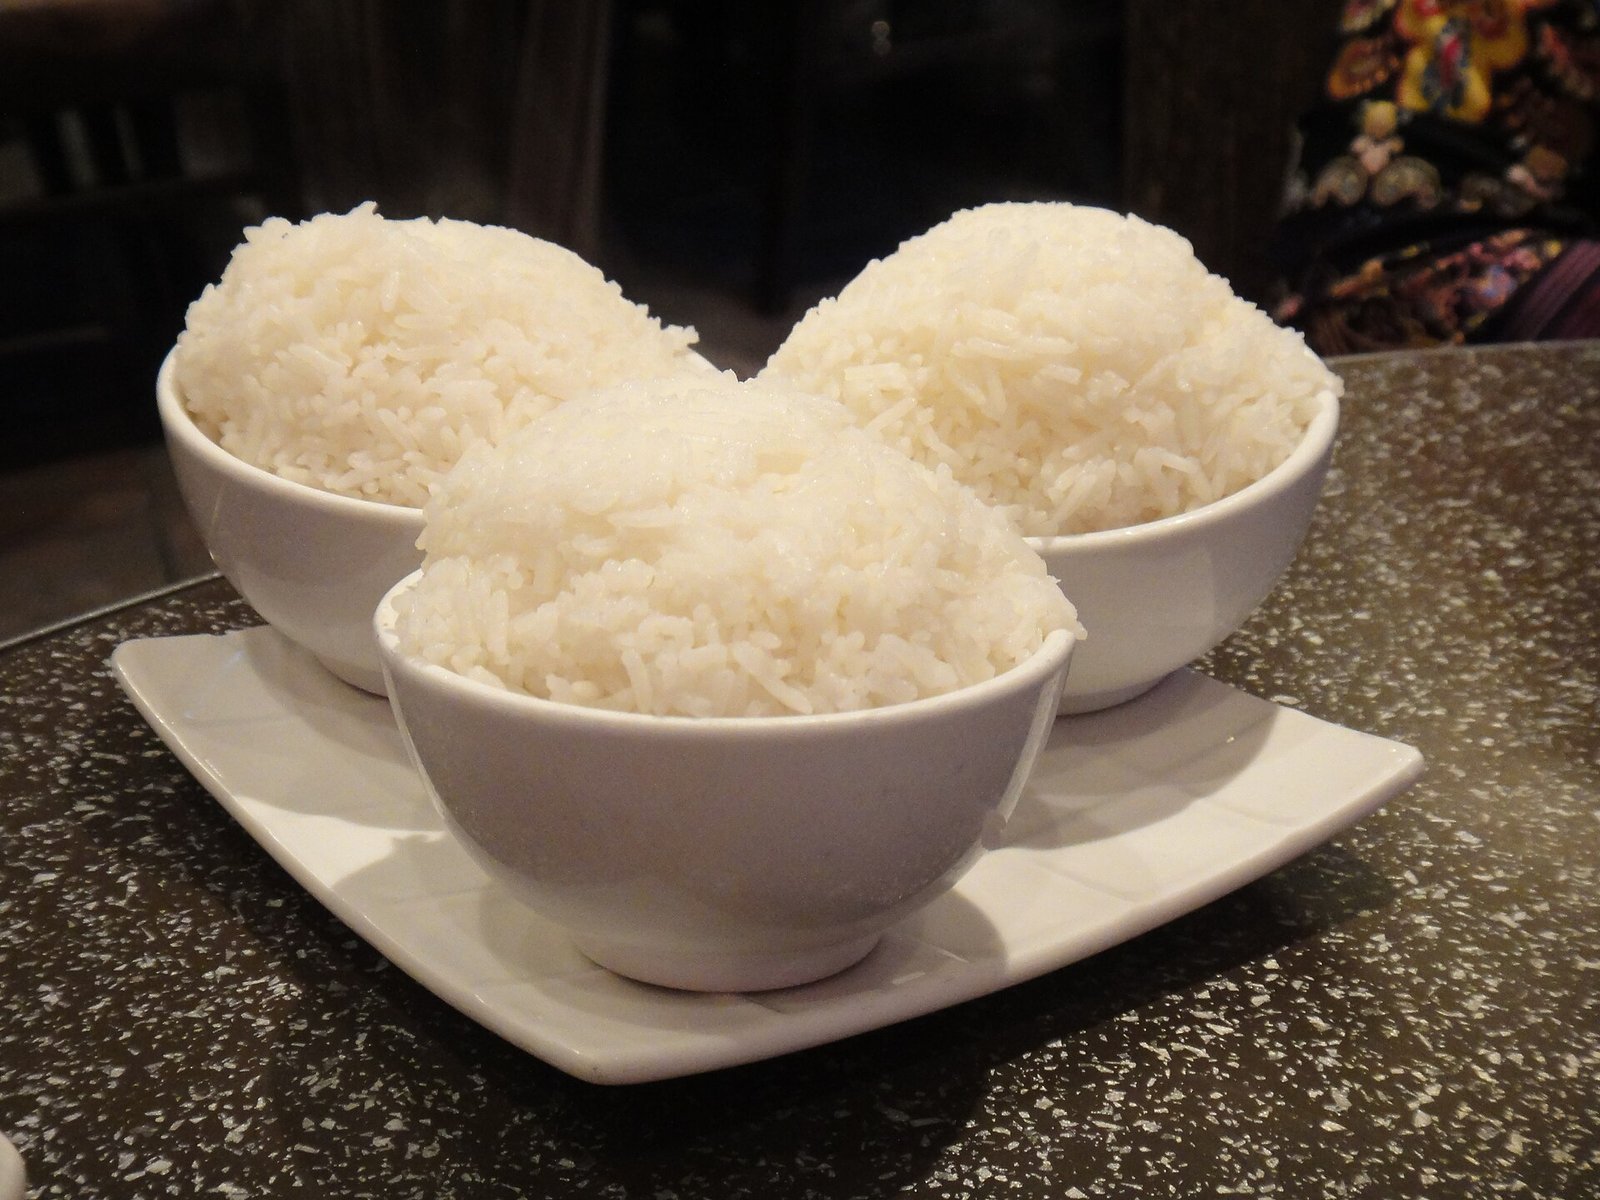
Opening the lid the second the cooker switches to warm is tempting, but it works against you. The grains need 10 to 15 minutes of resting in the trapped steam to finish cooking evenly and release from the bottom of the pot. Rice that is fluffed too early often tears and sticks, and the stuck bits are the ones that burn during the next few minutes of residual heat.
When the cooker clicks, leave the lid closed and walk away for 10 to 15 minutes. Then open it, fluff the rice gently with the paddle using a light cutting motion, and serve. You will notice the rice releases from the pot far more cleanly.
Fix 5: Clean the Heating Plate and the Inner Pot
Look inside your cooker base at the round heating plate. If it is coated with browned on starch, mineral scale, or old burnt on bits of rice, that layer acts like insulation in some spots and a hot spot in others. The thermostat then gets a confused temperature reading and the bottom of the pot overheats in patches.
Unplug the cooker and let it cool completely. Wipe the heating plate with a damp cloth; for stubborn scale, use a cloth barely dampened with diluted white vinegar, then wipe again with a clean damp cloth so no vinegar residue remains. Wash the inner pot in warm soapy water after every use and dry it fully before putting it back. Never use steel wool or abrasive scouring pads on a nonstick pot. If limescale is a recurring problem in your area, a regular descaling routine for all your small appliances helps; the same gentle approach works when you clean a microwave with lemon and vinegar.
Also check that the outside bottom of the inner pot is clean and dry before each cook. A wet or dirty pot bottom sizzles on the hot plate and leaves deposits that build up over time.
Fix 6: Check the Nonstick Coating for Damage
A scratched, flaking, or warped inner pot is a classic hidden cause of burning. Once the nonstick surface is damaged, rice grabs onto the exposed metal and scorches there first. Warping is just as bad: a pot that no longer sits flat on the heating plate makes uneven contact, so some areas overheat while others lag.
Inspect the inside of the pot in good light. If you see deep scratches, peeling coating, or the pot rocks when placed on a flat counter, it is time for a replacement inner pot. Use only wooden, silicone, or plastic paddles and spoons in a nonstick pot, and never cut or serve with metal utensils inside it. A replacement pot costs far less than a new cooker and often solves chronic burning overnight.
Fix 7: Cook Enough Rice for the Size of Your Cooker
Rice cookers are designed to work within a capacity range, and cooking far below the minimum is a known trigger for burning. With too little rice and water in a large pot, the thin layer heats too fast, the water vanishes early, and the thermostat trips before the grains are done. The bottom then sits on a hot plate with nothing to protect it.
Check your manual for the minimum amount, which is often around 2 to 3 cups of uncooked rice for a standard 5.5 cup Japanese model and 1 cup for a small single serving cooker. If you regularly cook tiny amounts, a smaller cooker will serve you far better than a big one running nearly empty. As a rule of thumb, the uncooked rice and water together should fill the pot to at least one quarter of its depth.
Fix 8: Use Fresh Rice and Store It Properly
Old rice behaves differently from fresh rice. As milled rice ages it dries out, and very dry grains absorb water unevenly, which can leave the bottom layer underhydrated and prone to scorching while the top is still fine. Rice that has sat open in a humid kitchen can also pick up off smells that survive into the cooked pot.
Buy rice in quantities you will use within a few months, keep it in an airtight container in a cool dark place, and give it a sniff before cooking. If the raw rice smells musty or the cooked rice carries a stale odor even when it is not burnt, your cooker may need a proper deodorizing; see our guide on how to get rid of smell in a rice cooker for that.
Fix 9: Know When the Cooker Itself Is the Problem
If you have worked through every fix above and the bottom still burns every single time, the cooker may be faulty. A dying thermostat trips late, which means the heating element keeps blasting the pot after the water is gone. Warning signs include rice that is burnt on the bottom but undercooked on top, a cooker that never seems to click to warm, or any smell of hot plastic or electrical burning.
Unplug a cooker that smells of burning plastic immediately and do not use it again until it has been checked. For a cooker that simply cooks badly, compare the cost of a repair with the price of a modern replacement; basic models are inexpensive, and a mid range fuzzy logic model gives far more even results than a tired old single button cooker. Ten or more years of daily service is a respectable life for a rice cooker.
How to Rescue Rice That Is Already Burnt
Sometimes the damage is done before you find this guide. Do not scrape the bottom. Scooping up the burnt layer mixes bitter blackened bits through the whole batch and ruins the portion that is still good.
Instead, use a spoon to lift the unburnt rice from the top into a clean bowl, leaving the scorched layer stuck to the pot. If a light smoky smell has reached the good rice, lay a slice of plain white bread on top of the rice in the bowl and cover it for 10 minutes; the bread absorbs a surprising amount of the odor. Then deal with the pot: fill it with warm water and a drop of dish soap, let it soak for 30 minutes, and wash it gently. For a really stubborn burnt layer, the soaking method in our guide on how to clean a burnt saucepan without scrubbing works just as well on a rice cooker inner pot.
Conclusion: How to Stop a Rice Cooker From Burning Rice for Good
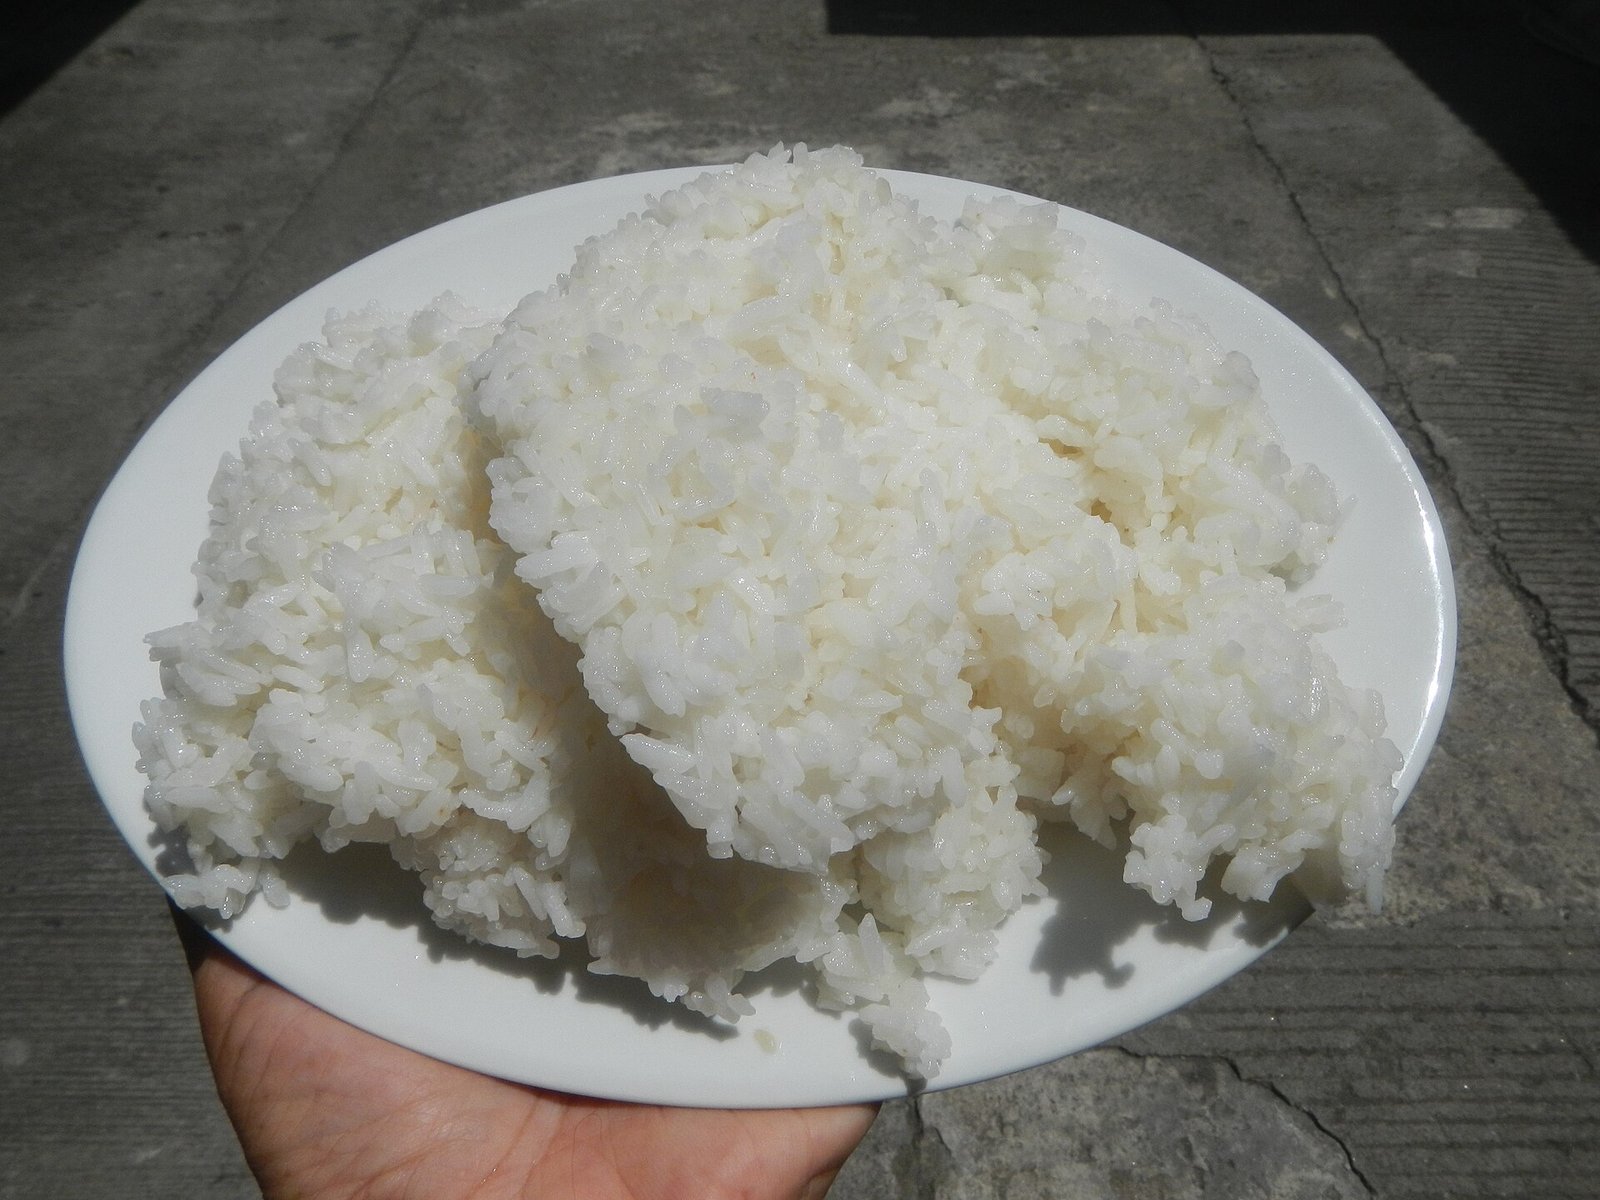
Learning how to stop a rice cooker from burning rice comes down to a short checklist: measure your water for the exact rice type, rinse off the surface starch, keep the warm period short, let the rice rest before fluffing, and keep the heating plate and inner pot clean and undamaged. Cook a sensible amount for your cooker size, use fresh rice, and replace the pot or the cooker when it is genuinely worn out.
Most burnt bottoms disappear as soon as the water ratio is corrected and the keep warm habit is shortened. Make those two changes first, and your next batch should come out fluffy, separate, and clean releasing from the pot, exactly the way a rice cooker is supposed to deliver it.
Frequently Asked Questions
Why does my rice cooker burn rice at the bottom?
The most common causes are too little water, leaving keep warm on for many hours, a dirty heating plate, or a scratched or warped nonstick inner pot. Any of these lets the bottom of the pot get hotter than the rice can handle.
Is burnt rice safe to eat?
A lightly browned crust is harmless, though it tastes bitter. Deeply blackened rice should be discarded, and you should lift the good rice off the top rather than scraping the burnt layer up into it.
How long can I leave rice on keep warm?
For the best texture, serve within 1 to 2 hours. Most manufacturers allow 5 to 12 hours, and some models offer longer extended warming, but the bottom layer dries out and browns long before the limit.
Should I unplug the rice cooker after cooking?
If nobody will eat within a couple of hours, switch it off or unplug it and refrigerate the rice within 2 hours. Do not leave cooked rice at room temperature all day.
Can a scratched nonstick pot cause burning?
Yes. Damaged coating lets rice grip the bare metal and scorch, and a warped pot heats unevenly. Replacing the inner pot is cheap and often fixes chronic burning immediately.
