

You light your favorite candle, the one that cost more than you want to admit, and watch the flame sink into a deep narrow pit while thick walls of untouched wax rise around it. The candle burns straight down the middle and the edges never melt. If you want to know how to fix candle tunneling, the good news is that most tunneled candles can be saved, and the fix usually takes less than an hour.
Candle tunneling is one of the most common candle complaints in the US, and it shows up most in fall and winter when candles burn daily. This guide explains why tunneling happens, walks through five proven fix methods matched to how deep your tunnel is, and gives you the first burn rules that stop it from ever happening again.
What Candle Tunneling Actually Is
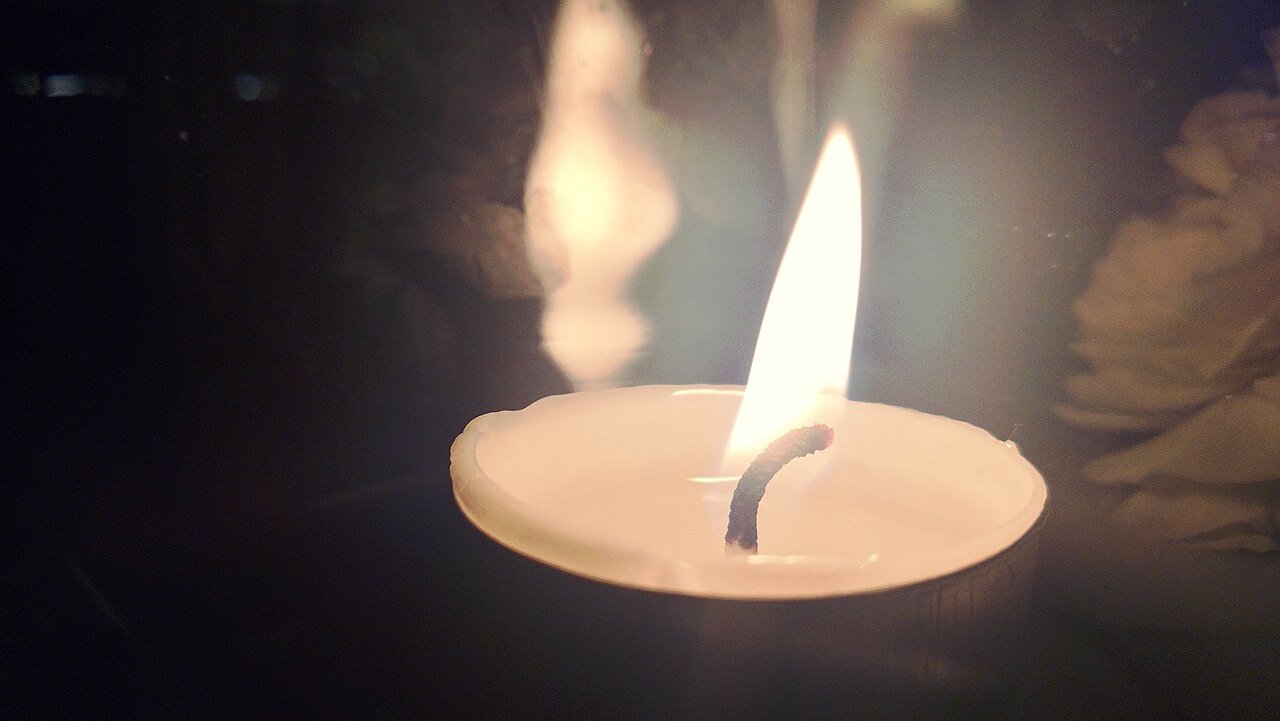
Tunneling is what happens when a candle burns down the center and leaves a ring of hard, unmelted wax around the edge of the jar. Candle makers call this the memory ring, because wax has a kind of memory. On every burn, the wax melts only as far out as it melted on the first burn. A candle that never achieved a full melt pool on its first light will tunnel a little deeper every time you light it.
Tunneling is not just ugly. It wastes wax, shortens the total burn time of the candle, and can eventually drown the wick in melted wax so the flame sputters or dies. A deeply tunneled candle can also crack its glass jar if the flame burns too close to one side of the glass for too long.
Why Your Candle Tunnels
Four causes are responsible for almost every case of tunneling.
A short first burn. This is the number one cause. When you light a new candle for only 30 or 45 minutes, the wax melts in a small circle around the wick and then hardens in that shape. Every later burn follows that same small circle. The first burn sets the memory for the whole life of the candle.
A wick that is too small for the jar. Some candles, especially cheap mass market ones, ship with a wick that cannot generate enough heat to melt the wax all the way to the edge of a wide jar. No amount of careful burning fixes an undersized wick, though the methods below can still rescue the wax.
Drafts. Burning a candle near an open window, a vent, or a ceiling fan makes the flame dance and lean. An unsteady flame melts wax unevenly and can carve one side of the tunnel deeper than the other.
Wax type. Hard waxes like beeswax and some soy blends need more heat to reach a full melt pool than soft paraffin. A candle that tunnels in a cool room might burn perfectly in a warm one, because room temperature changes how far the melt pool spreads.
How to Fix Candle Tunneling: 5 Methods That Work
Not every fix suits every tunnel. A shallow tunnel that just started needs a gentler touch than a tunnel half an inch deep. Start with the method that matches your situation, and always trim the wick to about one quarter inch before you begin.
1. The Aluminum Foil Method
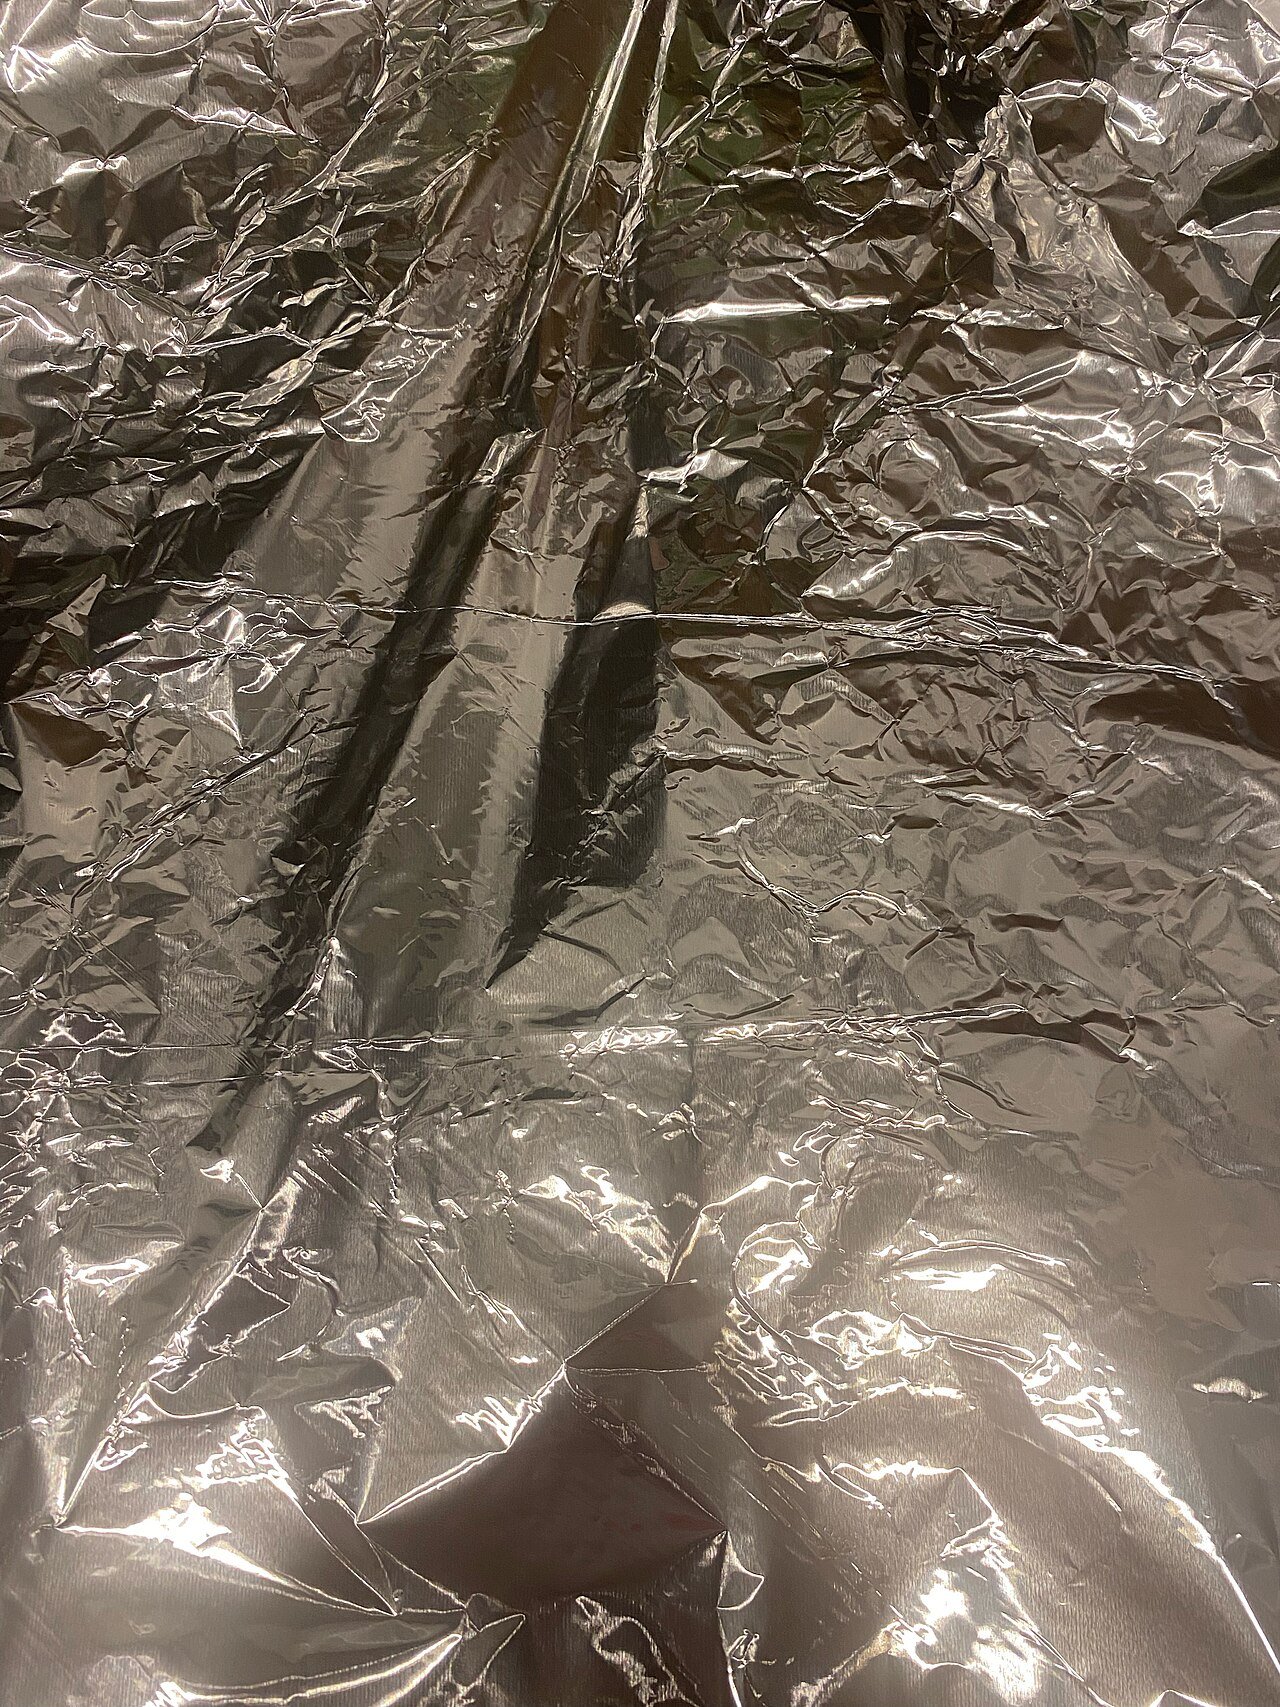
This is the classic fix and it works on mild to moderate tunneling. Tear off a sheet of aluminum foil and fold it into a loose dome or tent that sits over the top of the candle jar, leaving a hole in the center for the flame and airflow. Light the candle and let it burn for one to two hours.
The foil reflects heat back down onto the surface of the wax, melting the raised edges of the tunnel until the surface levels out. Check every 30 minutes. The method is simple and uses something you already own, which is why it is the most recommended fix online. Its weakness is glass jars: trapped heat can overheat thin glass, so do not leave a foiled candle unattended and stop if the jar feels extremely hot to the touch.
2. The Hair Dryer Method
For a quick cosmetic fix, aim a hair dryer on its medium heat setting at the surface of the wax, holding it six to eight inches away. Move it in slow circles for two to three minutes. The surface wax melts and levels out without lighting the candle at all.
This method is fast and very controllable, which makes it great for shallow tunneling or for evening out the top of a candle before gifting it. It does not reset the wax memory as deeply as a full burn does, so pair it with a proper long burn afterward for best results.
3. The Long Burn Reset
Sometimes the simplest fix is the most effective. Trim the wick, then burn the candle for a long, uninterrupted session until the melt pool reaches the edge of the jar. For a standard three inch jar this usually takes three to four hours. Do not blow the candle out early, because a short burn is what caused the problem in the first place.
This method actually resets the wax memory instead of just patching the surface. It works best on mild tunneling where the tunnel is less than about a quarter inch deep. Never burn a candle for more than four hours at a stretch, and keep it away from drafts, pets, and anything flammable.
4. The Candle Warmer Lamp Method
A candle warmer lamp melts the wax from above using a warming bulb, with no open flame at all. Set the tunneled candle under the lamp for one to two hours. The even top down heat melts the tunnel walls down into a smooth, level surface.
This is the safest method on the list and the best choice for very fragrant candles, since there is no soot and the scent throw is often stronger. The only downside is that you need to own a warmer lamp, though they are inexpensive and useful for candles you never want to burn with a flame.
5. The Scrape and Reset Method
For deep tunnels, mechanical help beats heat alone. Let the candle cool completely and harden. Then use a butter knife or spoon to carefully carve away the high wax walls around the tunnel, leveling the surface by hand. Scoop the removed wax into a wax warmer to enjoy the scent separately so nothing goes to waste.
After leveling, burn the candle for a full melt pool session as described in method three. This two step approach handles tunnels that heat alone cannot fix, including candles where the wick has become buried in a deep well of wax.
Which Fix Should You Use
Match the method to the depth of your tunnel. For a shallow tunnel under a quarter inch, the hair dryer method followed by one long burn is the fastest route. For a moderate tunnel between a quarter and half an inch, the aluminum foil method during a two hour burn levels the surface reliably. For a deep tunnel over half an inch, scrape the walls down first, then do a full long burn reset. If you own a candle warmer lamp, it handles any depth safely without an open flame.
One warning: if the wick is buried so deep that you cannot trim it or keep it lit, skip straight to the scrape and reset method. No heat based fix works on a wick you cannot reach.
How Wax Type Changes the Fix
Soy wax is the most common candle wax in the US and also one of the most prone to tunneling, because it is relatively hard and has a strong memory. Soy candles benefit the most from the foil method and from strict first burn discipline. Paraffin is softer and more forgiving; a long burn reset usually fixes paraffin tunneling on its own.
Beeswax burns the hottest of the common waxes and rarely tunnels in a properly wicked candle, but when it does, the tunnel walls are very hard. Use the scrape method on beeswax rather than fighting it with heat. Coconut and apricot wax blends are soft and melt easily, so the hair dryer method is usually enough.
How to Prevent Tunneling: The First Burn Rule
Prevention is easier than any fix. The rule candle makers repeat is simple: on the first burn, let the wax melt all the way to the edge of the container before you blow out the flame. This creates a full melt pool and sets a wide memory ring for every future burn.
As a practical guide, allow about one hour of burn time per inch of the candle’s diameter on that first light. A two inch tin needs about two hours. A three inch jar needs about three hours. A four inch wide three wick candle needs about four hours. After the first burn, later burns can be shorter, but always let the melt pool reach nearly to the edge before extinguishing.
Three more habits prevent tunneling for good. Trim the wick to one quarter inch before every burn, because a long wick creates a tall unstable flame that melts unevenly. Keep the candle away from drafts, vents, and fans. And burn the candle on a level, heat resistant surface so the melt pool spreads evenly instead of pooling to one side.
Safety Warnings
Every tunneling fix involves heat, so a few safety rules matter. Never leave a burning candle unattended, especially during a long burn reset or under aluminum foil. Keep candles at least three inches apart and away from curtains, books, and anything flammable. If a glass jar becomes too hot to touch comfortably, blow out the candle and let it cool.
The oven method, which some guides recommend, deserves caution. Putting a candle in a low oven can cause thermal shock that cracks the glass, and melted wax can spill. The foil method and the warmer lamp achieve the same result more safely. Never use water to extinguish a candle, and never move a burning candle while the wax is liquid.
When to Give Up on a Candle
Most tunneled candles are worth saving, but a few are not. If the tunnel is deeper than half the total height of the candle and the wick keeps drowning no matter what you try, the candle is done as a burnable candle. If the glass is cracked or the wick has burned down below the wax surface where you cannot reach it, retire it.
Even then, the wax is not wasted. Scoop out the remaining wax and melt it in a wax warmer for the scent, or freeze the jar and pop the wax out to clean the container for reuse as a planter, a pen holder, or storage.
Conclusion
Candle tunneling looks like a ruined candle, but it is one of the most fixable problems in home fragrance. The tunnel forms because the first burn was too short and the wax memorized a small melt pool. Fix it by matching the method to the depth: hair dryer for shallow tunnels, aluminum foil for moderate ones, scrape and reset for deep ones, or a candle warmer lamp for the safest route of all.
Remember the takeaways that matter most. Always give a new candle a full first burn of about one hour per inch of diameter. Trim the wick to one quarter inch before every light. Keep candles out of drafts. And never burn for more than four hours at a time. Follow those habits and your candles will burn cleanly edge to edge, all the way to the bottom of the jar.
Frequently Asked Questions
Can a badly tunneled candle be fixed?
Yes, in most cases. Shallow and moderate tunnels respond well to the foil method, the hair dryer method, or a long burn reset. Deep tunnels need the scrape and reset approach. Only give up if the wick is unreachable, the glass is cracked, or the tunnel is deeper than half the candle.
Does the aluminum foil trick really work on candles?
Yes. The foil reflects heat from the flame back down onto the wax surface, which melts the raised tunnel walls level. It is the most widely recommended fix because it is simple and effective. Watch the jar temperature and never leave a foiled candle unattended.
How long should I burn a candle the first time to prevent tunneling?
Burn it until the melted wax reaches the edge of the container, which takes about one hour per inch of the candle’s diameter. A standard three inch jar needs roughly three hours on its first burn. This sets a wide memory ring that prevents tunneling on all later burns.
Why is my candle only burning down the middle?
That is tunneling, and it almost always traces back to a first burn that was too short. The wax memorized a small melt pool and repeats it every time. A wick that is too small for the jar or a drafty burning spot can cause it too. Use one of the five fix methods above to reset the surface.
Is it safe to put a tunneled candle in the oven?
It is not the safest option. Oven heat can crack the glass through thermal shock and spill hot wax. The foil method, a candle warmer lamp, or a long burn reset achieve the same result with far less risk. If you do use an oven, keep the temperature very low and watch the candle the entire time.
