
Every squeak tells on you at the worst moment. You lean back on a video call, shift your weight to reach a notebook, and the chair lets out a long creak that everyone on the call hears. If you want to learn how to fix a squeaky office chair without wd40, start with one reassuring fact. Most chair squeaks come from a loose bolt, a dry pivot, or a caster full of dust, and all three can be fixed in one evening with basic tools and a better lubricant than the blue and yellow can in the garage.
This guide takes a calm, practical route. You will find the exact source of the noise first, choose a lubricant that suits the material, and work through the fix in an order that avoids wasted effort. You will also learn when a squeak is a warning sign that a part needs replacing, so you do not keep lubricating a chair that is no longer safe.
Why your office chair squeaks in the first place
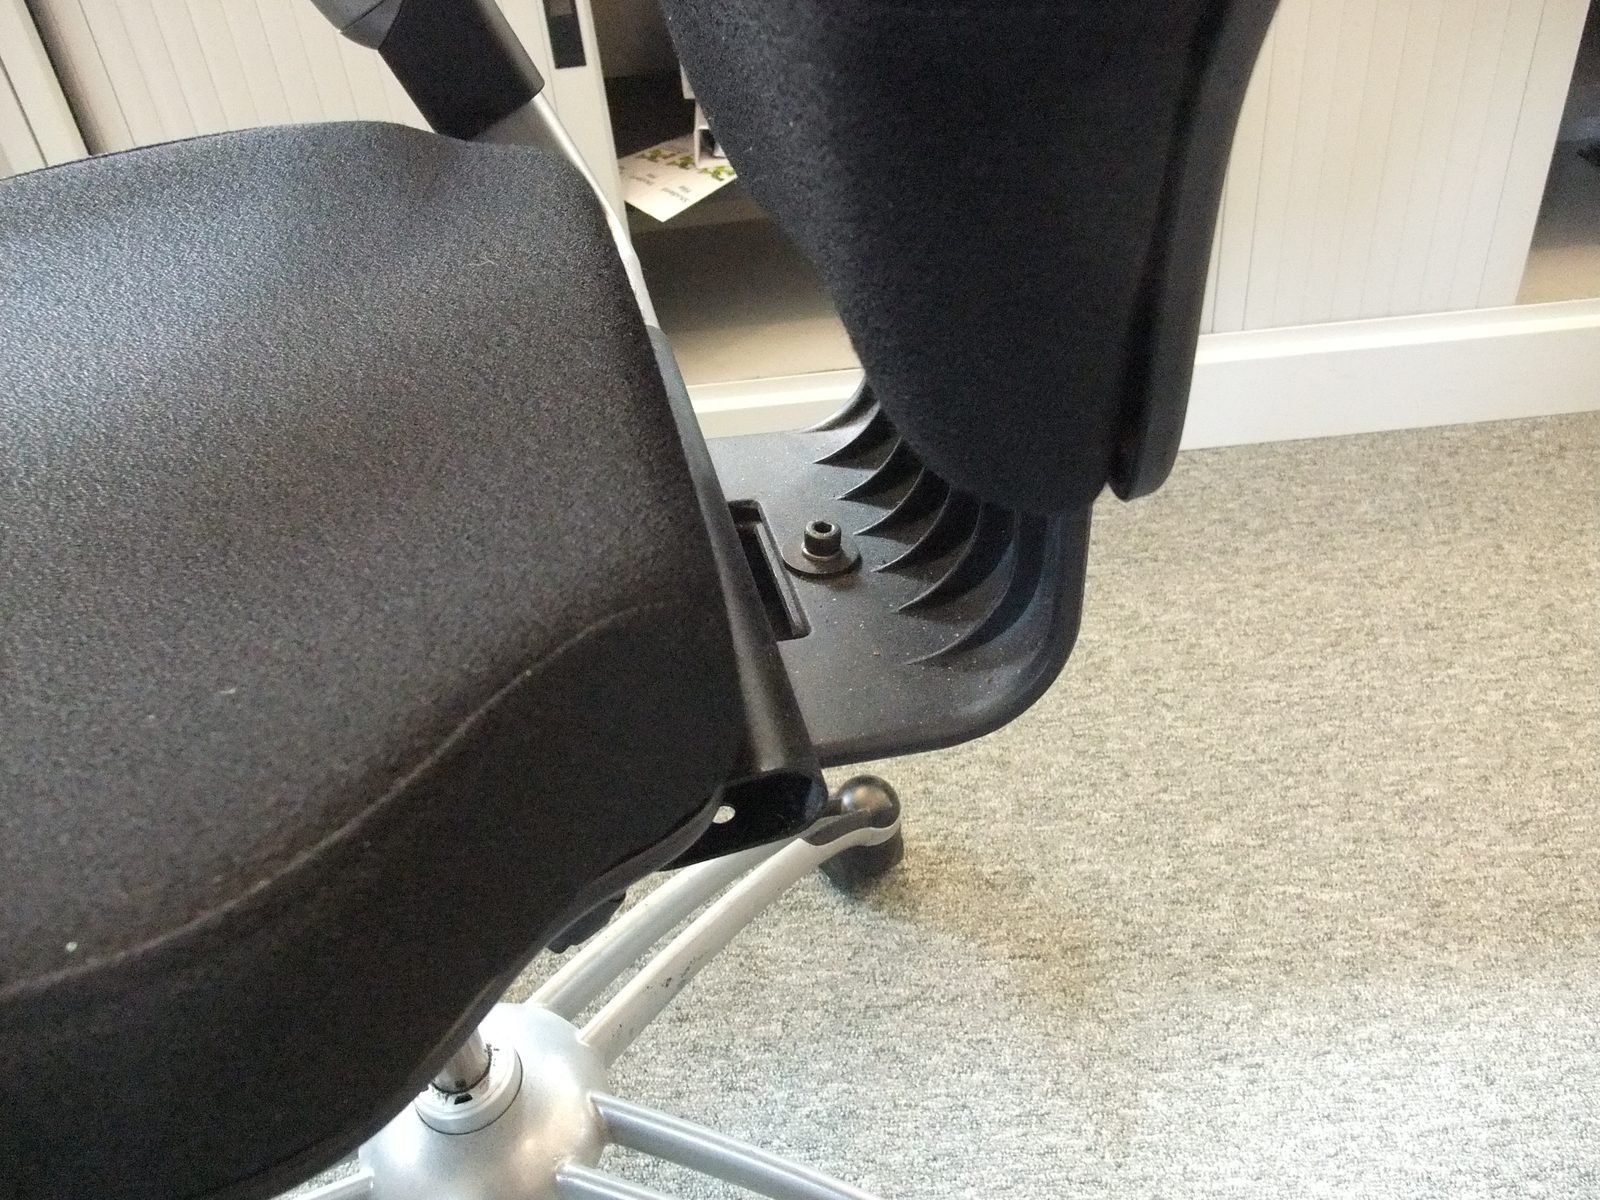
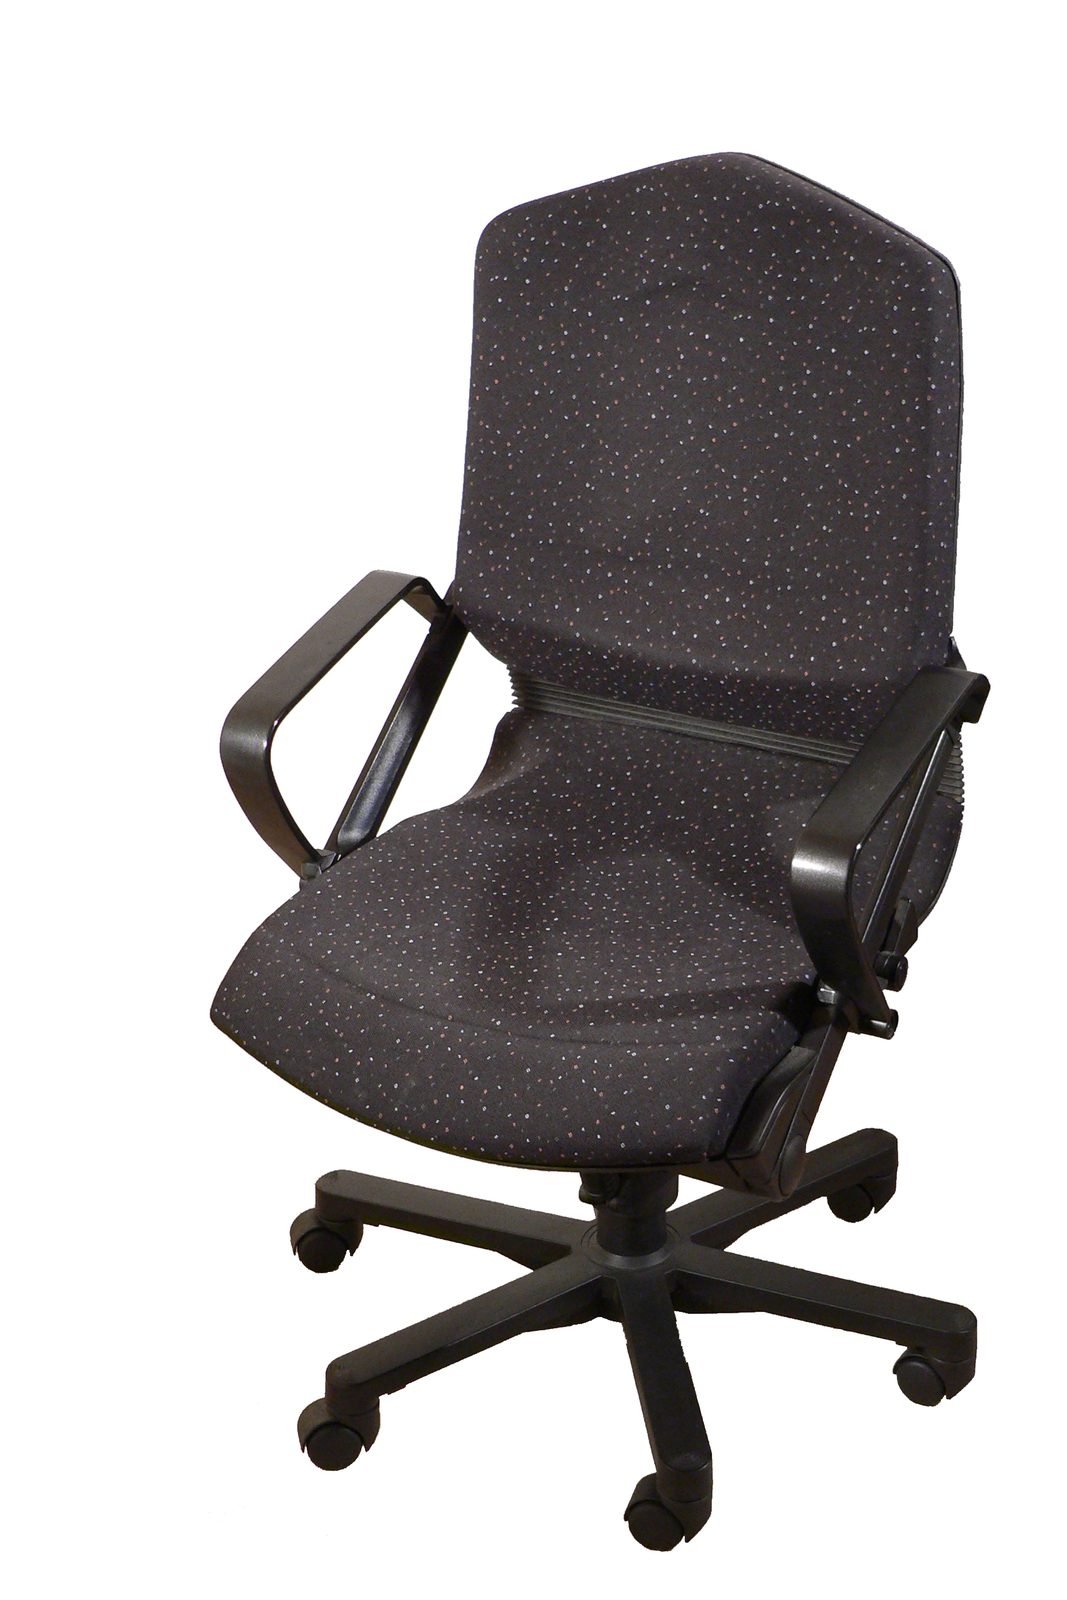
A chair squeak is friction made audible. Two parts that should glide or sit still are instead rubbing, and every movement makes them vibrate. The most common sources are easy to picture once you know where to look. The casters pick up hair, thread, and grit. The tilt mechanism under the seat has springs and pivots that dry out over time. The seat plate bolts loosen a fraction with daily use. The armrests flex at their mounts. The backrest pivots wear where metal meets plastic. The gas lift column can also groan, although that sound is often blamed on the wrong part.
Weight and movement make the problem worse. A chair that is used for eight hours a day, rolled across a hard floor, and leaned back in again and again will loosen faster than a chair used for an hour in the evening. Dust matters too. A thin layer of grit in a pivot acts like sandpaper, so the squeak returns quickly if you lubricate over dirt instead of cleaning first.
One more point is worth stating plainly. WD40 is a penetrant and water displacer, not a lasting lubricant for chair mechanisms. It can quiet a squeak for a day or two because it is thin and creeps into gaps, but it evaporates and leaves little protection behind. It can also damage some plastics and rubber seals over time, and it attracts dust once the solvent carrier has gone. That is why this guide uses it as the thing to avoid, not the fix.
Find the squeak before you fix anything
Random spraying is the classic mistake. It makes a mess, it rarely reaches the right joint, and it can stain carpet or clothing. Spend ten minutes on diagnosis instead, and the actual fix becomes short and clean. Work in a quiet room, and ask someone to listen from a short distance if you can, because a squeak that sounds like it comes from the seat often comes from a caster.
Start with the casters. Roll the chair slowly forward and back, then side to side, without sitting in it. If the noise appears, the problem is in a wheel or its stem. Next, sit in the chair and rock gently without swivelling. A noise here points to the tilt mechanism or the seat plate. Swivel slowly. A grinding or clicking sound during swivelling points to the base bearing or the gas lift area. Lean back in stages. A creak that grows as you recline points to the backrest pivots or the tilt spring. Finally, press each armrest down in turn, and press the seat edges. Armrest mounts are a frequent hidden source, and they are easy to miss when you are focused on the mechanism underneath.
Mark the suspect area with a small piece of tape or a note on your phone. Chairs often have two squeaks, and fixing one can reveal the second. A short note saves you from starting the diagnosis all over again.
What to use instead of WD40
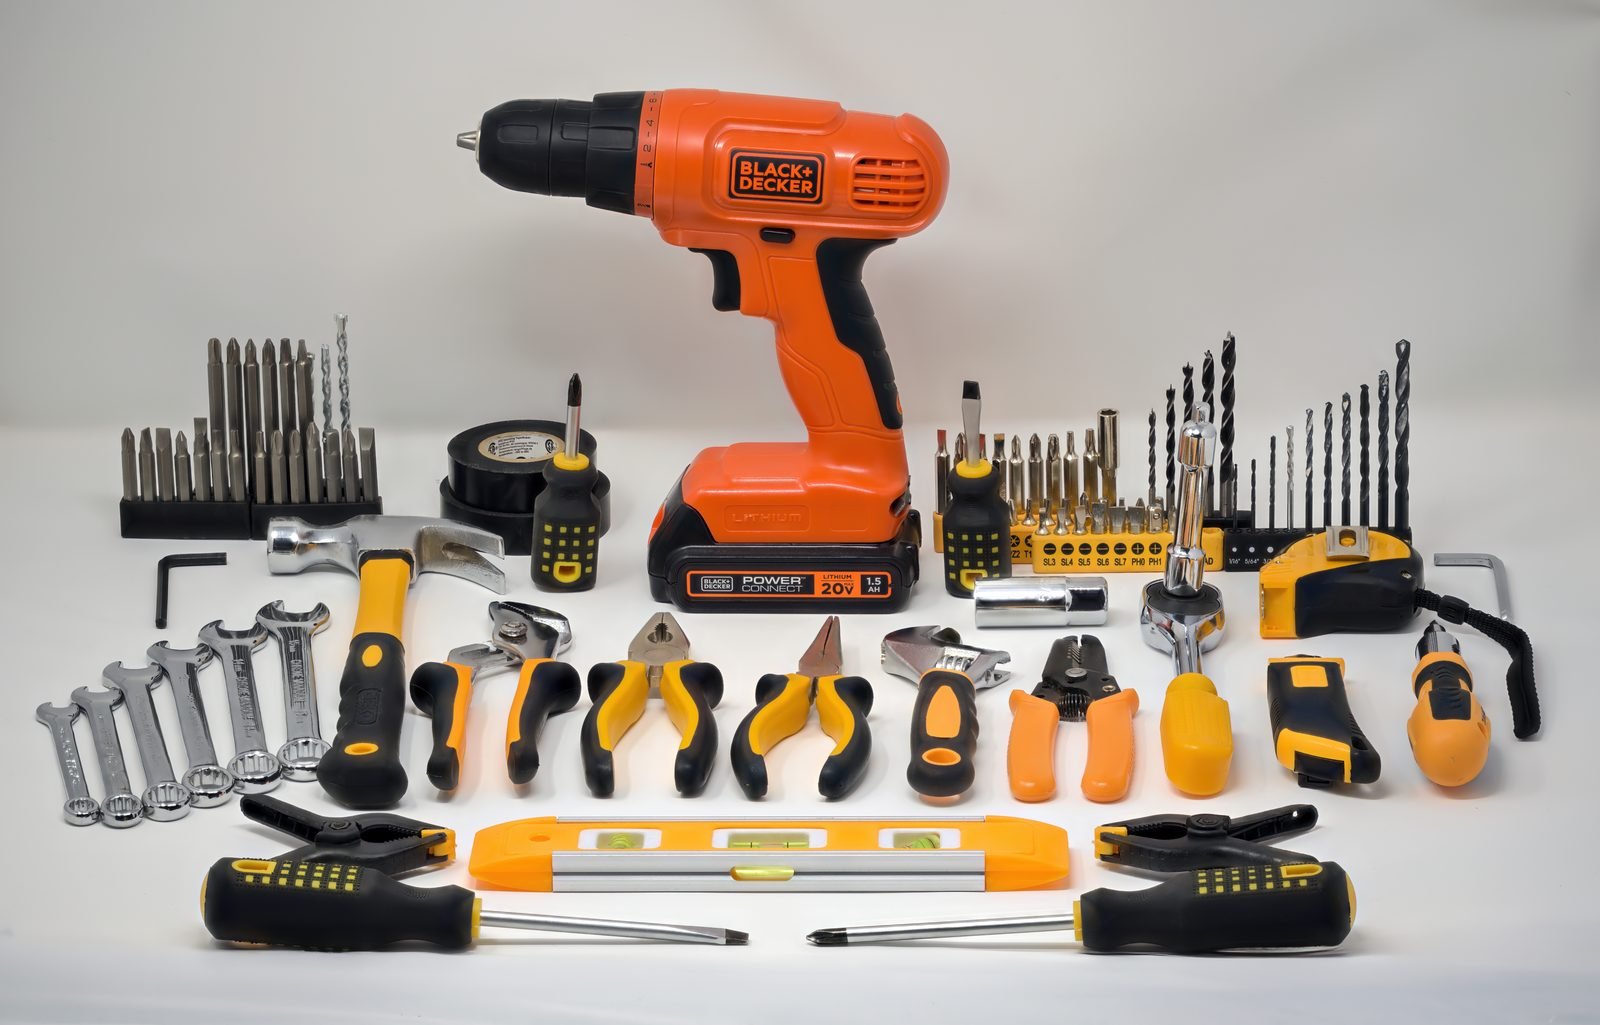
The right product depends on the material and the joint. For most office chairs, silicone spray is the safest first choice. It is kind to plastic and rubber, it leaves a thin film that does not stain badly, and it works well on caster stems, pivot points, and tilt mechanisms. A dry PTFE lubricant is a strong second choice for metal on metal joints, because it leaves a dry film that attracts less dust than a wet oil. For a friction point that you can reach and rub by hand, such as a plastic bushing or a simple pivot, plain candle wax or paraffin wax can work surprisingly well, and it costs almost nothing.
Light machine oil has a place, but only on clean metal joints, and only in a small amount. It is a poor choice for plastic parts, and it will collect dust if you use too much. Thick grease is best left for a joint that is designed to be greased and sealed, which most office chair pivots are not. Cooking oil should never be used. It goes sticky, it smells, and it can damage finishes.
Whatever you choose, use less than you think you need. A small amount applied exactly where two parts meet will do more than a generous spray over the whole underside. Keep a cloth nearby, wipe away excess at once, and let the lubricant settle for a few minutes before you test the chair.
How to fix a squeaky office chair without wd40 step by step
Work through these steps in order, and test the chair after each one. Stop as soon as the squeak is gone. There is no prize for lubricating every joint on the chair, and extra product only attracts more dust.
Step 1: Tighten every bolt you can reach
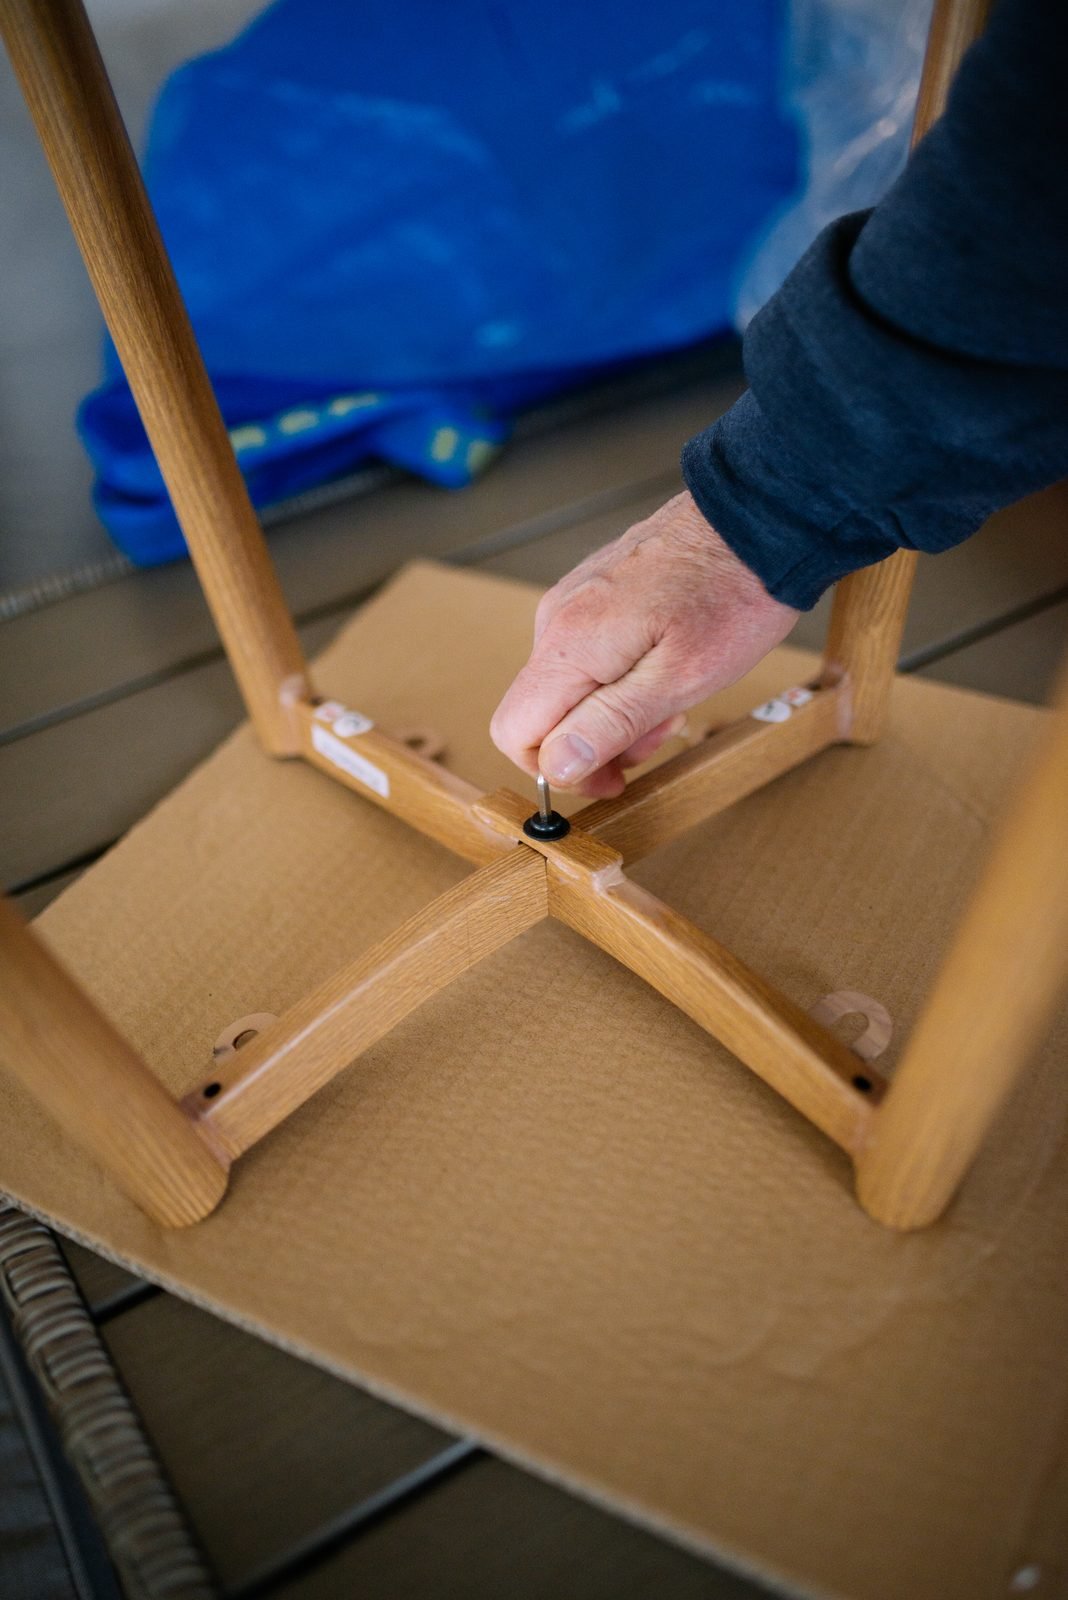
Turn the chair upside down on a soft surface, such as a folded blanket on the floor, so you do not scratch the armrests or the backrest. Check the bolts that hold the seat plate to the seat, the bolts that hold the mechanism to the plate, and the bolts on each armrest. Tighten them firmly, but do not force them. A bolt that is overtightened can strip its thread, and a stripped thread will squeak forever and wobble as well.
Work in a crisscross pattern on the seat plate, tightening one bolt a little, then the bolt opposite it, rather than tightening one bolt fully before moving on. This keeps the plate level and avoids putting all the pressure on one corner. If a bolt keeps turning without tightening, the thread or the insert may be worn, and that joint may need a replacement bolt or a washer rather than more force.
For a related household fix that uses the same careful approach, see this guide on how to fix a door that sticks in humid weather, where finding the exact rubbing point matters more than forcing the fix.
Step 2: Clean the casters properly
Casters are the most overlooked source of chair noise, and they are also the easiest to fix. Pull each caster out if your chair allows it, or work with the chair upside down. Pick hair and thread off the axle with tweezers, and wipe the wheel and the stem with a damp cloth. A small brush, such as an old toothbrush, reaches into the gap where the wheel meets the fork.
Once the caster is clean, add a tiny drop of silicone spray to the axle and the stem socket, spin the wheel a few times, and wipe away any excess. If a caster still grinds or wobbles after cleaning, it is probably worn out. Replacement casters are inexpensive, they usually push straight in, and a new set often makes the whole chair feel better, not just quieter.
Step 3: Lubricate the tilt mechanism and pivots
With the chair still upside down, find the tilt mechanism under the seat. It is the metal box with a spring and a lever. Wipe dust and old grease off the visible pivots with a cloth. Apply silicone spray or dry PTFE lubricant in short bursts to each pivot point, one at a time, moving the mechanism gently by hand so the lubricant works into the joint. Wipe away any drips at once.
Do the same for the backrest pivots where the backrest meets the frame. These joints move every time you lean back, so they dry out first. A thin film is enough. If you can see lubricant running down the frame, you have used too much, and the excess will collect dust.
For the gas lift area, be careful. Do not spray lubricant into the column itself, and never try to open a gas lift. If the noise clearly comes from the column, and tightening and cleaning have not helped, the column may be worn. A replacement gas lift is a job for a confident home repairer with the right tools, or for a repair shop. It is not a job to force with more spray.
Step 4: Treat armrests and plastic bushings
Armrest squeaks often come from plastic parts rubbing, and wet lubricants can make them worse by attracting grit. Remove the armrest pad or the armrest assembly if it comes off easily, clean the contact points, and rub a little candle wax onto the friction surfaces. Refit the armrest and tighten its bolts. Wax is dry, it stays where you put it, and it is kind to plastic.
For a similar lesson in careful cleaning before any fix, read how to clean a mechanical keyboard without removing keycaps. The principle is the same. Clean first, use a small amount of the right product, and test before you add more.
If a plastic bushing is cracked or visibly worn, wax will only help for a short time. Note the part, and look for a replacement bushing or a matching armrest assembly from the chair maker. A small part that costs a few dollars can save a chair that is otherwise in good shape.
Step 5: Test the chair like you actually use it
Turn the chair upright and use it normally for a few minutes. Sit, swivel, lean back, roll across the floor, and stand up and sit down again. A fix that only works when the chair is empty has not fixed anything. If a faint squeak remains, repeat the diagnosis once, because the remaining noise may come from a second joint that was hidden behind the louder one.
One practical note for hard floors: a chair mat or a rug under the chair reduces caster noise and protects the floor, and it also stops grit from being ground into the wheels. If your floor is uneven, a small wobble can sound like a squeak, so test the chair on a flat surface before you decide the mechanism is at fault. A squeaky floor can mislead you too, as this guide on how to stop a squeaky floorboard without removing carpet shows.
When the squeak means a bigger problem
Most squeaks are simple, but a few are warnings. Stop and inspect the chair if you notice any of these signs. A base with a visible crack, a gas lift that sinks slowly under your weight, a seat that tilts to one side even after the bolts are tight, or a backrest that moves far more than it used to all point to a worn or damaged part. A chair that rocks from side to side at the base is not safe to keep using while you hope lubricant will help.
In these cases, the honest fix is a replacement part or a new chair. Check the maker first for spare parts, because many common chairs have replacement casters, gas lifts, and mechanisms available. If the chair is a low cost model and several parts are worn, a replacement chair is often better value than a series of parts that still leave an old frame flexing.
Safety comes before silence. A quiet chair that could fail under you is not a success. If you are unsure about the gas lift or the base, ask a repair shop for a quick opinion before you keep using the chair for long workdays.
Keep it quiet for good
A squeak free chair is easier to keep than to restore. Wipe the casters and the underside once a month, and pick off any hair wrapped around a wheel before it works into the axle. Check the seat plate and armrest bolts every few months, and tighten them gently before they loosen enough to squeak. Keep the chair out of damp rooms where metal parts can corrode, and avoid dragging it across rough outdoor surfaces that fill the casters with grit.
Small habits help as well. Sit down in the centre of the seat rather than dropping onto one edge. Avoid leaning back hard against the tilt lock, which stresses the spring and the pivots. Store a spare set of casters if your chair uses a common size, so a worn wheel never forces you to live with a grinding chair for weeks.
The whole routine takes only a few minutes a month, and it protects a chair that you may sit in for thousands of hours a year. That is a good return for a cloth, a small brush, and a can of silicone spray.
Conclusion
Learning how to fix a squeaky office chair without wd40 comes down to three habits. Find the exact joint that is making the noise, clean it before you lubricate it, and choose a product that suits the material. Silicone spray or a dry PTFE lubricant will serve most chairs well, candle wax suits plastic friction points, and a careful tightening of bolts solves a surprising number of squeaks on its own. Avoid WD40 for this job, because it is a short term penetrant, not a lasting lubricant, and it can harm plastic and rubber parts over time.
Work through the steps in order, test the chair as you actually use it, and treat a cracked base or a sinking gas lift as a repair or replacement job, not a lubrication job. Done this way, your chair should stay quiet through long workdays, and your video calls should stay free of that familiar creak.
Frequently asked questions
Can I use WD40 on an office chair just once?
You can, but it is not a good fix. WD40 may quiet the squeak for a day or two, then evaporate and leave the joint dry again. For a lasting result, use silicone spray, a dry PTFE lubricant, or wax on a suitable joint.
Why does my chair squeak only when I lean back?
A squeak that appears when you lean back usually comes from the backrest pivots or the tilt spring. Clean those pivots, apply a small amount of silicone spray, and check the bolts that hold the backrest to the frame.
Is silicone spray safe for plastic chair parts?
Yes, silicone spray is generally safe for the plastics and rubber seals used in office chairs. Apply a small amount to the joint itself, wipe away excess, and avoid spraying it onto the seat fabric or the floor.
What if tightening the bolts does not stop the squeak?
Move on to cleaning the casters and lubricating the tilt mechanism pivots one at a time, testing after each step. If the noise remains, it may come from a worn bushing, a worn caster, or the gas lift, and that part may need replacing.
How often should I maintain my office chair?
Wipe the casters once a month, check the bolts every few months, and lubricate a pivot only when it starts to make noise. Regular light maintenance prevents most squeaks from coming back.
