

If you have ever woken up to find your bedroom window running with water, you have wondered how to dehumidify a room without a dehumidifier. A proper electric dehumidifier costs well over a hundred pounds and drinks electricity all day, so plenty of UK households are looking for cheaper ways to pull moisture out of the air this winter. The good news is that you can make a real difference with passive methods, smart habits and a couple of pounds worth of supplies. This guide gives you an honest, room by room plan that actually works, plus the daily routine that stops damp from creeping back.
Why UK Rooms Get So Damp in Winter
Understanding why moisture builds up makes every fix below more effective. Warm air holds more water vapour than cold air. When that warm, moist indoor air touches a cold surface like a single glazed window or an uninsulated outside wall, the air cools and can no longer hold the vapour, so it dumps it as liquid water. That is condensation.
A typical household produces a surprising amount of water every day. A family of four can add around 10 litres of moisture to the air daily through breathing, cooking, showering, washing up and drying clothes. In summer that vapour escapes through open windows. In October and November, the moment UK heating season begins, windows stay shut, the air gets warmer and wetter, and cold glass becomes a magnet for droplets.
Older UK housing stock makes the problem worse. Victorian terraces, converted flats and rented rooms often have single glazing, solid brick walls and no mechanical ventilation. The result is the classic winter pattern: wet windows each morning, musty smells in wardrobes, and black spots of mould creeping into bathroom sealant and window frames.
The Honest Truth About Dehumidifying Without a Machine
Let us be straight with each other. Passive methods will not match a powered dehumidifier litre for litre. A bowl of baking soda on a shelf will not rescue a genuinely damp bedroom. But that does not mean they are useless. For mild to moderate condensation, combining several passive methods with good daily habits can keep indoor humidity in the healthy range, which is roughly 40 to 60 percent relative humidity.
The winning approach has three parts. First, reduce the moisture you add to the air. Second, ventilate smartly so moisture has somewhere to go. Third, use desiccants like rock salt or moisture absorber tubs to mop up what is left. No single trick does it all, but together they absolutely work.
9 Ways to Dehumidify a Room Without a Dehumidifier
Here are the methods ranked by impact, with real costs and honest verdicts on each.
1. Build a Rock Salt Bucket Dehumidifier
Rock salt pulls water from the air, which is why gritting salt clumps in the bag over winter. You can turn that property into a homemade dehumidifier for a few pounds. Take two food grade buckets or sturdy plastic tubs. Drill or poke small holes in the base of the top bucket and sit it inside the second one, leaving a gap at the bottom. Fill the top bucket with about 1kg of coarse rock salt, the kind sold for water softeners or winter gritting.
Moist air passes over the salt, the salt draws in water, and the brine drips through the holes into the lower bucket. Empty the collected water every few days and top up the salt as it dissolves. A 10kg bag of rock salt costs around £8 to £12 at a garden centre or hardware shop, so each refill works out very cheap. This is one of the most effective passive methods, but be realistic: it suits a small bedroom or box room, not a whole flat.

2. Use Refillable Moisture Absorber Tubs
If drilling buckets sounds like too much effort, ready made moisture absorber tubs do the same job. They contain calcium chloride crystals that absorb water vapour and dissolve into a salty liquid collected in the tub below. A 500g tub costs about £3 to £5 at supermarkets like Tesco, Asda or Wilko, and one tub protects a small room for a month or two.
Place one on a windowsill or shelf in the worst affected room and a second in the wardrobe or airing cupboard if those smell musty. When the top section is empty of crystals, buy a refill sachet for a couple of pounds rather than a whole new tub. These are genuinely useful as a supplement, especially in rooms you cannot ventilate well.
3. Run the Extractor Fan Every Time You Cook or Shower
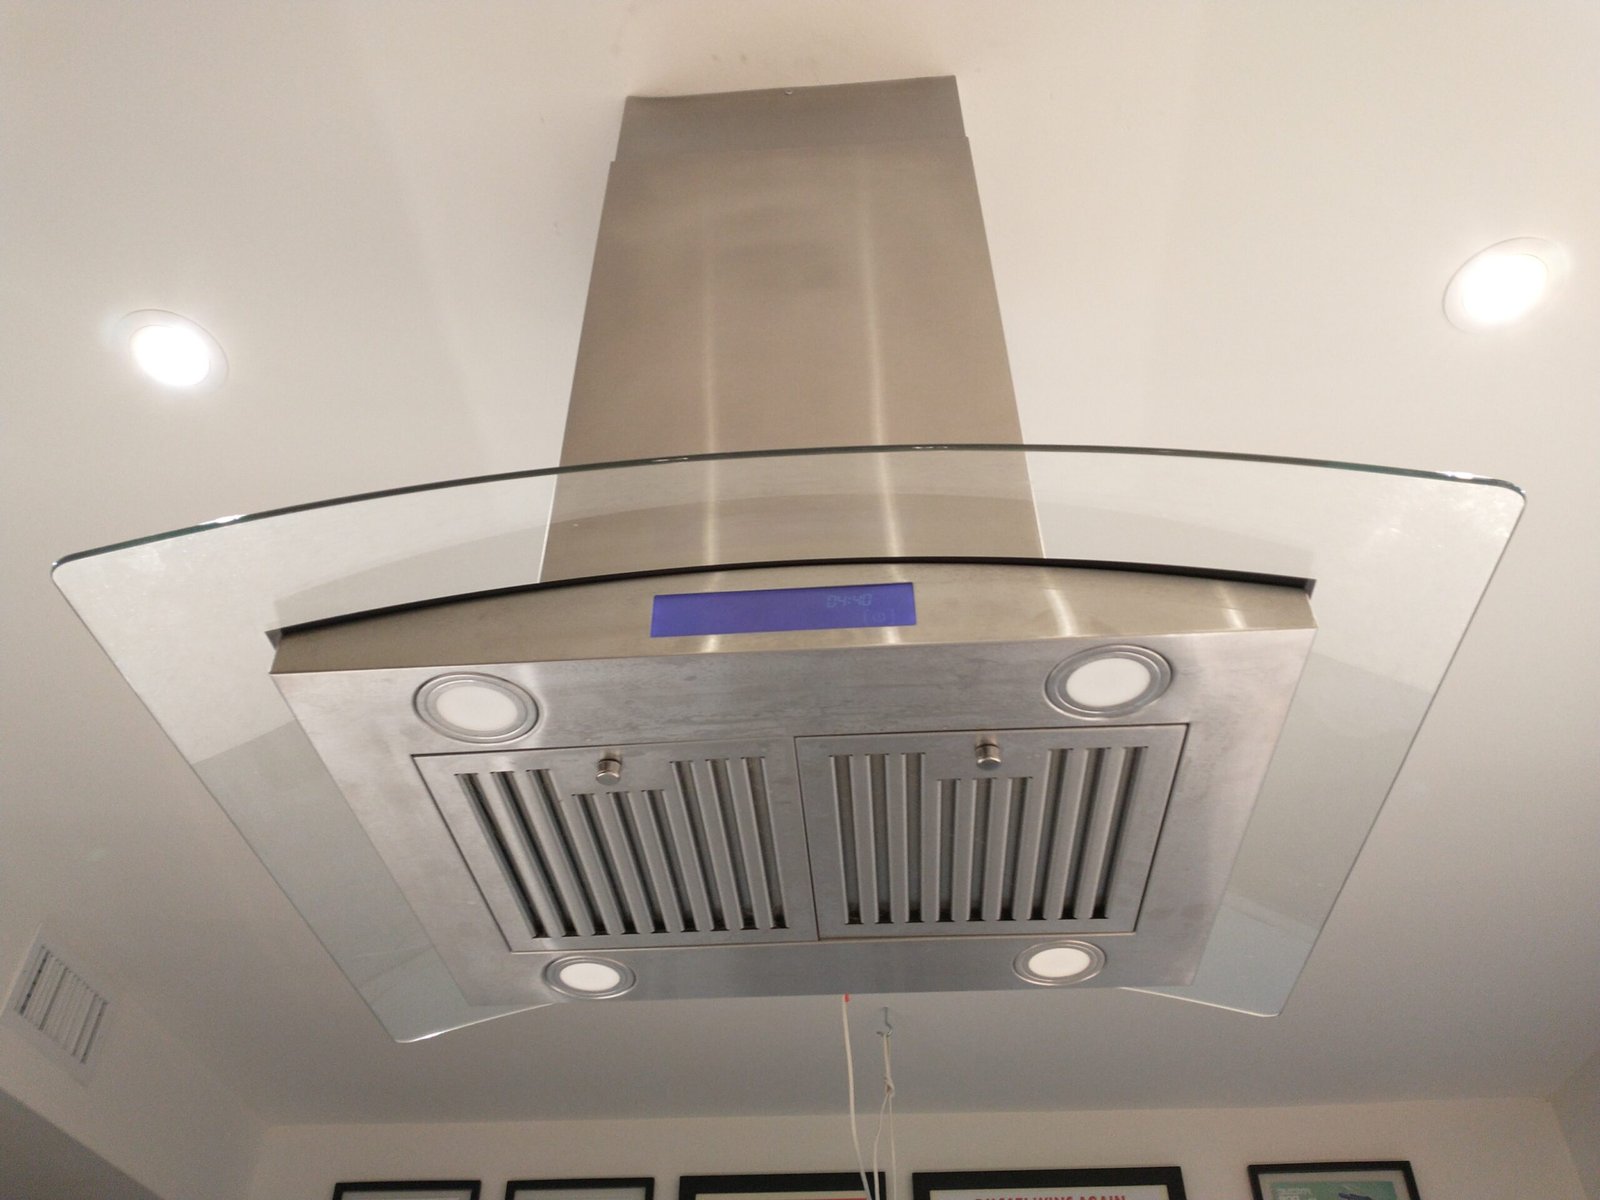
The cheapest dehumidifying tool you own may already be on your wall. Kitchen and bathroom extractor fans exist to throw moist air outside before it spreads through the house. A shower can add half a litre of moisture to the air in minutes, and cooking a family meal with lids off can add even more.
Get into the habit of switching the fan on before you start cooking or showering, and leave it running for at least 20 minutes afterwards. Bathroom fans with a humidistat do this automatically and are worth asking your landlord about. If your kitchen hood vents into the room rather than outside, it still helps by moving air, but venting outside is far better. This single habit can cut condensation dramatically for zero extra cost.
4. Crack a Window and Use Trickle Vents
Ventilation feels counterintuitive in winter. Why would you let cold air in when you are paying to heat the place? Because a short burst of fresh air removes far more moisture than it wastes in heat. Open a window on opposite sides of the room for five to ten minutes each morning, a technique sometimes called shock ventilation. The moist air rushes out, and the dry cold air that replaces it warms up quickly and can absorb moisture again.
Trickle vents, the small slotted vents at the top of modern window frames, do the same job gently all day. Keep them open through winter rather than sealed shut. The key distinction is controlled ventilation versus uncontrolled draughts: you want fresh air on your terms, not icy gaps whistling under doors all day. If you have a pet flap, seal the draughts it lets in; our guide on how to stop a cat flap letting in draughts shows how to keep the ventilation you choose without the chill you do not.
5. Put Lids on Pans and Tame the Kettle
Cooking is one of the biggest moisture sources in a home, and most of it is avoidable. Simmering an uncovered pan for half an hour can pump a litre of steam into your kitchen. Putting a lid on cuts that dramatically and cooks your food faster too. Use the back burners nearest the extractor hood when you can, and boil only as much water as you need in the kettle rather than filling it to the brim.
Small habits stack up. Wiping down the hob after cooking, mopping up spills promptly and keeping the kitchen door closed while you cook all stop steam migrating into colder bedrooms and hallways where it condenses.
6. Wipe the Windows Each Morning
This is the least glamorous tip and one of the most effective. A quick wipe with a window vacuum or even a dry microfibre cloth removes the water that collected overnight before it can soak into frames, sills and curtains, where it feeds mould. A handheld window vacuum costs around £25 to £40 and pays for itself in prevented damage.
If you wake to streaming windows every single morning through winter, you have a ventilation problem rather than a window problem, and the other tips on this list will help more. For the full playbook on keeping glass clear, see our guide on how to stop condensation on windows overnight.
7. Dry Clothes Without Soaking the Room
Drying a full load of laundry on an indoor airer can release around two litres of water into the air, which is like pouring a watering can over your living room. If you have no tumble dryer and no garden, you need a protocol. First choice: dry clothes in the bathroom with the door closed and the extractor fan running, or with a window cracked. Second choice: dry in the smallest room you can spare, with the door closed and a moisture absorber tub nearby.
Never drape wet laundry over radiators in bedrooms. It feels efficient but it dumps steam exactly where you sleep. Give clothes extra spin cycles in the washing machine first, space items out on the airer so air circulates, and turn items halfway through. In milder weather, even an hour outside on a line before finishing indoors makes a big difference.
8. Pull Furniture Away From Outside Walls
Wardrobes, beds and sofas pushed hard against cold outside walls create dead air pockets where moist air sits, cools and condenses. Over time that is how you get mould behind the wardrobe and a musty smell in stored clothes. Leave a gap of about 5cm between large furniture and external walls so air can circulate.
The same principle applies inside cupboards. Do not cram wardrobes so full that air cannot move, and leave wardrobe doors ajar for an hour on dry days. If a particular corner always feels clammy, that is your cue to move furniture and check for early mould.
9. Try Baking Soda or Charcoal in Wardrobes and Cupboards
Here is the honest verdict on the internet favourites. Baking soda absorbs odours well and absorbs a little moisture, making it fine for a small wardrobe or a shoe cupboard, but it will not dehumidify a room. Activated charcoal sachets work similarly and look tidier. Silica gel packets, the kind that come in shoe boxes, can be dried out in the oven and reused, which makes them a nice free option for drawers.
Treat these as finishing touches for enclosed spaces, not as room scale solutions. For a musty wardrobe, one or two charcoal bags plus better airflow beats a dozen gimmicks.
A 15 Minute Morning and Evening Routine
Methods only work if they become habits, so here is a simple routine that ties everything together. It takes about 15 minutes across the day.
Morning: open the bedroom window for five to ten minutes while you get ready; wipe condensation from windows with a cloth or window vacuum; hang the bath mat over the side of the bath to dry; open the bathroom door only after the fan has run for 20 minutes post shower; check the rock salt bucket or absorber tubs and empty any collected water.
Evening: put lids on pans before you cook and switch the extractor on early; keep the kitchen and bathroom doors closed while steam is being produced; crack the trickle vents before bed; move wet laundry away from bedrooms; do a final quick check that the bathroom is not still steamy. Stick with this for two weeks and you will notice the difference in the air, in the windows and in that musty smell fading.
How to Tell It Is Working: Buy a Hygrometer
You cannot manage what you do not measure. A small digital hygrometer costs around £8 to £12 online or at a hardware shop and shows you the relative humidity in the room at a glance. Aim for 40 to 60 percent. Above 70 percent, dust mites thrive and mould risk climbs sharply. Below 30 percent, the air feels dry and your skin and throat may complain.
Place the hygrometer in the room that worries you most and check it at different times of day. If your morning reading drops from 75 percent to 55 percent after two weeks of the routine above, your methods are working. If readings stay stubbornly high despite your best efforts, that is useful evidence that the problem needs a bigger fix, which brings us to renters and landlords.
Renters: Know When It Is Your Landlord’s Problem
Some damp is lifestyle related and yours to manage. Some is structural and your landlord’s legal duty to fix. The dividing line matters, because no amount of rock salt will fix a leaking gutter, a broken extractor fan or missing roof insulation. Under Awaab’s Law, which strengthened tenants’ rights around damp and mould in England, landlords must investigate and fix serious damp and mould hazards promptly, with strict timeframes once reported.
Report damp in writing, with dated photos, and keep copies of everything. Note what you have already tried, including the steps in this guide, and record your hygrometer readings. If the landlord does not act, your local council’s environmental health team can inspect and enforce. Citizens Advice offers free guidance on the exact process. Doing your part with ventilation and moisture control strengthens your position enormously, because it shows the damp persists despite reasonable tenant behaviour.
When Passive Methods Are Not Enough
Be honest with yourself about the limits. If you have tried the full routine for a month, your hygrometer still reads above 70 percent, and mould keeps returning, it is time to escalate. Persistent damp can point to penetrating damp from outside, rising damp from the ground, or a leak you cannot see. Those need professional repair, not more salt.
At that point a proper electric dehumidifier becomes a sensible investment rather than an expense, and for renters it becomes evidence for the landlord conversation. Passive methods are brilliant for everyday winter condensation; they are not a cure for building defects.
Key Takeaways
Learning how to dehumidify a room without a dehumidifier comes down to three principles: add less moisture, ventilate smartly and mop up the rest with desiccants. A rock salt bucket or a few moisture absorber tubs handle the leftovers, but the biggest wins are free: extractor fans, pan lids, morning window wiping and keeping laundry steam out of bedrooms. Build the 15 minute routine into your day, watch a £10 hygrometer to confirm progress, and know when to hand the problem to your landlord. Do that consistently through winter and your home will feel drier, smell fresher and stay mould free.
Frequently Asked Questions
What is the cheapest way to dehumidify a room?
Free habits win: run the extractor fan when cooking and showering, put lids on pans, ventilate for ten minutes each morning and wipe windows daily. The cheapest paid method is a homemade rock salt bucket, costing a few pounds in salt, or a £3 moisture absorber tub from the supermarket.
Can salt really dehumidify a room?
Yes, within limits. Rock salt and calcium chloride genuinely absorb water vapour from the air, which is why moisture absorber tubs work. They suit small rooms and cupboards well, but they cannot match a powered dehumidifier in a large or very damp space.
Does opening a window reduce humidity in winter?
Yes. Cold outdoor air holds very little moisture, so when it comes inside and warms up, its relative humidity drops and it can absorb indoor dampness. A five to ten minute airing each morning is one of the most effective free methods, especially paired with trickle vents left open through the day.
How long does it take to dehumidify a room without a machine?
With a consistent routine you should see hygrometer readings improve within one to two weeks. Passive desiccants work gradually rather than overnight, so give the full routine at least a fortnight before judging results.
Will houseplants dehumidify a room?
Not meaningfully, and they can make things slightly worse, since plants release moisture as they transpire and their damp soil adds to it. Keep the plants you love, but do not buy them as a damp solution.
