
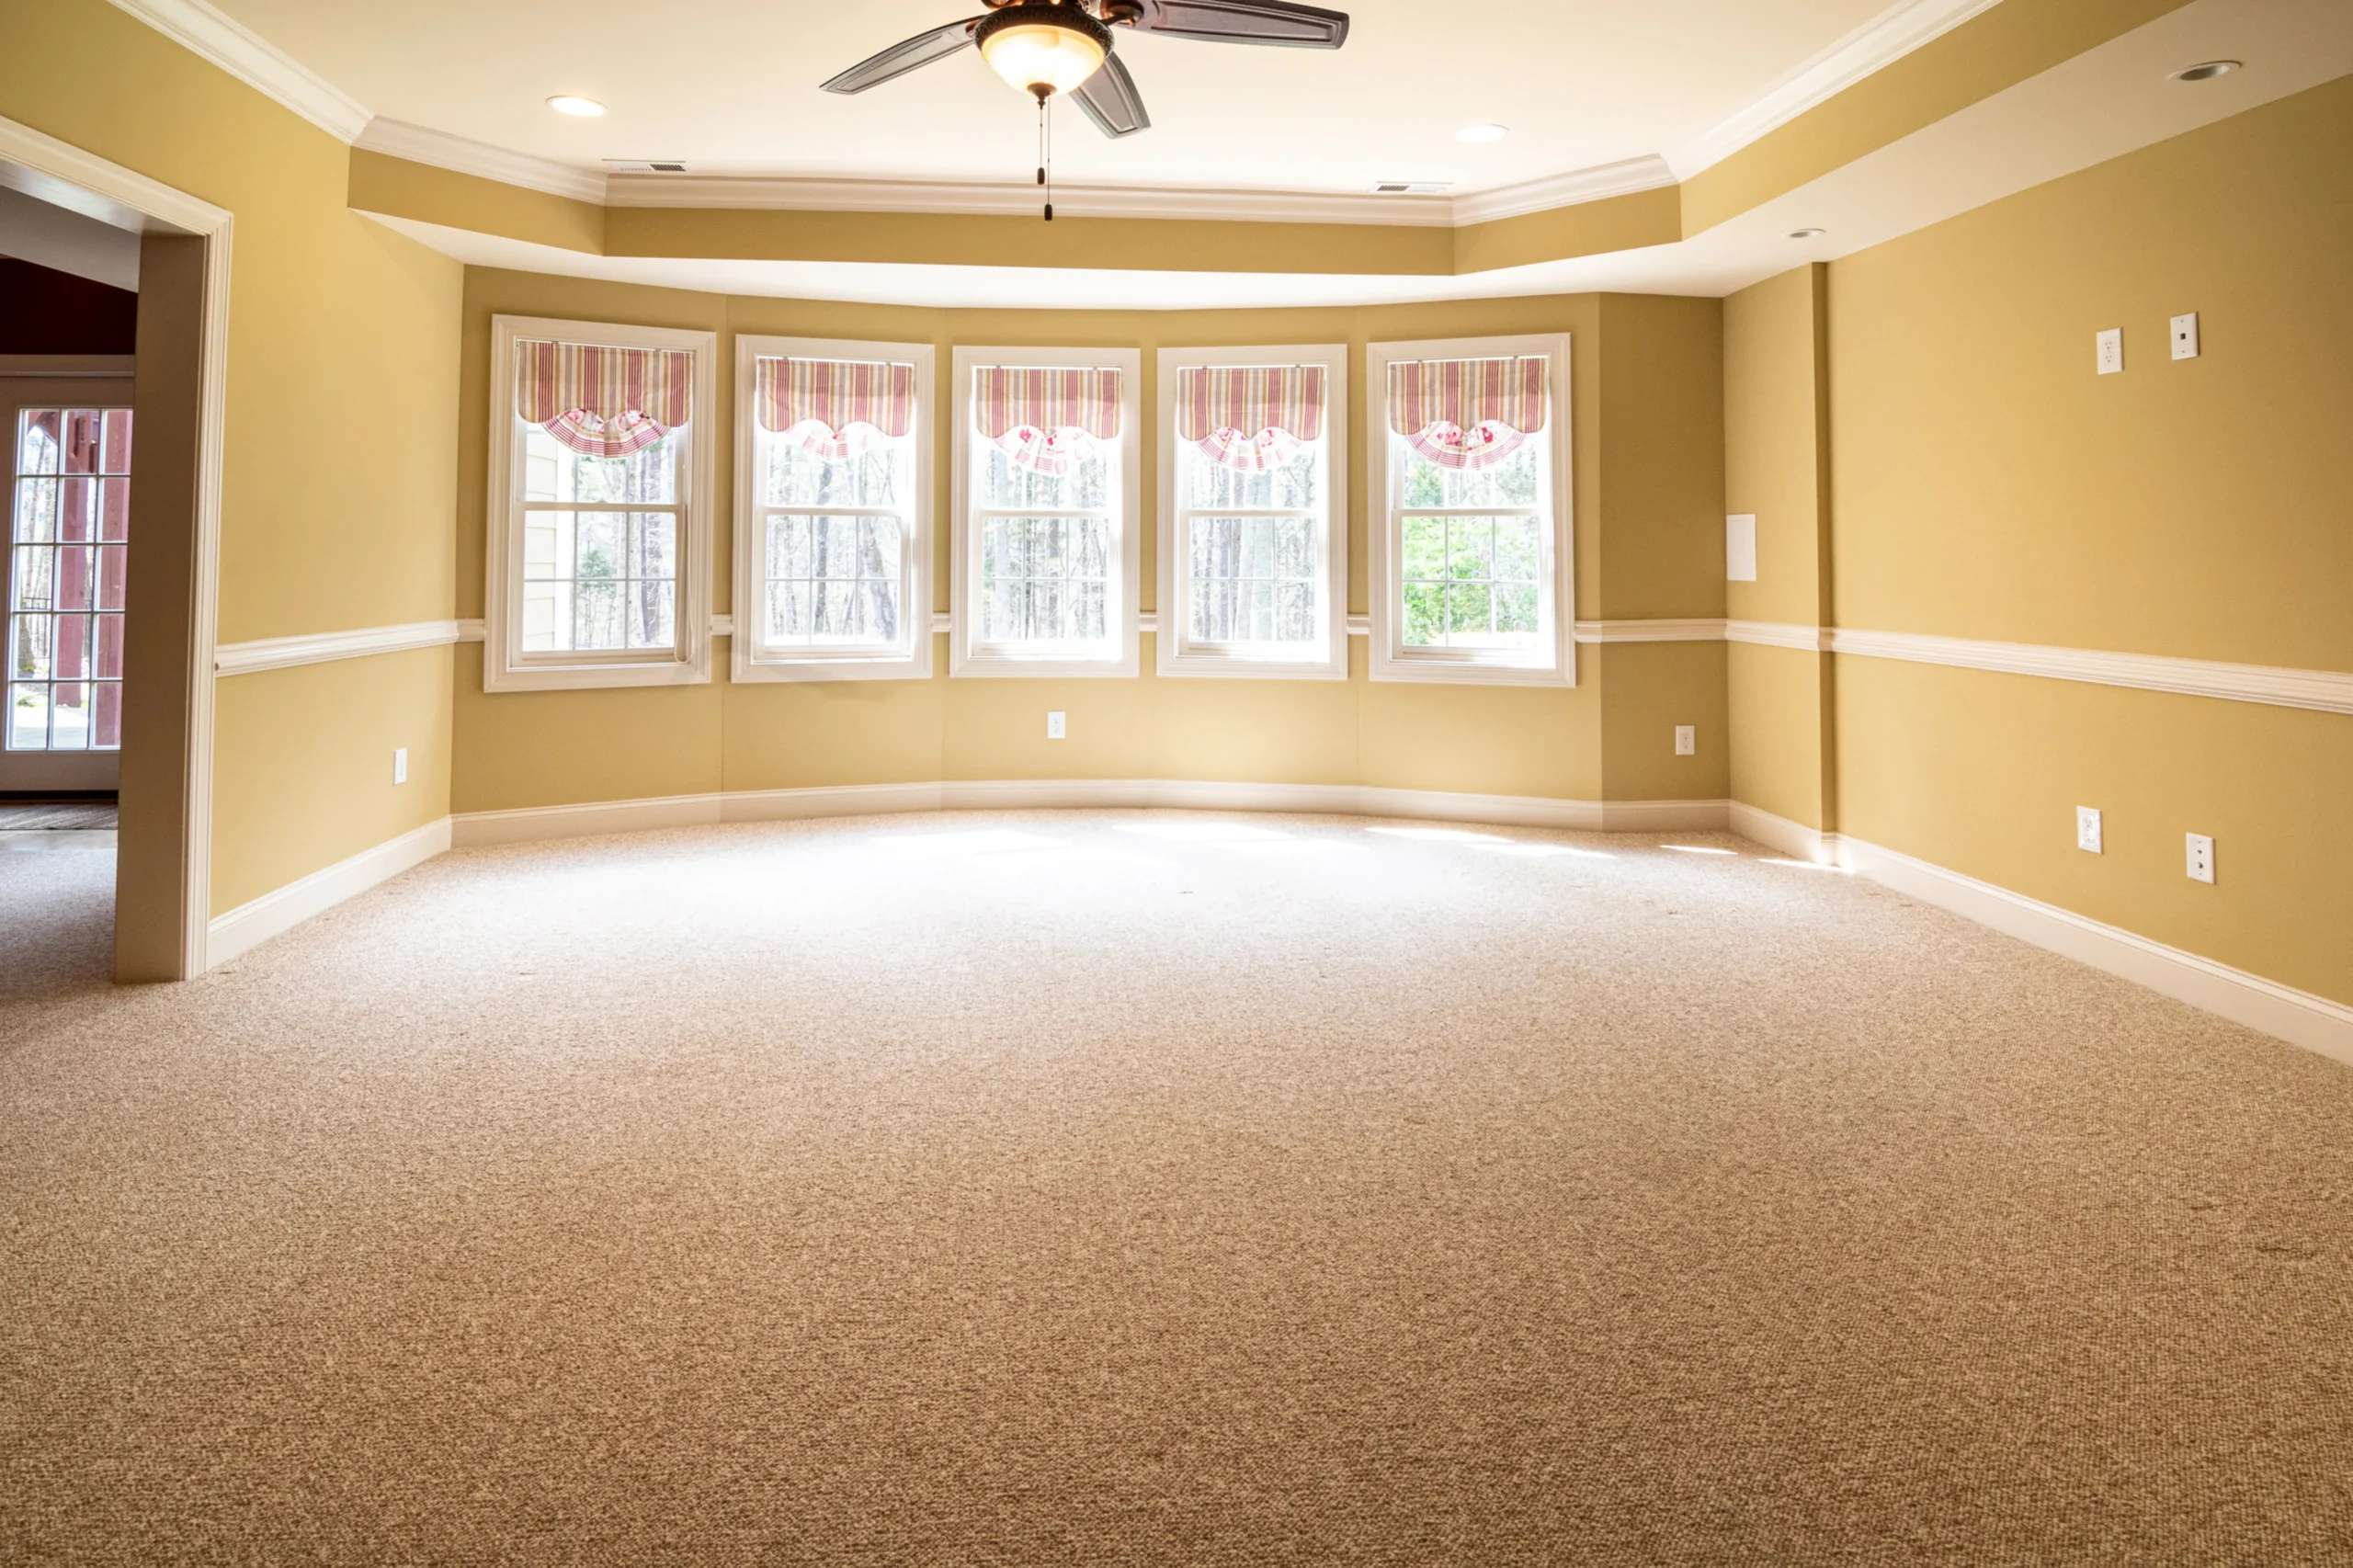
You are lying in bed when a familiar creak cuts across the hallway. Someone is heading to the kitchen, and every step announces itself like a doorbell. A squeaky floorboard under carpet is one of the most common complaints in British homes, and it always sounds worse at night. The good news is that learning how to stop a squeaky floorboard without removing carpet is easier than most people expect. Many fixes take less than an hour, cost very little, and leave your carpet looking exactly as it did before.
This guide walks you through why floorboards squeak, the simple tools you will need, and seven proven methods that work straight through the carpet. You will also learn which popular tricks to avoid and when calling a professional is the better move.
Why Floorboards Squeak Under Carpet
A squeak is almost always wood rubbing against wood, or wood rubbing against a nail. Over the years, the nails that hold your floorboards to the joists can work slightly loose. When you step on that spot, the board lifts a fraction of a millimetre and drops back down, rubbing against the nail or the joist as it moves. That tiny movement is all it takes to make the noise.
Timber also expands and contracts with changes in temperature and humidity. In a centrally heated home, boards dry out through winter and shrink, which opens small gaps. In damp weather they swell again and press against each other. Both movements create fresh friction, which is why a floor can be silent in July and noisy in January.
Sometimes the problem sits a layer lower. A gap between the subfloor and the joist means the board has room to flex when you walk on it. And in older homes, the original underlay may have compressed to almost nothing, so every footstep transfers straight through to the boards below. Understanding which cause fits your floor helps you pick the right fix instead of guessing.
What You Will Need Before You Start
You do not need a full workshop for this job. Most of the methods below use items you can buy at any hardware store or supermarket, and the whole kit costs less than a takeaway for two.
- Talcum powder or powdered graphite for friction squeaks
- A soft brush to work powder into seams
- A breakaway screw repair kit for loose boards, about £10 to £30
- A cordless drill with a small drill bit
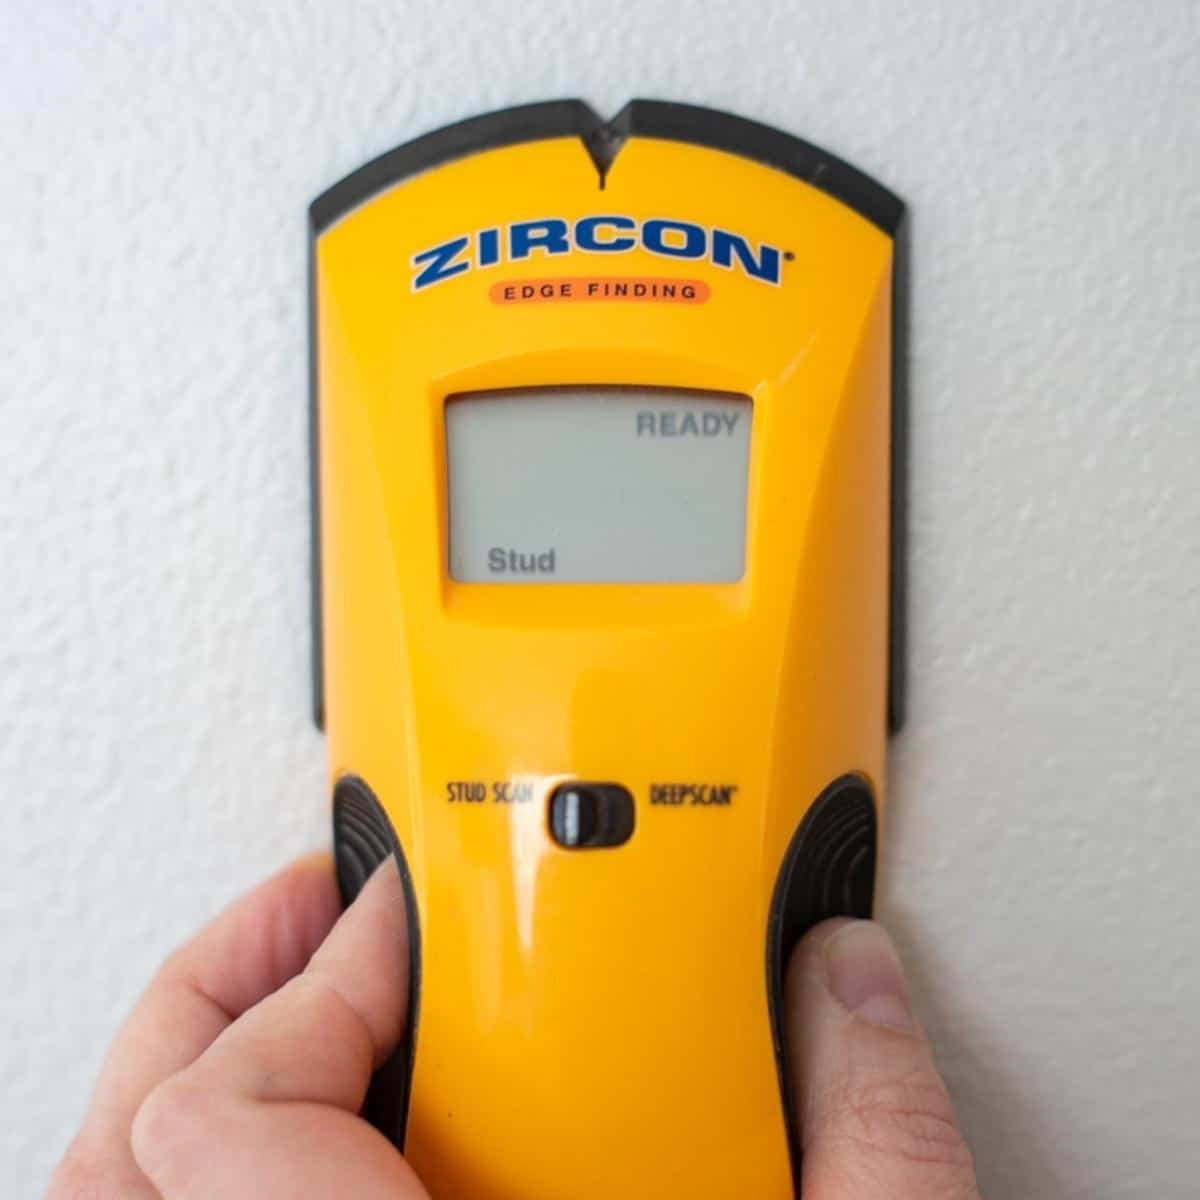
- A stud finder or a strong magnet to locate joists
- Masking tape to mark the squeaky spots
- Knee pads, because you will spend time on the floor
One warning before you begin: keep liquid lubricants away from your floorboards. Products like WD40 are popular for squeaks around the house, but oil can make timber swell and leave a stain that is far harder to fix than the noise. Stick to dry methods for the carpeted areas.
How to Stop a Squeaky Floorboard Without Removing Carpet: 7 Methods That Work
Work through these in order, from the simplest fix to the most thorough. Most squeaks disappear at method 1 or 2, and you may never need the rest.
Method 1: Dust Talcum Powder Into the Seams
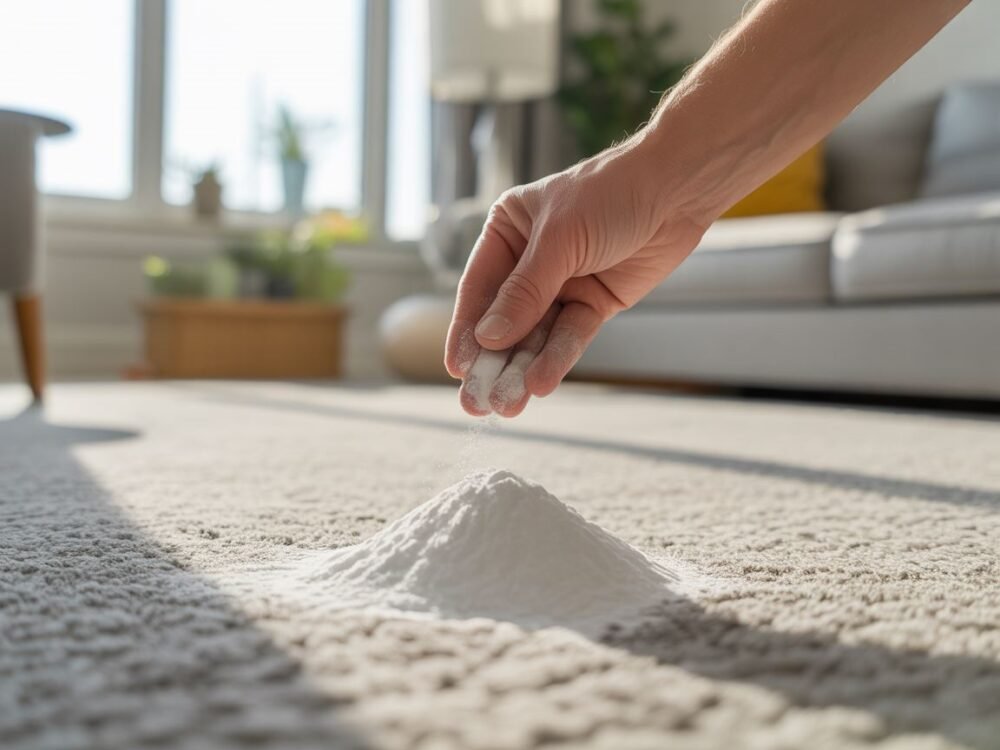
This is the quickest fix in the book, and it costs about £1.75 for a bottle from Tesco or Boots. Talcum powder acts as a dry lubricant. When it settles between two boards that are rubbing together, it stops the friction that makes the creak.
Find the noisy spot by walking slowly across the room and marking each squeak with masking tape. Sprinkle a small amount of powder along the seams of the affected boards, then use a soft brush to work it down through the carpet pile. Walk back and forth over the area to help the powder settle, then hoover up any excess from the surface.
This method suits minor squeaks caused by boards rubbing against each other. It will not fix a board that is genuinely loose on its joist, but it is so cheap and fast that it is always worth trying first.
Method 2: Work Powdered Graphite Through the Pile
Powdered graphite works on the same idea as talcum powder but it is a more effective dry lubricant, which makes it a good choice when talc alone is not enough. Sprinkle a thin line of graphite over the squeaky area and brush it firmly into the carpet so it reaches the gaps between the boards.
One caution: graphite is dark grey, so use it sparingly on light coloured carpets and test a hidden corner first. A little goes a long way, and you can always add more. Like talc, this is a friction fix, not a structural one, so treat it as a smart low effort attempt before moving to screws.
Method 3: Use a Breakaway Screw Kit
When a board is loose on its joist, the only real cure is to fasten it down again. Breakaway screw kits let you do this through the carpet with no visible damage. The kit contains special screws and a small tripod guide that sits on the carpet pile.
Start by locating the joist beneath the squeak. Move your stud finder slowly across the carpet until it signals, or knock gently and listen for the solid sound of the joist compared with the hollow sound between joists. Mark the line with masking tape. Joists in most UK homes sit 400mm apart, so once you find one you can usually predict the next.
Place the tripod over the joist line, press it into the carpet, and drive a screw through the centre guide with your drill. The screw pulls the board tight against the joist. Then rock the screw head with the tool supplied in the kit until it snaps off just below the surface. The carpet pile closes over the spot and hides it completely. Add screws every 150mm to 200mm along the joist on both sides of the squeak until the noise stops.
Method 4: Drive Screws the Traditional Way
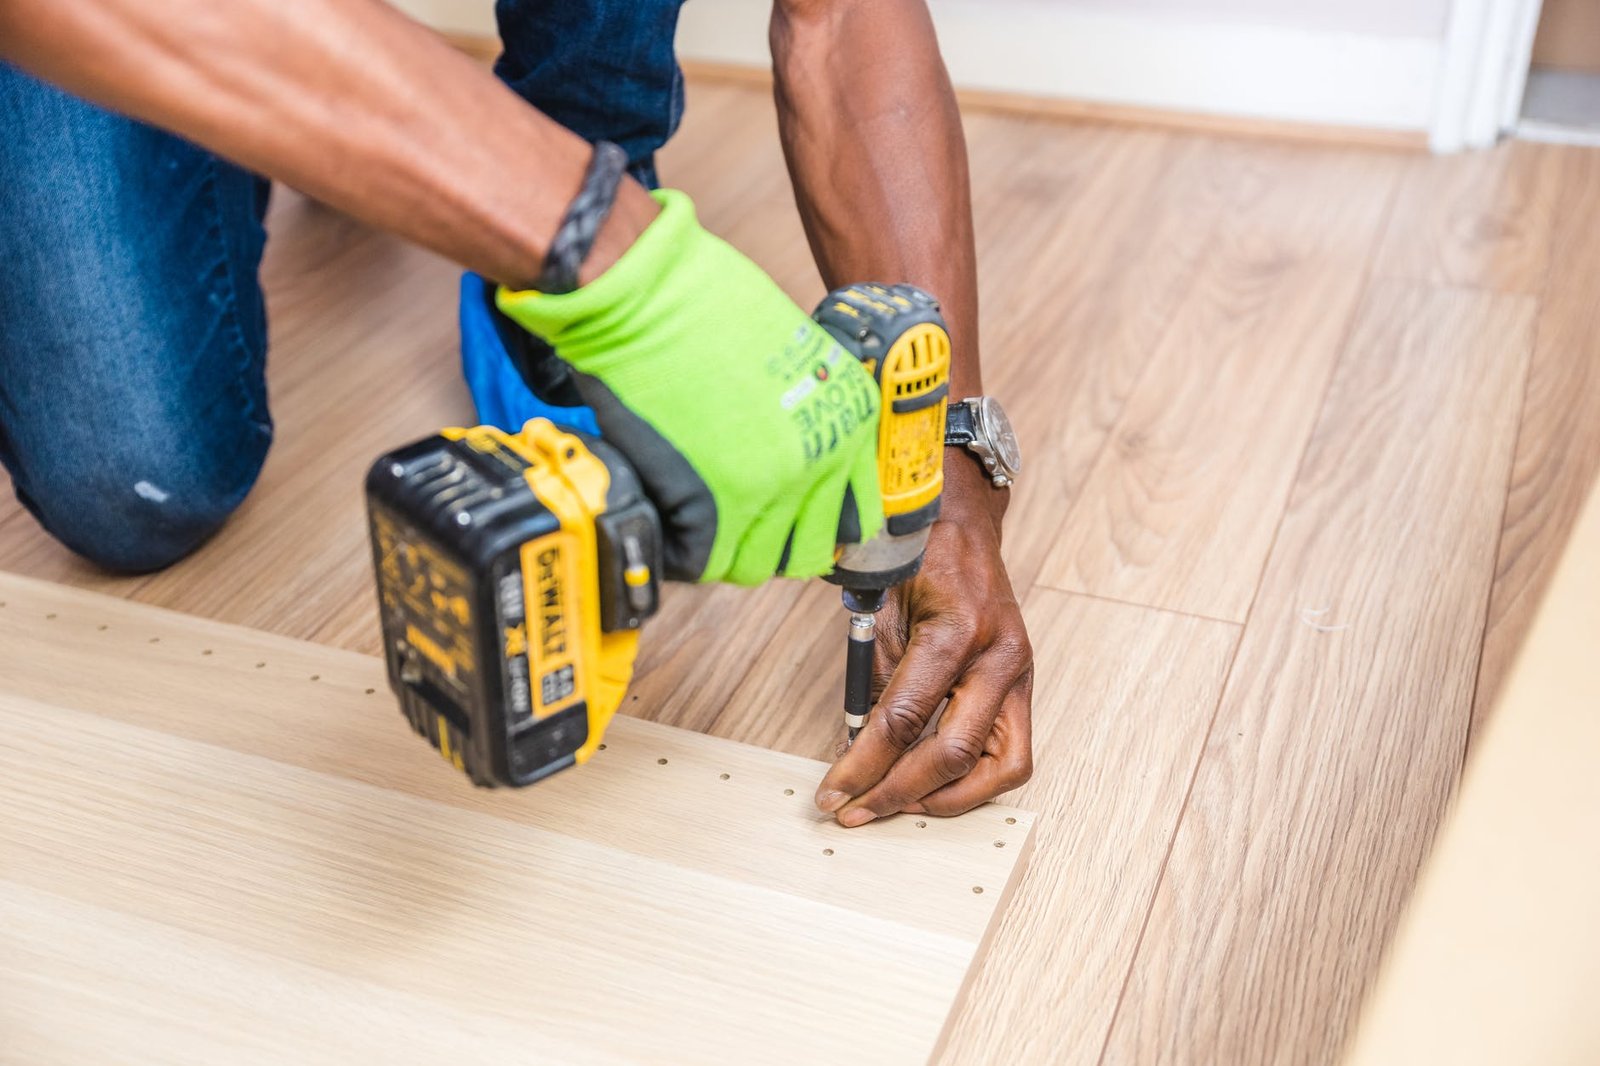
If you do not want to buy a kit, ordinary wood screws can do the same job with a little more care. Separate the carpet fibres with your fingers at the marked joist line so the drill bit starts against the carpet backing rather than the pile. Drill a small pilot hole through the carpet and board and into the joist, which stops the timber splitting.
Drive a 40mm to 50mm wood screw through the hole until the head sits just below the surface of the board. Use a nail punch to settle the head fully home, then smooth the carpet fibres back over the spot. Done neatly, the repair is invisible. Work along the joist line, testing by walking over the area after every few screws, and stop when the floor goes quiet.
Method 5: Fix It From Below
If you can reach the joists from underneath, perhaps through a cellar, a garage ceiling, or the cupboard under the stairs, you can fix the squeak without touching the carpet at all. Have someone walk on the noisy spot upstairs while you watch from below. You will see the board flex against the joist.
The classic repair is a wooden shim. Coat a thin wedge of wood in wood glue, tap it gently into the gap between the joist and the board, and snap off the excess once the glue sets. For a stronger hold, a bead of construction adhesive along the joist works well, or you can screw a small metal angle bracket to the side of the joist so it supports the board from beneath. This approach is tidy, permanent, and completely invisible from above.
Method 6: Add Denser Underlay Next Time the Carpet Is Up
This one is not a quick fix, but it is worth knowing. Thin, tired underlay lets every footstep hit the boards directly, which amplifies existing squeaks. If you are ever having the carpet refitted, choose a thick high density foam or felt underlay. It cushions foot traffic and acts as a sound barrier, which can noticeably calm a creaky floor.
While the carpet is up you also get free access to the boards, so it is the perfect moment to screw down any loose ones properly. Think of underlay as prevention rather than cure, and secure the boards first if you get the chance.
Method 7: Calm Seasonal Squeaks With Better Humidity Control
If your floor only squeaks in winter, dry heated air is the likely culprit. Timber shrinks as it loses moisture, gaps open up, and boards start to move. A humidifier in the affected room can stabilise the timber and quiet the noise, especially in homes with the heating running hard.
The opposite problem happens in damp homes, where swollen boards press against each other. Good ventilation, extractor fans in bathrooms, and keeping indoor humidity steady through the year all help. Our guide on how to stop condensation on windows overnight shares simple ways to bring indoor moisture under control, which your floors will thank you for as well.
Mistakes That Make a Squeaky Floor Worse
A few common shortcuts cause more harm than good. Never screw through a floating floor. Engineered boards and laminate that sit unattached on underlay need room to expand, and a screw driven into them can buckle the surface or void the warranty. These methods are only for boards that are fixed to joists.
Do not reach for oil based sprays either. They may silence the squeak for a day or two, then the timber swells and the noise comes back worse than before, along with a stain. And do not ignore a squeak that spreads across a large area or boards that feel soft and springy underfoot. That can signal moisture damage or a failing joist, which needs a professional eye rather than powder and screws.
When to Call a Professional
Most squeaky floorboards are a friendly DIY job, but a few situations call for a carpenter or flooring specialist. Call one in if the noise covers a whole room, if boards dip or bounce when you step on them, if you can smell damp or see staining around the skirting, or if every fix above has failed. A professional can lift a section of carpet, inspect the joists, and re fasten or replace boards properly in a couple of hours.
While you wait for your appointment, mark every squeaky spot with masking tape so the tradesperson can find them all quickly. If your home has other small repair jobs waiting, our guide to fix a door that will not latch is another quick win you can tackle yourself in the meantime.
The Quiet Floor Checklist
You now know how to stop a squeaky floorboard without removing carpet, from a £1.75 bottle of talcum powder to a proper screw down repair. Start with the cheap friction fixes, move to breakaway screws if the board is loose, and fix from below whenever you have access to the joists. Keep oil sprays away from the timber, never screw a floating floor, and keep indoor humidity steady to stop seasonal squeaks coming back.
The key takeaways:
- Mark every squeak with tape before you start so you can test your work
- Talcum powder or graphite silences friction squeaks in minutes for almost nothing
- Breakaway screw kits fasten loose boards through the carpet invisibly
- Fixing from below with shims or brackets is the tidiest permanent repair
- Steady indoor humidity prevents seasonal squeaks from returning
- Large springy areas or damp smells mean it is time to call a professional
Give it a try this weekend. A quiet floor changes how a home feels, and you will wonder why you put up with the creaking for so long.
Frequently Asked Questions
Can I really fix a squeaky floorboard without lifting the carpet?
Yes. Friction squeaks respond to talcum powder or graphite worked through the pile, and loose boards can be screwed to the joist with breakaway screws that snap off below the surface. The carpet pile hides every trace of the repair.
Why does my floor only squeak in winter?
Central heating dries the air and shrinks the timber, which opens small gaps between boards and joists. The boards move more, so they rub and creak. A humidifier and steadier indoor humidity usually calm it down.
Is talcum powder safe to use on carpets?
Yes, in small amounts. Brush it through the pile into the seams, walk over the area, then hoover up the excess. Use it sparingly on very light carpets and test a hidden corner first if you are worried about any residue.
How do I find the joist under the carpet?
Move a stud finder slowly across the floor until it signals solid timber, or knock and listen for the solid thud of a joist against the hollow sound between joists. UK joists usually sit 400mm apart, so finding one tells you where the next should be.
How much does it cost to stop a squeaky floorboard?
A DIY repair costs between £1.75 for talcum powder and about £30 for a breakaway screw kit plus a drill you may already own. Hiring a carpenter to re fasten boards typically costs £100 to £200 depending on the size of the area.
