
Maya waters her vegetable bed at seven in the morning. The soil turns dark, the leaves lift, and for a little while the garden looks cared for. By three in the afternoon the top of the bed is pale again. Cracks open along the edge, the leaves droop, and Maya wonders if she did something wrong. She did not. She watered a bed that was losing water faster than it could hold it. If you want to know how to stop garden soil from drying out too fast in summer, the answer is rarely to water more often. The answer is to find out where the water is going, slow that loss down, and give the soil a better way to hold what you give it.
This guide takes a different route from most lists of watering tips. Instead of telling you to water daily and hope, you will diagnose your own soil in about a minute, fix the most likely cause first, and follow a simple seven day plan that works for beds and pots. You will learn why mulch matters more than any gadget, why deep watering beats a daily sprinkle, what to do when dry soil starts to repel water, and how to improve the soil itself so next summer is easier. The story here is simple. A garden that dries out fast is not a failed garden. It is a garden asking for shade, cover, and deeper water, and once you give it those three things, it usually answers within a week.
The 60 Second Diagnosis That Tells You Where the Water Goes
Before you change anything, test the soil the way a gardener would. Push one finger into the soil beside a plant, not right at the stem. If the top inch is dry but the soil below is damp, evaporation from the surface is your main problem. If the soil is dry two or three inches down only a few hours after watering, the water is draining away too fast or the soil cannot hold it. If water sits on the surface and runs off instead of soaking in, the soil surface has become water repellent, a condition gardeners call hydrophobic soil. Each result points to a different fix, and that is why a quick test saves you from weeks of guessing.
Try a second check with a small handful of soil. Squeeze it gently. Sandy soil falls apart and feels gritty. Soil with plenty of organic matter holds together in a loose lump and then breaks apart when you poke it. Clay soil forms a sticky ball that keeps its shape. This matters because sandy soil dries fast by nature, clay soil can look dry on top while staying wet below, and soil low in organic matter dries fast whatever its texture. Write down what you found. Your plan will work better when it matches your soil, not a generic garden in a book.
Finally, watch one watering closely. Pour a measured jug of water slowly onto one small area and time how long it takes to disappear. If it vanishes in seconds and the soil below stays dry, the water is running through cracks or coarse material. If it pools for minutes, the surface is sealed or compacted. If it soaks in steadily and the soil darkens several inches down, your watering method is probably sound and the problem is what happens after you water, which usually means sun, wind, and bare soil. This one observation turns a vague worry into a clear job.
Why Garden Soil Dries So Fast in Summer
Soil loses water in three main ways. Water evaporates from the surface, plants pull water up through their roots and release it from their leaves, and water drains down past the root zone. In summer, all three speed up at once. Hot sun heats the surface, wind strips moisture from leaves and soil, and long days give plants more hours to drink. A bed that stayed damp for two days in spring may dry in one afternoon in July, and that change is normal. It does not mean you are watering badly. It means summer has changed the rules.
Bare soil is the biggest single cause of fast drying in home gardens. A bare surface acts like an open pan of water in the sun. It heats up, it crusts, and it loses moisture hour by hour. Weeds make it worse, because they drink from the same soil while shading nothing useful. A bed covered with mulch, or with plants grown close enough to shade the ground, loses water far more slowly. That is why two beds in the same yard, watered the same way, can behave very differently. One is covered and stays damp. One is bare and cracks.
Soil texture decides how much water the bed can store. Sandy soil has large gaps between particles, so water moves through quickly and air moves in easily. That is good for drainage and bad for storage. Clay soil has tiny gaps, so it holds water well but can bake into a hard crust that sheds water. Most garden soils sit between the two, and their storage improves as you add organic matter over time. Organic matter acts like a sponge. It holds water in a form roots can use, and it feeds the soil life that keeps the structure open. A bed that is low in organic matter will dry fast even if you water it well, because there is simply nothing in it to hold the water.
Beds and Pots Dry for Different Reasons
A raised bed dries faster than soil at ground level because it is exposed to sun and wind on its sides as well as on top. A pot dries faster still, because it holds a small volume of soil, it warms quickly, and a thirsty plant can empty it in a day. Terracotta pots lose extra water through their porous walls. Small dark pots heat up the most. If your pots dry out while your beds stay damp, do not treat them the same way. Pots need a plan of their own, and that plan is covered later in this guide. For now, remember the split. Beds usually need cover and deeper watering. Pots usually need more soil volume, shade for the pot itself, and a slower watering routine.
Mulch Is the Fix That Does Most of the Work
If you do only one thing after reading this guide, mulch the bare soil. Mulch shades the surface, cuts evaporation, keeps the soil cooler, slows rain so it soaks in instead of running off, and feeds soil life as it breaks down. Gardeners who mulch well often find they water half as often. The effect is not subtle. On a hot day, mulched soil can stay several degrees cooler than bare soil a few inches away, and that cooler soil holds moisture longer and keeps roots happier.
Spread mulch two to three inches deep over beds, once plants are established. Keep mulch a couple of inches away from stems and trunks so air can move and stems stay dry. That gap matters. Mulch piled against a stem can hold dampness where it causes rot, and it can give slugs and other pests a damp hiding place right where you do not want them. For seedlings, use a thinner layer at first and add more as plants grow. For paths and areas between beds, a thicker layer is fine.
Good mulches for summer include shredded bark, straw, shredded leaves, and compost itself. Straw is light, cheap, and easy to spread around vegetables, but it can blow about in wind until it settles, so water it lightly after spreading. Shredded leaves are free in autumn and break down into soil friendly material. Bark lasts longer and suits shrubs and flower beds, but fresh bark can be coarse, so keep it away from tiny seedlings. Compost as mulch is excellent because it feeds the soil while it covers it, although it breaks down faster than bark and needs topping up. Avoid dyed mulch with strong color, plastic sheeting that seals the soil, and thick layers of grass clippings, which can mat down, smell, and block water.
Water the bed well before you mulch, not after. Mulch on dry soil can intercept a light watering and keep it from reaching roots. Soak the bed deeply first, spread the mulch, then water lightly to settle it. Check under the mulch after a few days. The soil should feel cool and damp. If it is still dry, your watering is not reaching deep enough, and the deep watering section below will help. Top mulch up through summer when it thins. A thin patch is a dry patch waiting to happen.
Water Deep, Not Often, and Water in the Morning
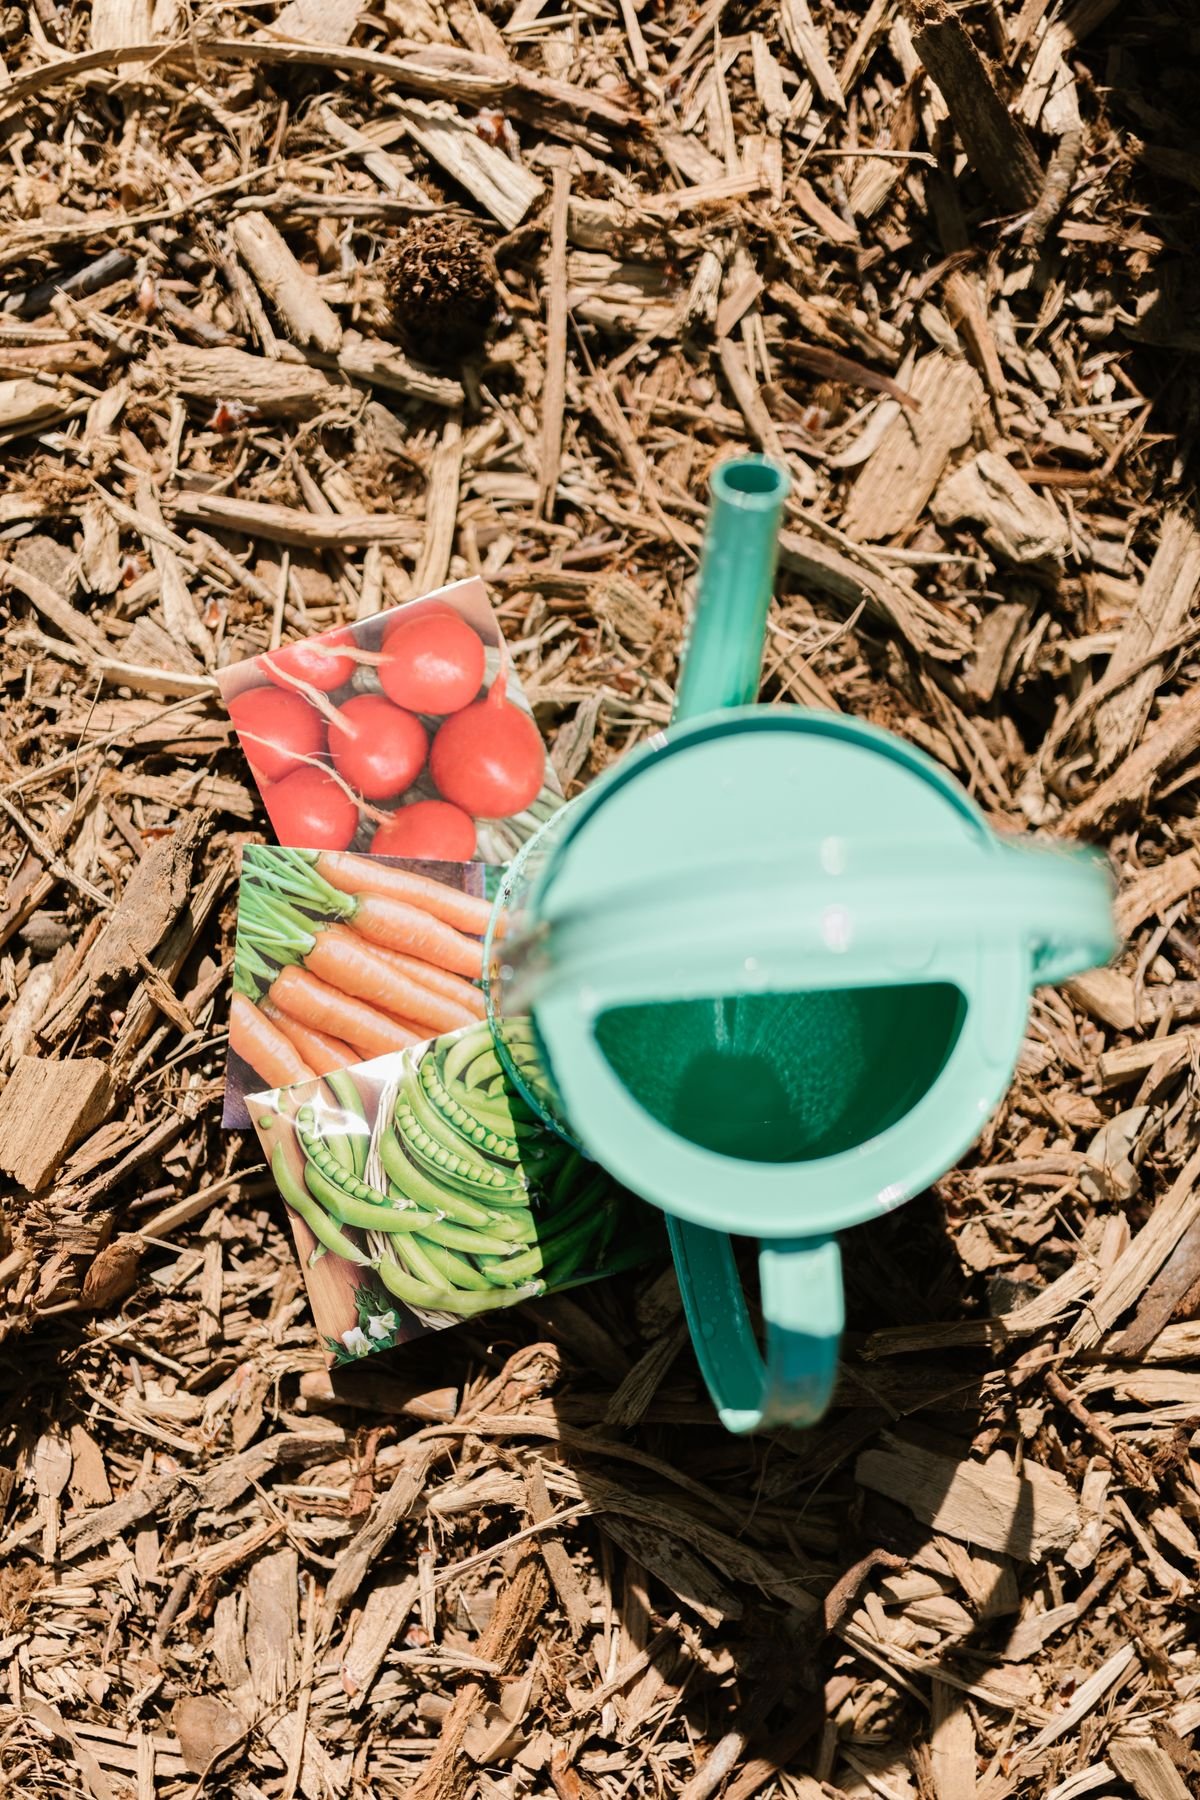
Shallow daily watering trains roots to stay near the surface, where soil dries first. Deep watering does the opposite. It soaks the root zone, encourages roots to grow down where soil stays cooler and damper, and gives plants a reserve to draw on during a hot afternoon. The rule is simple to say and takes a little patience to do. Water slowly, water deeply, and then leave the bed alone until the soil tells you it needs water again.
Water in the early morning when you can. Morning watering loses less to evaporation, leaves dry before night, and gives plants water before the heat of the day. Evening watering is second best, but wet leaves overnight can encourage disease, especially on tomatoes, squash, and roses. Midday watering is the least useful. Much of it evaporates, and water drops on leaves in strong sun can scorch tender foliage. If midday is the only time you have, water the soil, not the leaves, and water slowly so it soaks in.
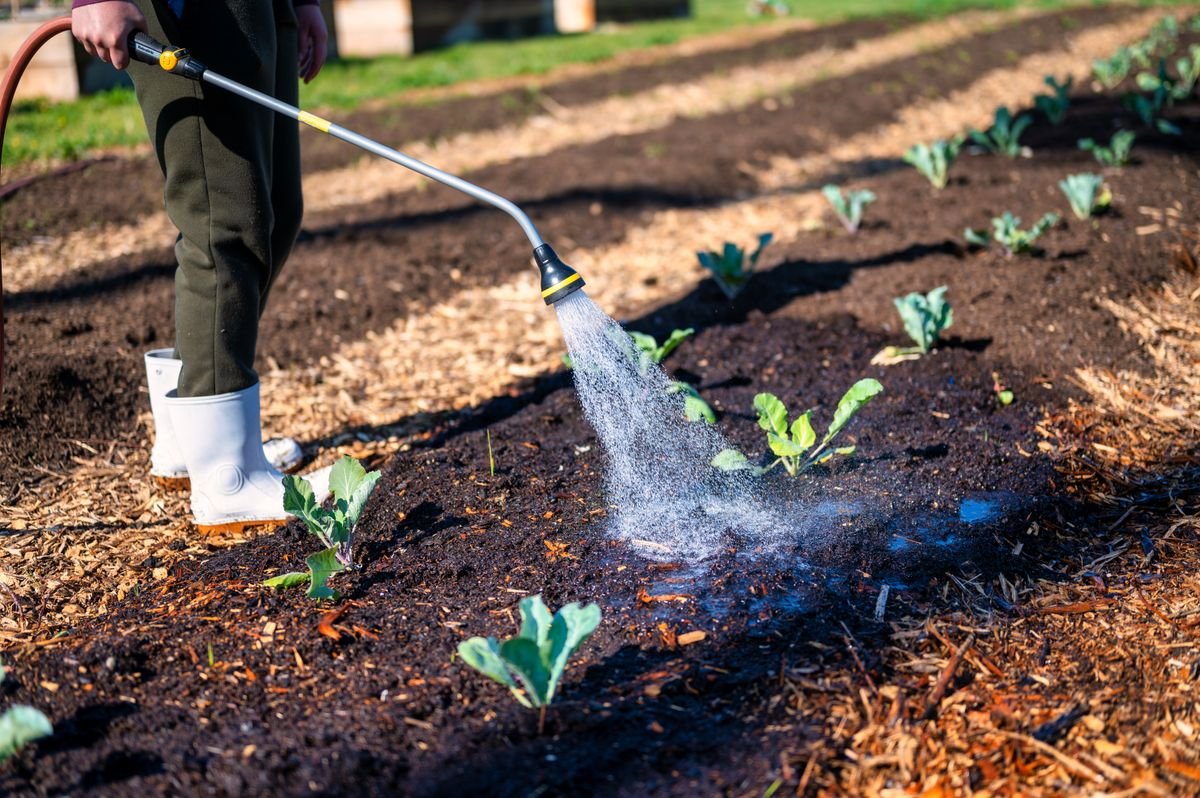
Use a watering can with a rose, a soaker hose, or a drip line rather than a hard jet from a hose. A hard jet compacts the surface, makes craters, and runs off before it soaks in. A slow soak lets water move down inch by inch. For a bed, aim to wet the soil six to eight inches deep. You can check with a finger or a simple probe after watering. If only the top inch is damp, you watered too fast or too little. Slow down, water in two passes with a short pause between them, and let the first pass soak in before you add more. The pause is the trick. It stops runoff and lets dry soil accept water instead of shedding it.
How often you water depends on soil, weather, and plants, not on a fixed calendar. In hot dry weather, a mulched bed may need a deep soak every two or three days. A pot may need water daily. A newly planted bed needs more frequent checks until roots establish. The finger test from the start of this guide is your schedule. Water when the soil is dry two inches down, and skip watering when it is still damp at that depth. Plants that wilt in the heat of the afternoon but recover by evening are often coping, not dying. Plants that stay wilted in the morning need water at once. Learning that difference will save you from both underwatering and overwatering, and overwatering can rot roots just as surely as drought can dry them.
A soaker hose or drip line is worth considering if you have several beds. It puts water at soil level, loses very little to evaporation, and frees you from standing with a hose. Lay it under the mulch, run it slowly, and check that water is reaching the far end. Drip systems need a filter and an occasional flush, but they are simple to maintain and they make deep watering almost automatic. If you use a sprinkler, run it early, keep the spray low, and accept that some water will be lost. Sprinklers suit lawns better than beds, because beds need water at the roots, not on the leaves.
Fix Hydrophobic Soil Without Drowning It
Very dry soil can become hydrophobic, which means it repels water instead of absorbing it. You pour water on, it beads, it runs to the edges, and the middle stays dry. This happens most often in pots, in sandy soil, in soil with a lot of peat, and in beds that have baked in the sun. It is frustrating, because more water seems to make no difference. The fix is not a flood. The fix is patience and slow wetting.
Start by breaking the surface gently with a fork, just an inch or two, without damaging roots. This opens channels for water to enter. Then water very slowly, in small amounts, with pauses between. A little water, a pause, a little more. The soil will start to accept water again as it dampens. For a pot, stand it in a shallow tray of water for twenty to thirty minutes so water can soak up from below, then let it drain fully. Bottom watering bypasses the repellent surface and reaches the root zone directly. Do this once to rewet the pot, then return to normal top watering with a slow routine.
Adding compost helps over time, because organic matter improves wetting and holds water in a usable form. A few drops of plain liquid soap in a watering can is sometimes suggested as a wetting agent, but use it sparingly if you use it at all, and never on soil where you grow food you will eat raw without a good rinse and a gap before harvest. The slow soak method is safer and usually enough. The key point is to treat hydrophobic soil as a surface problem first. Break it, wet it slowly, cover it with mulch, and it will usually behave again within a few days.
Improve the Soil Itself So Next Summer Is Easier
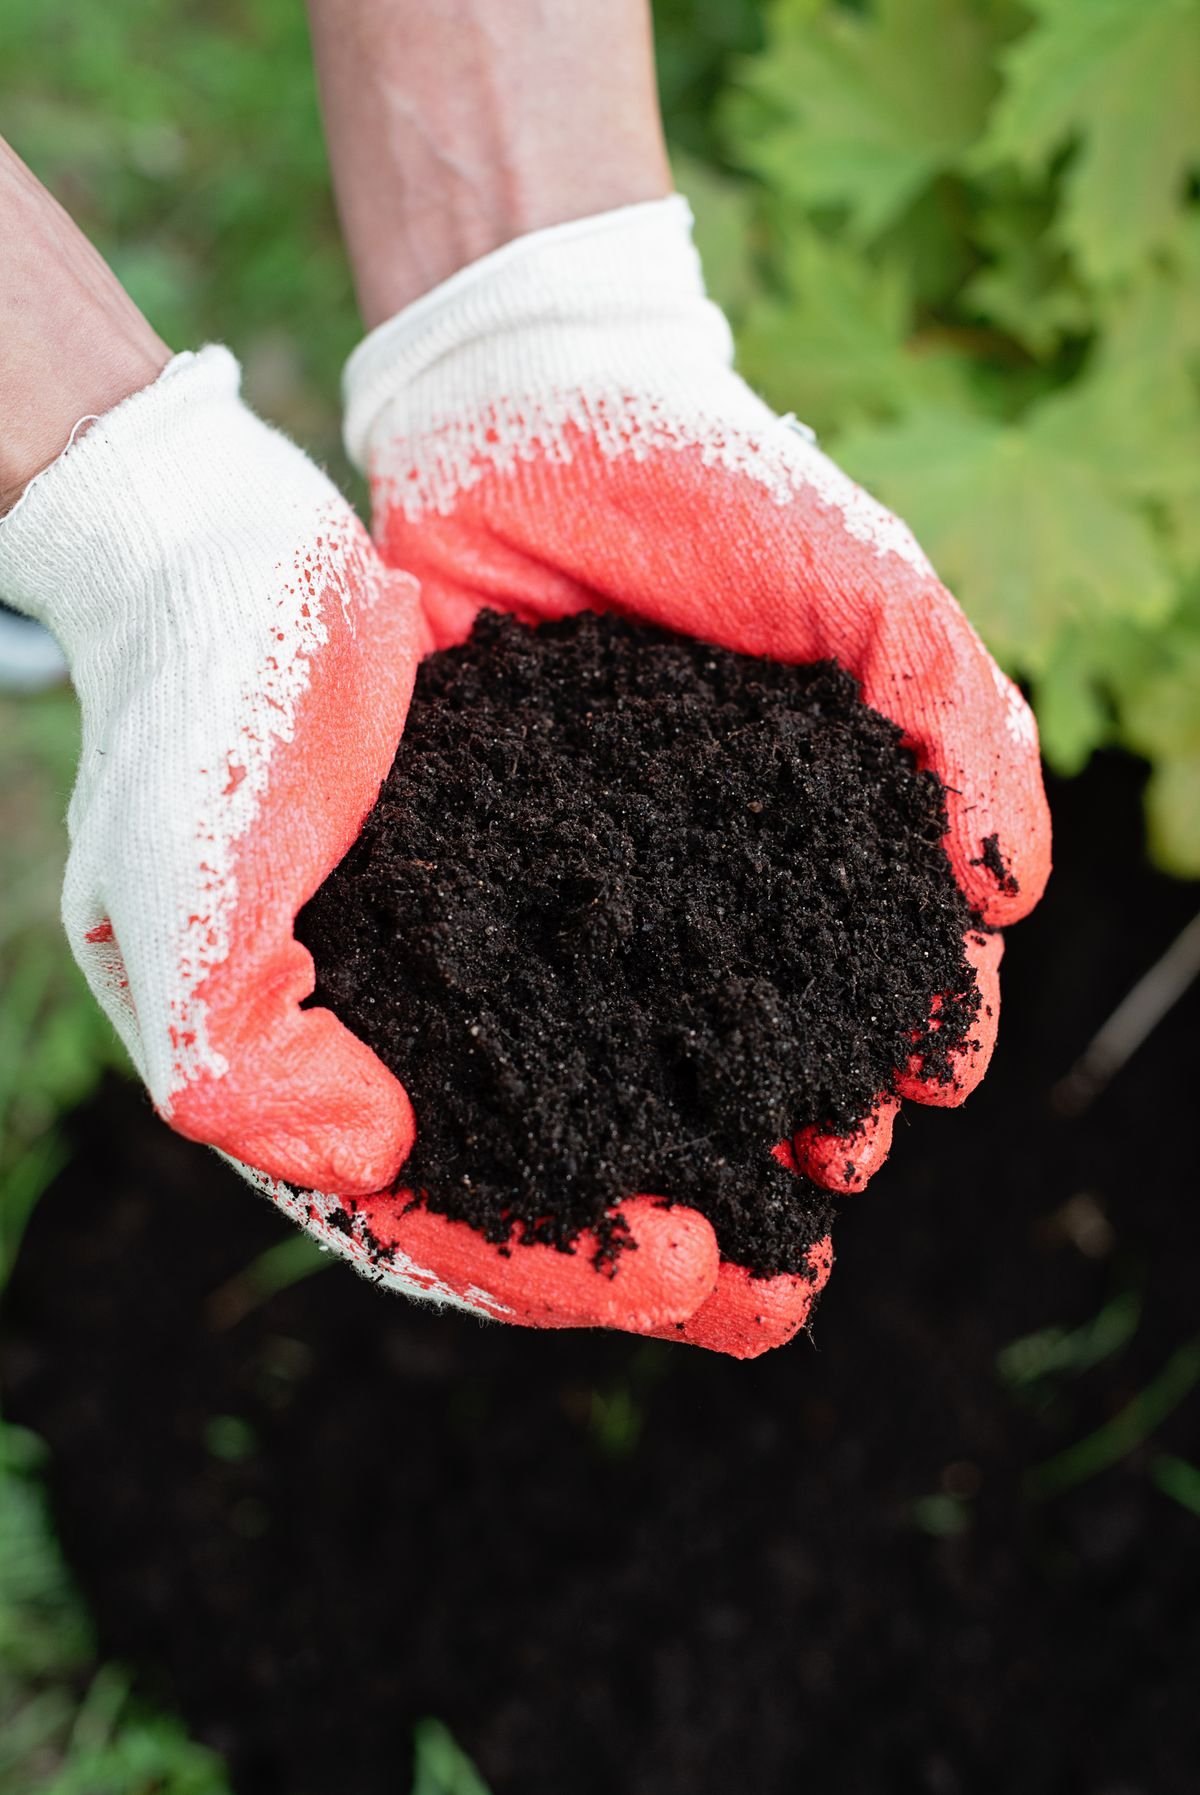
Mulch and watering fix this summer. Compost fixes next summer too. Every year, add a layer of compost to beds, one to two inches deep, and let worms and rain work it in. You do not need to dig it deep. Digging can break soil structure and bring weed seeds to the surface. A top layer, covered with mulch, feeds the soil from above, which is how nature does it. Over two or three seasons, soil that was thin and sandy will hold water noticeably longer, and plants will grow stronger roots.
Coconut coir can help sandy soil hold water, and it wets more easily than dry peat. Mix it into the top few inches when planting, and water it well. Peat based mixes hold water when damp but can become hydrophobic when they dry out completely, so if you use them in pots, never let the pot bake dry. Perlite and vermiculite improve drainage and air, but they do not store water the way compost does, so they are not a fix for fast drying on their own. Avoid adding sand to clay soil to improve it. Sand plus clay can set like brick. Compost is the safe improver for both sand and clay, because it opens clay and binds sand at the same time.
Do not chase a perfect soil in one weekend. Soil improves slowly, and that is fine. Each season of compost, mulch, and gentle care adds storage capacity. Keep a simple note of what you added and when. Next year, when you dig a forkful and find dark, crumbly soil full of worms, you will know the work paid off. Gardeners who keep adding organic matter rarely complain about soil drying too fast, because their soil has learned to hold water. If your soil is new, imported, or mostly subsoil from building work, give it extra compost and extra mulch in the first two years. It needs more help than an old established bed.
Cover crops can help beds that sit empty over winter. Plants like clover or winter rye cover the soil, stop erosion, and add organic matter when they are cut down and left on the surface in spring. They are not essential for a small home garden, but they are a cheap way to keep soil covered and alive through the cold months. Even a thick mulch layer over winter does much of the same job. The principle is the same all year. Soil should rarely be bare. Cover it, feed it, and it will hold water for you.
Pots Need a Different Plan
Pots dry fast for simple physical reasons. They hold little soil, they warm up quickly, and wind can dry them from all sides. The fixes are practical. First, size up when you can. A larger pot holds more soil and more water, so it dries more slowly. A plant in a tiny pot on a sunny patio may need water twice a day in a heatwave. The same plant in a pot twice the size may need water once a day. Second, choose pot material with drying in mind. Glazed ceramic and plastic hold water longer than unglazed terracotta, which breathes and loses moisture through its walls. Terracotta is beautiful and healthy for plants that hate wet feet, but it is a poor choice for thirsty plants in full sun.
Group pots together so they shade each other and shelter each other from wind. A cluster of pots creates a small humid pocket that slows drying. Stand pots on saucers, but empty the saucer after watering so roots are not sitting in water. A saucer that holds a shallow reserve for an hour is useful. A saucer that stays full all day will rot roots. Move pots that bake in afternoon sun to a spot with morning sun and afternoon shade during a heatwave, if you can. Even a few hours of shade in the hottest part of the day makes a big difference to how fast a pot dries.
Use a potting mix made for containers, not garden soil dug from a bed. Garden soil compacts in a pot, drains badly, and can carry pests. A good container mix is light, holds water, and still drains. Add compost to the mix at planting time, and top it with a thin mulch of bark chips or pebbles to shade the surface. Water pots slowly until water runs from the drainage hole, then stop. If water runs straight through without wetting the mix, the mix has become hydrophobic, and the bottom soaking method from the earlier section will help. Check pots daily in hot weather, in the morning, with the finger test. A pot that is light when you lift it is usually a dry pot. That lift test, once you learn it, is faster than any gadget.
Self watering pots can help if you travel or forget. They hold a reservoir below the soil that feeds water up as the soil dries. They suit thirsty plants like tomatoes and herbs, but they can keep soil too wet for plants that like to dry out, such as succulents and lavender. Match the pot to the plant. Thirsty plant, reservoir pot. Dry loving plant, terracotta and sharp drainage. Getting that match right matters more than any watering schedule. The same care that helps a garden tool stay in good condition applies here too. The right container, kept clean and in the right place, does half the work for you.
Shade and Wind Breaks That Cost Almost Nothing
Sun and wind are the two forces that dry soil fastest, and both can be softened without building anything permanent. A piece of shade cloth over a bed during a heatwave can cut soil temperature and evaporation sharply. Use cloth that blocks about a third to a half of the light, support it above the plants so air can move, and remove it when the heat breaks. Plants still get light, but they lose the harshest afternoon sun. Taller plants can do the same job naturally. Beans on a trellis shading lettuce, or sunflowers shading a bed edge, create a cooler pocket that holds moisture longer.
Wind dries soil and plants even when the air feels cool. A fence, a hedge, or even a row of tall pots on the windy side of a bed can slow wind enough to matter. Do not seal a bed off completely. Air movement prevents disease. You want a filter, not a wall. A permeable hedge or a trellis with climbing plants slows wind while letting air through. In a windy yard, grouping plants closely and mulching well matters even more, because exposed soil in wind dries in hours, not days.
Think about position when you plant. A bed against a south facing wall in the northern hemisphere gets reflected heat and dries fast. The same bed in light afternoon shade may need half the water. A bed under a tree competes with tree roots for water, even though it is shaded. There is no perfect spot for every plant, but there is a better spot for most plants, and moving a pot or choosing a different bed next season is a legitimate fix. Gardening is a long game. Each season teaches you which corner dries first, and you plan around it.
How to Stop Garden Soil From Drying Out Too Fast in Summer: A Seven Day Rescue Plan
Day one is diagnosis day. Do the finger test, the squeeze test, and the watering watch from the start of this guide. Water deeply in the morning, slowly, in two passes. Note how deep the water reached. Day two is mulch day. Water deeply again, then spread mulch two to three inches deep, keeping it away from stems. Water lightly to settle the mulch. Day three is a check day. Push a finger through the mulch into the soil. It should feel cool and damp. If it is dry, water slowly again and check whether water is running off. Break the surface gently if it is.
Day four is improvement day. Add a layer of compost where the bed is thinnest, or top up pots with fresh mix and mulch. Move the most exposed pots into afternoon shade. Day five is a rest day for the bed and a watch day for you. Check in the morning and the evening. Notice which plants recover by evening and which stay wilted. That tells you which plants are coping and which need more help. Day six is shade day. Rig shade cloth over the hottest bed, or group pots to shelter each other. Day seven is review day. Do the finger test again at the same time you did it on day one. Compare. In most gardens, the soil will be damper, cooler, and easier to water. If it is not, the problem may be deeper, such as a very sandy subsoil, a broken irrigation line, or roots competing from a nearby tree, and the next section will help you decide what to do.
Keep the routine after day seven, but loosen it. Water deeply when the finger test says so, top up mulch when it thins, and check pots daily in hot weather. A rescue plan that becomes a habit is better than a rescue plan that ends. The garden does not need perfection. It needs cover, deep water, and a little attention at the right time of day. Give it those, and the soil will do the rest.
Mistakes That Make Dry Soil Worse
Watering on a fixed schedule without checking the soil is the most common mistake. A schedule cannot see rain, cloud, wind, or growth. The finger test can. Watering lightly every day is the second mistake. It wets the surface, encourages shallow roots, and evaporates quickly. Watering at midday is the third. It loses water to evaporation and can scorch leaves. Skipping mulch is the fourth, and it is the easiest to fix. Leaving soil bare in summer is an invitation to dry out.
Other mistakes are quieter. Digging soil when it is bone dry can break its structure and make it dustier. Adding a thick layer of mulch against stems can rot them. Using a hard hose jet can compact the surface and cause runoff. Overfeeding with fast acting fertilizer in hot weather can stress plants and increase their water need. Feeding is best done when soil is damp and plants are growing steadily, not in the middle of a heatwave when they are already stressed. If you are unsure, water first, feed lightly, and water again. And remember that a plant with yellowing leaves is not always thirsty. Houseplant leaves turn yellow for many reasons, including overwatering, so check the soil before you add more water.
When Dry Soil Is a Sign of a Bigger Problem
Most fast drying soil is fixed by mulch, deep watering, and compost. A few cases need a closer look. If one bed dries far faster than identical beds beside it, check for a broken pipe, a drain, or a large tree root stealing water. If a pot dries overnight even after a deep soak, the plant may be root bound, with roots filling the pot and leaving little soil to hold water. Repot it into a larger container with fresh mix. If water runs off a bed even after slow watering and surface breaking, the soil may be severely compacted or sealed by a crust. Fork it gently, add compost, and mulch it. If plants wilt despite damp soil, the roots may be damaged by overwatering, pests, or disease, and adding more water will make it worse. In that case, check roots, improve drainage, and seek local garden advice with a photo of the plant and the soil.
A snake plant or other houseplant moved outdoors for summer can dry fast in a pot that suited it indoors. A snake plant leaning to one side often signals light or watering stress, and the same check applies. Look at light, pot size, and soil moisture together, not one factor alone. Plants tell a story in combination. Wilt plus dry soil means water. Wilt plus wet soil means roots. Yellow leaves plus dry soil may mean drought. Yellow leaves plus wet soil may mean too much water. Reading those combinations is the skill that turns a worried gardener into a confident one.
Conclusion: Cover the Soil, Water Deep, and Let the Soil Learn to Hold Water
Learning how to stop garden soil from drying out too fast in summer comes down to three habits. Cover bare soil with mulch, water deeply and slowly in the morning, and feed the soil with compost so it can hold water for longer. Diagnose first with a finger test, so you fix the real cause instead of watering harder and hoping. Treat pots differently from beds, give the hottest beds a little shade, and follow the seven day rescue plan when a bed is in trouble. The garden will not transform overnight, but it will change within a week, and it will keep improving season by season as the soil gains organic matter.
Start tomorrow morning. Water one bed slowly, mulch it, and check it the next afternoon. That small test will teach you more than any article, including this one. And when the soil stays cool and damp under the mulch while the bare path beside it cracks in the sun, you will know you have found the fix. Keep the cover on, keep the watering deep, and let the soil do what healthy soil does best. Hold water, feed roots, and carry your plants through the hottest days of summer.
Frequently Asked Questions
How often should I water garden soil in summer?
Water when the soil is dry two inches down, not on a fixed calendar. A mulched bed may need a deep soak every two or three days in hot dry weather, while a pot may need water daily. Use the finger test in the morning and water deeply when the soil tells you to.
Can I use grass clippings as mulch to stop soil drying?
You can use thin layers of dry grass clippings, but thick fresh layers mat down, smell, and block water. Spread them thinly, let them dry, and mix them with straw or shredded leaves. A thin layer is helpful. A thick wet mat is not.
Why does water run off my dry soil instead of soaking in?
Dry soil can become hydrophobic and repel water, especially sandy soil, peat based mixes, and soil that has baked in the sun. Break the surface gently, water very slowly in small amounts with pauses, and cover the soil with mulch. For a pot, stand it in shallow water for twenty to thirty minutes to rewet it from below.
How much mulch should I put on a garden bed?
Spread mulch two to three inches deep on established beds, keeping it a couple of inches away from stems and trunks. Seedlings need a thinner layer at first. Top mulch up through summer when it thins, because a thin patch dries fast.
Does mulch attract pests to the garden?
Mulch can shelter slugs and other pests if it is piled against stems in a damp heap, but a well spread layer kept away from stems usually helps more than it harms. It shelters helpful soil life too, keeps soil cool, and cuts evaporation. Keep the stem gap clear, avoid thick mats, and check under the mulch now and then.

1 Comment
Pingback: Protect Potted Plants From Frost in the UK