
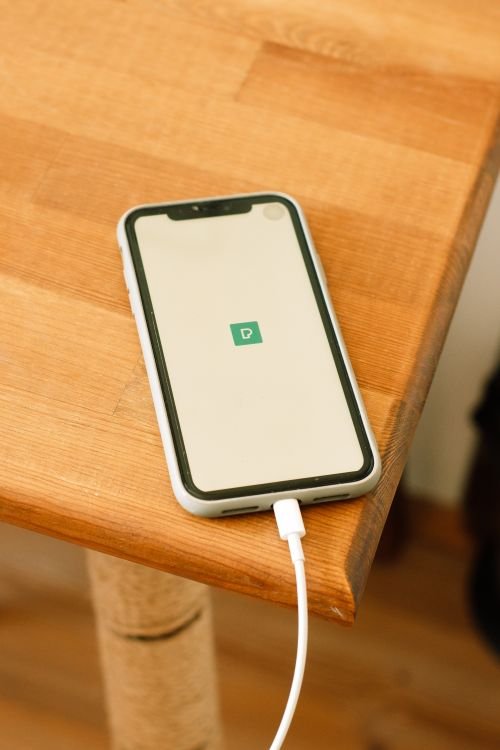
You plug in your phone at night. The cable clicks, the charging icon appears, and you go to sleep confident. In the morning the battery sits at 41 percent, the cable lies loose on the bedside table, and the phone stopped charging somewhere in the dark. Or the cable will only work if you hold it at one exact angle, and the moment you let go, the connection drops. It feels like a broken phone. Most of the time, it is a small, fixable problem hiding in plain sight.
If you want to know how to fix a loose phone charger cable that keeps falling out, start with a simple truth. The cable, the port, and the case each get a vote, and the loose feeling is usually caused by only one of them. Guessing wastes money. People buy new cables, then new chargers, then start pricing a repair, when a two minute test would have pointed at the real cause on the first try.
This guide gives you that test order. First, find out whether the cable, the port, or the case is at fault. Then clean the port safely, if lint is the cause. Then decide, with clear numbers, whether a new cable, a magnetic adapter, or a professional repair is the right next step. The goal is a cable that clicks in, stays in, and charges all night, without forcing anything and without damaging the phone.
How to Fix a Loose Phone Charger Cable That Keeps Falling Out: Start With Diagnosis
Do these tests in order, before you buy anything. Each test rules out one cause. Write down what happens at each step, because the pattern tells the story. A cable that is loose in every phone is a cable problem. A port that is loose with every cable is a port problem. A cable that fits fine once the case comes off is a case problem. That distinction saves most people a repair bill.
Test one is the cable swap. Borrow or buy one known good cable that matches your phone, USB type C or Lightning, and try it in the same phone, in the same outlet, with the same charger. Push it in gently until it stops. Does it click or seat firmly? Does it stay put if you set the phone down and nudge the cable? If the borrowed cable seats firmly and charges steadily, your old cable is worn out. The metal contacts on the plug, or the small spring clips that hold it in place, have loosened with use. Replace the cable. Do not try to bend the plug back into shape. A bent plug can damage the port it is forced into.
Test two is the case test. Remove the case and plug the cable in again. Many cases, especially thick or rugged ones, leave too little room around the port. The plug looks inserted, but the case lip stops it a millimeter short of a full seat. The cable then rests on the case edge instead of locking into the port, and the slightest movement pulls it free. If the cable seats firmly without the case, the case is the cause. You can trim nothing and force nothing. Either use a cable with a slimmer plug housing, or replace the case with one that has a wider port opening. This single test solves more loose cable complaints than most people expect.
Test three is the other device test. Plug the same cable into a different phone or tablet with the same port type. If it is loose there too, the cable is the problem. If it is firm in the other device and loose only in your phone, the problem lives in your phone port. This test matters most when you only own one cable. A cable can look perfect and still be worn at the tip, where the wear is hardest to see.
Test four is the wiggle test, done gently and only once. With the phone on a table, plug the cable in and rest your hand on the cable near the plug. Move it very slightly side to side, up and down. Does charging stop with the smallest movement? Does the plug rock in the port? A small amount of play is normal. A plug that rocks freely, or that only charges when pushed to one side, points to lint in the port, a worn port, or a damaged connector tongue inside the port. Note which direction matters. Charging only when the cable is pushed upward often means debris packed at the bottom of the port. Charging only when pushed to one side can mean wear on one set of contacts. Either way, the next step is inspection, not force.
Look Inside the Port Before You Touch It
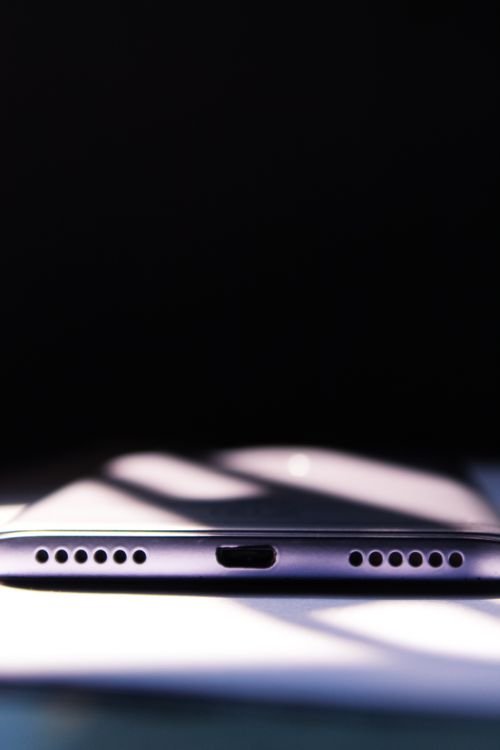
Turn the phone off and unplug everything. Hold the phone under a bright light, a desk lamp or a flashlight, and look straight into the port. Tilt the phone slowly. You are looking for three things. First, a dark, dense layer at the bottom of the port that looks like felt. That is packed pocket lint. Second, bent, darkened, or missing contacts. Third, a connector tongue that sits crooked, cracked, or loose in the middle of the port. The first is common and fixable at home. The second and third are repair shop jobs. If you see damage, stop. Do not probe a damaged port.
Lint is the most common cause of a loose feeling, and it is easy to miss. Every time you plug in a cable, you press the lint a little deeper. Over weeks and months, pocket lint, dust, and fabric fibers pack into a dense plug at the back of the port. The cable then cannot travel its full depth. It feels loose because it never reaches the click point. The phone may still charge if you hold the cable, because the contacts touch just enough, but the plug has no grip. A Reddit thread on this exact problem describes a user who paid for a battery replacement first, only to learn later that a solid plug of denim lint had been the cause all along. A toothpick and 90 seconds fixed what a new battery did not. That story repeats in repair shops every week.
Do not use your mouth to blow into the port. Breath carries moisture, and moisture plus lint makes a paste. Do not use a metal pin, needle, paper clip, or knife. Metal tools can bend the tiny contacts, scratch the plating, or short the port, especially if the phone is still on. The Pocket Lint account of a USB type C cleaning gone wrong is a useful warning. The writer used a needle and cleaning fluid in a running phone and killed the phone outright. The lesson is not that cleaning is dangerous. It is that the wrong tool, in a powered phone, turns a two minute fix into a dead device.
Safe tools are simple. A wooden or plastic toothpick, a soft brush such as a clean dry toothbrush, a can of compressed air used in short bursts, and a bright light. That is the whole kit. If you want to be extra careful, add a magnifying glass or use your second phone camera zoom to inspect the port before and after. You will see far more than you expect, and you will know when to stop.
How to Clean a Charging Port Safely
Clean only if you saw lint or debris, and only with the phone powered off. Work on a table, in good light, with the phone screen down and the port facing you. Patience matters more than pressure. The port is small, the contacts are delicate, and every movement should be a gentle scoop, not a stab.
Start with air. Hold a can of compressed air upright, a few inches from the port, and give two or three short bursts at an angle. Keep the can upright so no liquid propellant sprays out. This removes loose dust without touching anything. If you have no compressed air, skip this step. Do not substitute a vacuum cleaner. A household vacuum is too strong and can pull at the connector tongue.
Next, use the toothpick as a scoop. Slide a wooden or plastic toothpick gently along the bottom and sides of the port, in a scooping motion that lifts material out toward the opening. Work the corners, where lint packs hardest. Pull the toothpick out often and wipe the tip. You may be surprised how much gray fiber comes out in small clumps. Never push downward or sideways with force, and never scrape the center tongue. In a USB type C port, the tongue sits in the middle and carries the contacts. Pressing on it can crack or bend it. In a Lightning port, the contacts line the walls, so scrape only along the flat bottom and the side walls, with light pressure.
Brush lightly when the bulk of the lint is out. A dry, soft toothbrush, flicked gently across the opening in one direction, sweeps out loosened fibers. Do not force bristles deep into the port. A final burst of air clears what remains. Then inspect again under the light. The bottom of the port should look clean and the plug should travel deeper than before. Plug the cable in, gently, and check for the click. If the cable now seats firmly and charges without holding, you are done.
One warning deserves emphasis. Do not pour liquid into the port, and do not soak a cotton swab and push it inside. Cotton leaves fibers behind, which become the next blockage. If you see greenish or white corrosion, or a sticky residue that dry cleaning will not move, stop and take the phone to a repair shop. Corrosion means moisture has already been inside the port, and cleaning it at home can spread the damage. The same applies if the port smells burnt, feels hot during charging, or shows any blackened marks. Those are stop signs, not cleaning challenges.
After cleaning, test properly. Charge for 30 minutes on a table, without touching the phone. Check that the battery percentage rises steadily and that the cable stays seated when you nudge the phone. Then charge overnight, once, with the phone on a flat surface and the cable routed without tension. If it holds all night, the fix worked. If it loosens again within days, lint is returning faster than normal, which can mean a damaged port is catching fibers, or the cable itself is worn and shedding material into the port. In that case, replace the cable and recheck.
When the Cable Is the Problem
Cables wear out, and cheap cables wear out fast. The plug end is the weak point. Every insertion flexes the small spring clips and wears the contact plating. A cable that has been yanked by the cord, bent sharply at the plug, or carried loose in a bag will loosen sooner. Look at the plug closely. Are the contacts dull, pitted, or scratched? Is the plug housing cracked where it meets the cord? Does the cord feel soft or kinked right behind the plug? Any of these signs means the cable is done, even if it still works when held at an angle.
Buy a replacement cable from a reputable brand, with the right certification for your phone. For iPhone, look for MFi certification. For Android, look for a USB IF certified USB type C cable from a known maker. A certified cable costs more than a gas station cable, and it is worth it. Uncertified cables can have loose tolerances, which means a plug that is a fraction too small and never seats firmly, or a plug that is too tight and damages the port over time. Check the plug housing too. Slim housings fit more cases. Braided cables resist fraying, but the braid does nothing for the plug itself, so do not buy on braid alone.
Charging speed is a separate question from fit, but it is worth a quick check while you are here. If your phone charges slowly even with a firm cable, the charger or the outlet may be the limit. Our guide to why your phone charges slowly overnight walks through charger wattage, cable ratings, and background drain. A loose cable and a slow charge often travel together, because a plug that never seats fully also never delivers full power.
Retire a cable the moment you see exposed wire, a melted or discolored plug, or a cord that gets hot during use. A damaged cable is a fire risk, not a bargain. Do not tape a frayed cable and keep using it. Electrical tape hides the damage and traps heat. Replace it, and recycle the old cable if your area offers electronics recycling.
When the Port Itself Is Worn or Damaged
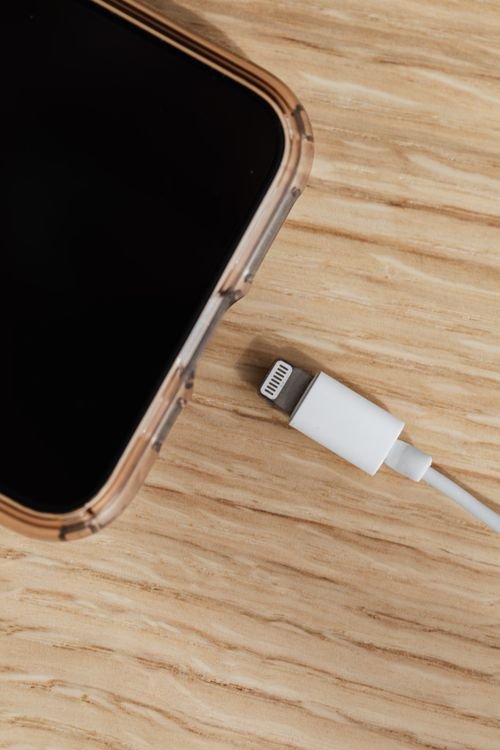
Ports wear out too. A phone that has been plugged in twice a day for three years has seen more than 2,000 insertions. The spring clips inside the port lose tension, the contact plating thins, and the connector tongue can develop a tiny crack. At that point, no cable will feel firm, and cleaning will not help. The signs are consistent. Every cable is loose in this phone and firm in other devices. The plug rocks freely in every direction. The phone charges only when the cable is pushed and held. Cleaning removes no lint, or the port looks clean and still will not grip.
A worn port is a repair shop job, and the cost varies widely. A charging port replacement, where the port is a separate part, often runs from about 50 to 120 dollars at an independent repair shop in the US, plus labor in some quotes. Where the port is soldered to the main board, the repair is more complex and can cost 120 to 250 dollars or more, depending on the phone model. Apple and Samsung authorized repairs sit at the higher end of those ranges, and may replace a larger assembly rather than the port alone. Always get a written quote before work starts, and ask whether the quote includes parts, labor, and a warranty on the repair. A 90 day warranty on parts and labor is a reasonable expectation.
Before you pay for a repair, check two things. First, is the phone still under warranty or covered by an insurance plan? A loose port caused by normal wear may not be covered, but a port that failed early, or a phone with a known defect, might be. Second, how old is the phone, and what is it worth? On a phone worth 150 dollars, a 150 dollar port repair rarely makes sense. On a phone worth 700 dollars with two years of life left, it usually does. Be honest about the math. A repair that costs more than half the phone value needs a strong reason, such as data you cannot move or a phone you cannot replace quickly.
While you wait for a repair, wireless charging can keep the phone usable, if your phone supports it. A wireless charger bypasses the port entirely. It charges more slowly and generates more heat, so use it as a bridge, not a permanent plan, and keep the phone on a flat surface where it cannot slide off the pad. If the phone does not support wireless charging, a magnetic adapter is a tempting workaround. Read the next section before you buy one, because magnetic adapters solve the loose feeling while creating a new set of risks.
Magnetic Adapters: Helpful Bridge or Risky Shortcut
A magnetic charging adapter has two parts. A small tip stays in the phone port, and the cable end snaps onto that tip with a magnet. The appeal is obvious. You stop plugging and unplugging every day, the magnet breaks away instead of yanking the phone, and a loose port can feel firm again because the tip never moves. For a phone awaiting repair, or a phone used in a car mount, that can be genuinely useful.
The risks are real and worth weighing. The tip stays in the port permanently, which means it can trap lint around its edges and hide a developing problem. Cheap magnetic adapters have poor tolerances and weak magnets, so the cable can disconnect with a nudge, which is the problem you started with. Some adapters carry data poorly or not at all, so file transfers and CarPlay or Android Auto may fail. A few poorly made adapters have been reported to overheat or to short when metal debris sticks to the magnet. None of this means every magnetic adapter is dangerous. It means the category has a wide quality range, and the cheapest option is the riskiest.
If you use one, buy from a known brand, check that it is rated for your phone charging speed, and inspect the tip and the port weekly for lint and heat. Remove the tip before any professional repair, and tell the repair shop you used one. Do not use a magnetic adapter as a reason to skip a repair on a phone you plan to keep for years. It is a bridge. The port underneath is still worn, and the tip can mask a problem that gets worse quietly.
A safer everyday habit is simpler. Plug the cable in straight, pull it out by the plug housing rather than the cord, and route the cable so it is not under tension on the nightstand. Cables that hang off a desk edge, pulled by their own weight, wear the port and the plug at the same time. A short cable, a charger placed close to the phone, and a cable routed with slack will add months to the life of both parts. Small habits, repeated daily, are what keep a port firm.
USB Type C and Lightning Need Different Care
The two common port types fail in different ways, and the cleaning advice changes with the design. Knowing which port you have helps you avoid the mistake that damages it.
USB type C ports, found on most modern Android phones and newer iPhones, have a thin tongue in the center of the port. The contacts sit on that tongue. The main risks are pressing on the tongue, snapping it, or packing lint around it so tightly that the cable cannot seat. When you clean a USB type C port, work only along the outer walls and the bottom corners, with a scooping motion that lifts lint outward. Never press the tongue from above. If the tongue looks cracked, loose, or off center, stop. That is a board level repair, and probing will make it worse.
Lightning ports, found on older iPhones, have the contacts on the inner walls and a flat floor. Lint packs into a hard layer on that floor, and the cable plug has small spring clips on its sides that need a clean floor to seat fully. When you clean a Lightning port, work the floor gently with a wooden toothpick, lifting the packed layer in small pieces. The walls carry the contacts, so keep scraping light and flat. A Lightning plug that has lost its spring tension will feel loose even in a clean port. In that case, replace the cable first, because the plug is the cheaper part.
Both port types share one rule. Never insert anything metal, and never clean while the phone is on or plugged in. Power off first, every time. It takes 30 seconds to power off and 30 seconds to power back on. That is cheap insurance against a short that can damage the charging circuit, which costs far more than a port replacement.
Case design matters for both types. Some cases advertise a wide port opening and still block a cable with a thick plug housing. When you buy a case, check the port cutout with your own cable before the return window closes. Plug in, check for a firm click, and nudge the cable. If the case lip touches the plug housing before the plug seats, the case is too tight for that cable. A case and cable that fit together is a small detail that prevents a daily annoyance.
Stop Signs: When to Stop and Get Help
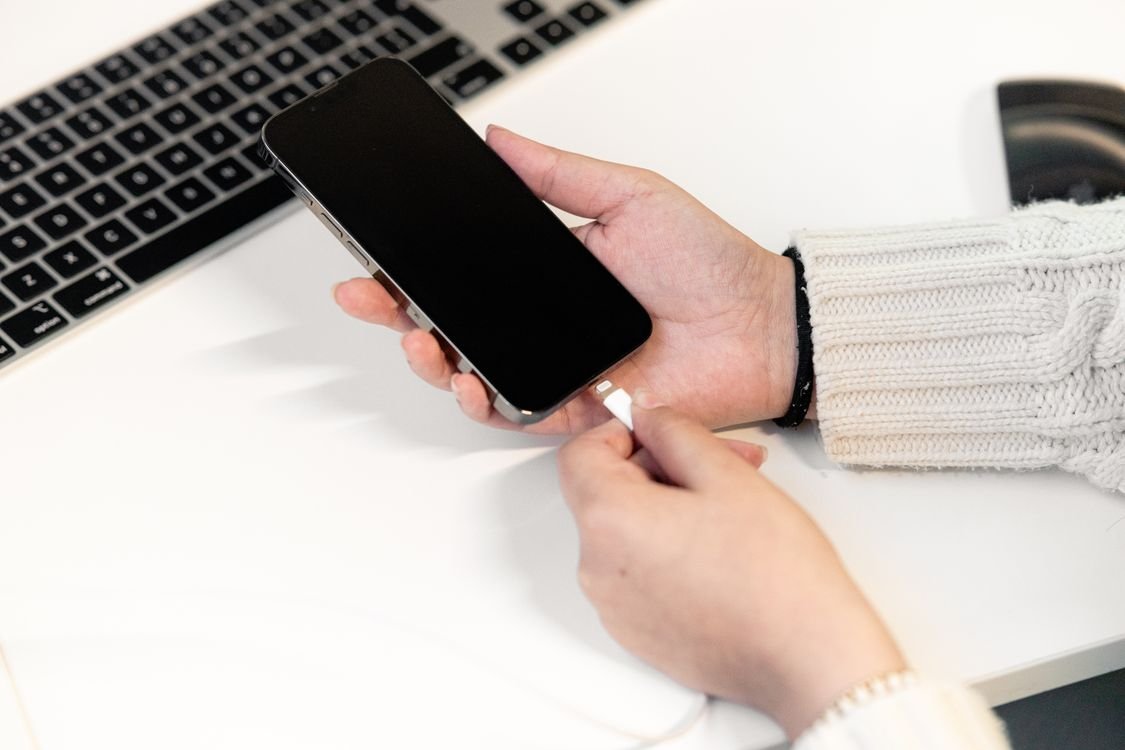
Most loose cable problems are safe to diagnose at home. Some are not. Stop and get professional help if you see any of the following. The phone or cable gets hot during charging, beyond gentle warmth. You smell burning, or see smoke or a scorch mark near the port. The port shows blackened, green, or white crusty deposits. The connector tongue is cracked, bent, or moves when touched. The phone only charges when the cable is forced to one side, and the port feels gritty or crunchy inside. Water has entered the port recently, and the phone shows a liquid detected warning. Any of these signs means the charging circuit may already be damaged, and further home attempts can make it worse.
Also stop if cleaning does not help after two careful attempts. Repeated probing wears the contacts and risks breaking the tongue. Two gentle cleaning sessions, with inspection between them, are enough to remove any lint that is safely removable. If the cable is still loose after that, the cause is wear or damage, not dirt, and the next step is a quote, not a third cleaning.
Choose the repair shop with the same care you would give any trade. Look for a shop that gives a written quote, uses quality parts, and warranties the work. Ask whether the port will be replaced as a part or repaired on the board, and how long the phone will be gone. A same day port replacement is common for popular models. A board level repair can take several days. Back up the phone before you hand it over, remove any screen lock the shop does not need, and note the phone condition with photos. These steps protect you if anything goes wrong, and they cost nothing.
A Simple Maintenance Routine That Prevents the Next Loose Cable
Prevention is unglamorous and it works. Once a month, power off the phone, shine a light into the port, and check for the first signs of lint. A quick brush with a dry toothbrush at that stage takes seconds and prevents the dense plug that causes the loose feeling. Keep the phone port facing down in a pocket, so lint falls away from the opening instead of into it. A pocket full of tissue, receipts, or loose fabric is a lint factory. If you work in a dusty trade, consider a port plug or a case with a port cover, and remove the cover only to charge.
Treat cables kindly. Coil them loosely, never wrap them tightly around a charger. Pull by the plug, not the cord. Keep one good cable at the bedside and one in a bag, rather than carrying the same cable everywhere and bending it a hundred times a day. Replace a cable at the first sign of fraying, not the first time it fails completely. A cable that is starting to fail can damage the port it is plugged into, so early replacement protects the more expensive part.
Heat is a quiet enemy of both cables and ports. Do not charge a phone under a pillow, in direct sun, or on a soft surface that traps heat. A phone that runs hot while charging ages its battery faster and stresses the port. If you notice the phone getting warm during normal charging, check for background drain and charger issues. Our laptop guide to why a laptop gets hot and shuts down covers the same heat and ventilation thinking for a larger device, and the principle transfers directly. Airflow and a flat surface matter for every device you charge.
Finally, keep a spare certified cable in a drawer. The moment a cable starts to loosen, swap in the spare and test. You will know in two minutes whether the problem is the cable or the phone, and you will not spend a week holding a cable at an angle while you decide. That spare cable is the cheapest diagnostic tool you will ever buy.
Conclusion: Fix the Cause, Not the Symptom
How to fix a loose phone charger cable that keeps falling out comes down to a short, ordered process. Swap the cable. Remove the case. Try another device. Look inside the port. Clean lint safely, with the phone off and a non metal tool. Replace a worn cable with a certified one. Get a quote for a worn port, and use wireless charging or a quality magnetic adapter only as a bridge. Each step answers one question, and together they point at the true cause without guesswork.
The takeaway to remember is this. A loose cable is a symptom, not a diagnosis. Forcing the cable, wedging objects into the port, or buying cable after cable without testing only hides the cause while the port takes more damage. A calm two minute diagnosis, a gentle clean if lint is present, and an honest repair decision will give you a cable that clicks, stays, and charges all night. Start with the cable swap tonight, and let the result tell you what to do next.
Frequently Asked Questions
Why does my charger keep falling out of my phone?
The most common cause is packed lint in the port, which stops the plug from seating fully. A worn cable plug, a case blocking the port, or a worn port itself can cause the same feeling. Swap the cable and remove the case first to find which part is at fault.
Is it safe to clean my charging port with a toothpick?
Yes, if you use a wooden or plastic toothpick, power the phone off first, and scoop gently along the walls and floor of the port. Never use metal tools, never press on the center tongue of a USB type C port, and stop if you see damage or corrosion.
Can a loose charging port damage my phone?
A loose port can cause intermittent charging, extra heat, and arcing at the contacts if the cable is forced to one side. Continued forcing can bend contacts or crack the connector tongue. Fix the cause promptly, and do not keep wiggling a cable to make it charge.
How much does it cost to fix a loose charging port?
In the US, an independent shop often charges about 50 to 120 dollars for a port replacement where the port is a separate part. Board level repairs can cost 120 to 250 dollars or more. Always get a written quote that includes parts, labor, and warranty before work starts.
Should I use a magnetic charging adapter for a loose port?
A quality magnetic adapter can work as a temporary bridge while you arrange a repair, because the tip stays in the port and reduces daily wear. Cheap adapters can disconnect easily, trap lint, or overheat. Treat it as a short term solution, not a permanent fix for a worn port.
