
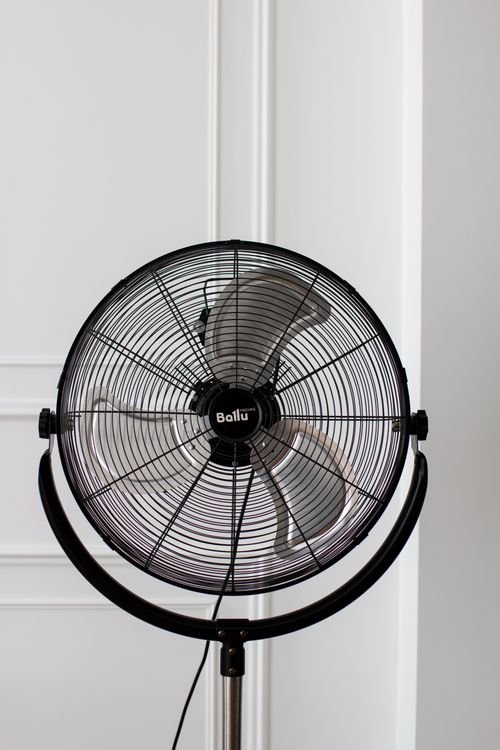
You switch your fan on after a long break and a faint cloud of dust puffs into the room. The blades look grey, the grille is furry, and the last thing you want is to hunt for a screwdriver and spend your afternoon pulling the whole thing to pieces. Learning how to clean a fan without taking it apart solves this exact problem, and it takes about fifteen minutes once you know the order that works.
This guide walks you through seven safe methods that clean the blades, the grille and the housing without removing a single screw. It covers pedestal fans, desk fans, tower fans and the popular circulator fans found in many Japanese homes, where fans often run every day through the humid summer and gather dust fast.
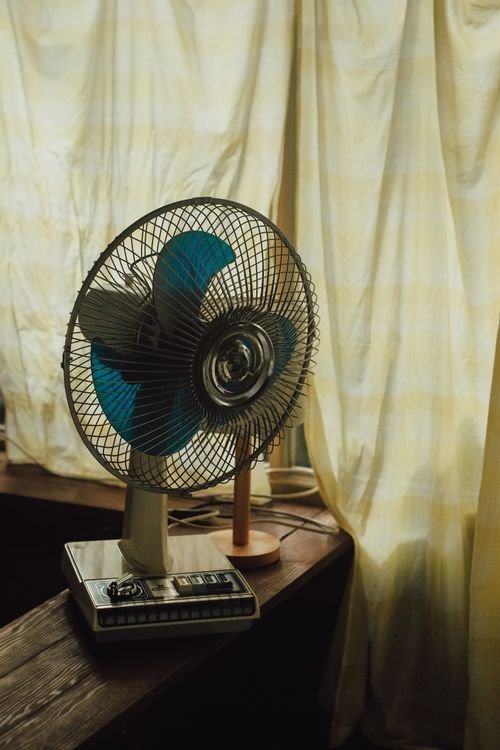
Why a Fan Gets Dusty Faster Than Almost Anything Else in Your Home
A fan moves a huge volume of air every minute, and every cubic metre of that air carries dust, pollen and tiny fibres. The blades also build up a small static charge as they spin, which pulls particles straight onto the surface like a magnet. That is why a fan can look clean on Monday and filthy by Friday.
Kitchens make the problem worse. Cooking releases a fine film of grease into the air, and when that film lands on blades it turns loose dust into a sticky layer that a dry cloth will only smear. Homes with pets add hair and dander to the mix, which weaves itself into the grille and traps even more dust behind it.
The result of all this is not just cosmetic. A thick layer of dust on the blades disturbs the smooth shape that moves air efficiently, so the fan pushes less breeze while the motor works harder. Regular cleaning keeps the airflow strong and the running costs low.
What You Need Before You Start
Gather everything first so you are not dripping water across the room halfway through. You need:
- A vacuum cleaner with a soft brush attachment
- Two or three microfiber cloths
- A soft bristle brush, such as a clean paintbrush or an old toothbrush
- A spray bottle filled with warm water and a single drop of mild dish soap
- A large pillowcase or a plastic trash bag
- A dry towel
The most important rule comes before any method: unplug the fan. Every method below assumes the fan is disconnected from power, because water and electricity are a dangerous mix and a spinning blade can hurt your fingers.
How to Clean a Fan Without Taking It Apart: 7 Methods in Order
Use these methods in order, from driest to dampest. Each one removes a layer of dirt so the next one works better, and stopping early is fine if your fan is only lightly dusty.
Method 1: Vacuum the Grille on Both Sides
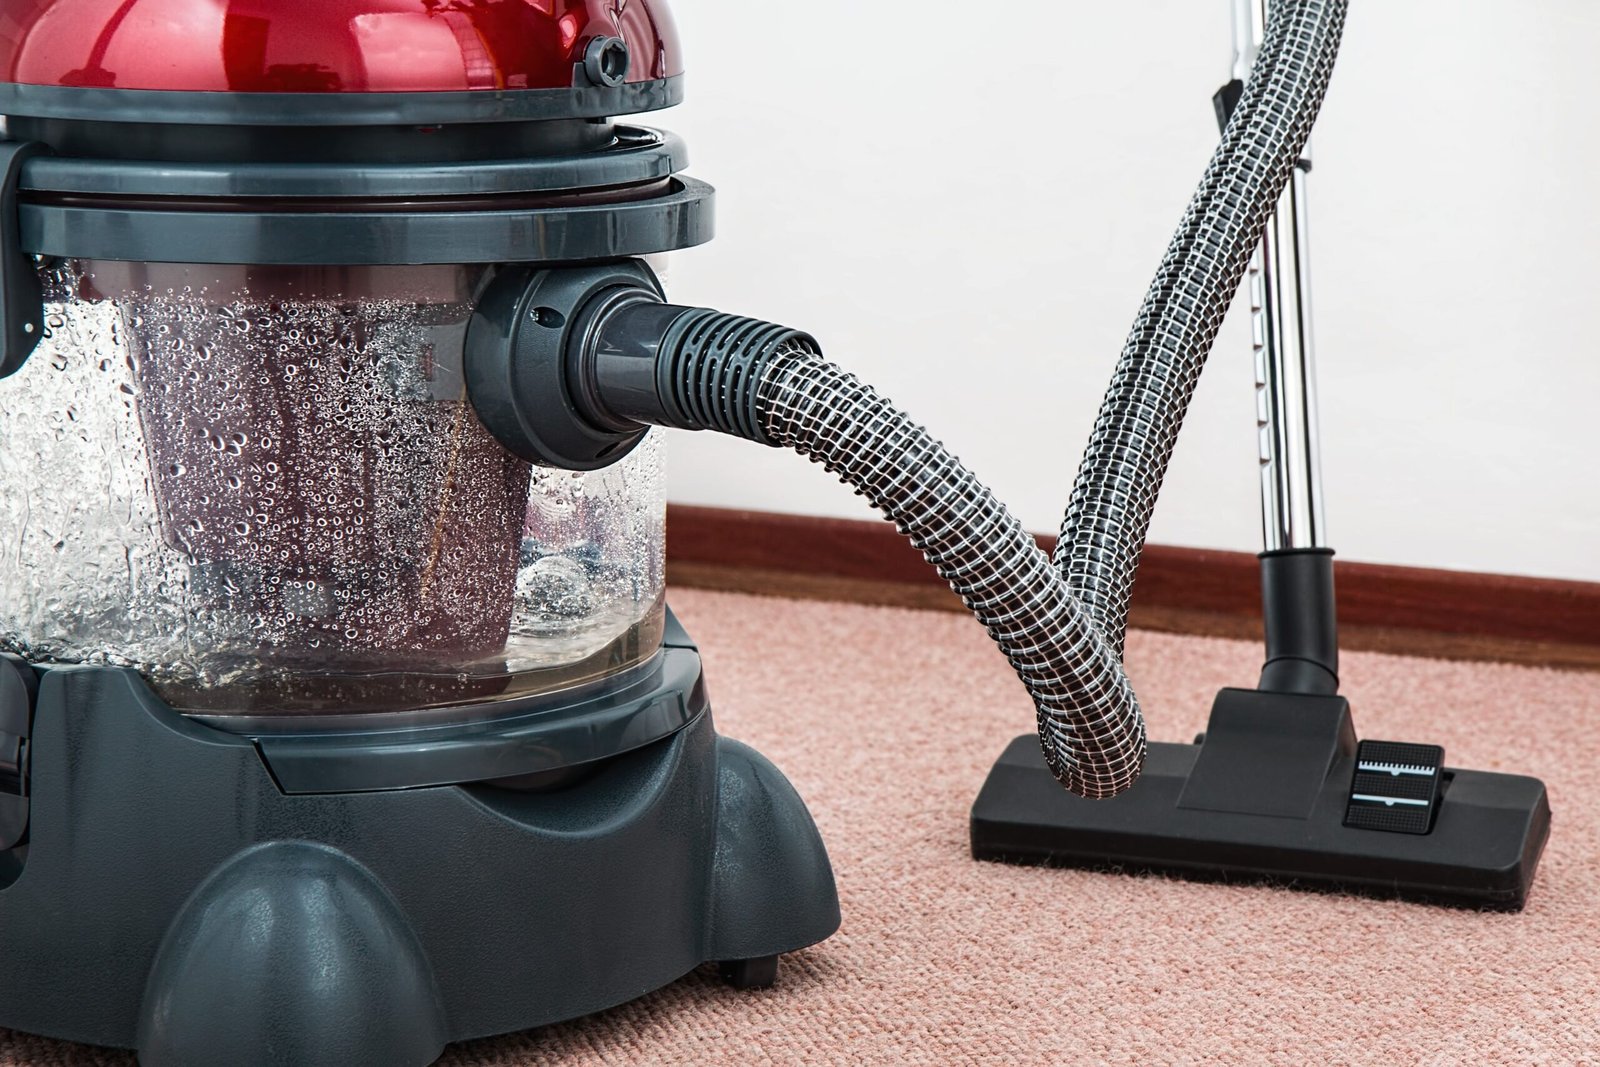
Start with the vacuum and its brush attachment. Work slowly across the front grille in overlapping strokes, then do the same on the back. The brush loosens surface dust while the suction captures it, which stops the dust from drifting around the room.
Pay extra attention to the rim where the two halves of the grille meet, because dust packs into that seam. If your fan has a rear vent on the motor housing, vacuum that too. This single step often removes half the visible dirt and makes every later step easier.
Method 2: Brush Dust Loose Through the Grille
For the dust the vacuum leaves behind, push a soft bristle brush through the grille openings and sweep the blades gently. Rotate the blades by hand so you can reach every one, and hold the vacuum nozzle nearby with your other hand to catch what falls.
Use light pressure. Pressing hard can bend thin blades, and a bent blade wobbles and makes noise. This method shines on pedestal and desk fans where the grille openings are wide enough for a brush to pass through.
Method 3: The Pillowcase Trick for Dusty Blades
Slide a large pillowcase over one blade at a time, then press the fabric gently against both faces of the blade and pull the pillowcase back toward you. The dust stays trapped inside the case instead of floating into the air you breathe.
This is the classic ceiling fan trick, but it works just as well through the front grille of a pedestal or desk fan. Turn the blades by hand between passes so you cover each one, then shake the pillowcase outside when you finish.
Method 4: The Trash Bag Containment Trick for Heavy Buildup
When dust has caked into a thick layer, mist the blades lightly through the grille with your spray bottle, then slip a large plastic bag over the whole fan head and gather it loosely around the neck. Leave enough air space for circulation.
Now switch the fan on at its lowest speed for about thirty seconds. The airflow carries the dampened dust off the blades and onto the inside of the bag instead of across your room. Switch the fan off, unplug it again, remove the bag carefully and wipe the loosened grime with a microfiber cloth. Never run the fan with the bag tight against the blades, and keep all liquid away from the motor housing.
Method 5: Damp Wipe Each Blade Through the Grille
Lightly dampen a microfiber cloth with your soapy water and wring it until it is barely moist. Reach through the grille and wipe the front and back of each blade, rinsing the cloth often. The tiny amount of soap cuts through the greasy film that dry methods leave behind, which is especially useful for kitchen fans.
Rotate each blade into reach by hand rather than forcing the cloth into tight spots. If the water in your bowl turns grey, that is a good sign: it means the film is coming off instead of being pushed around.
Method 6: Clean the Housing, Base and Controls
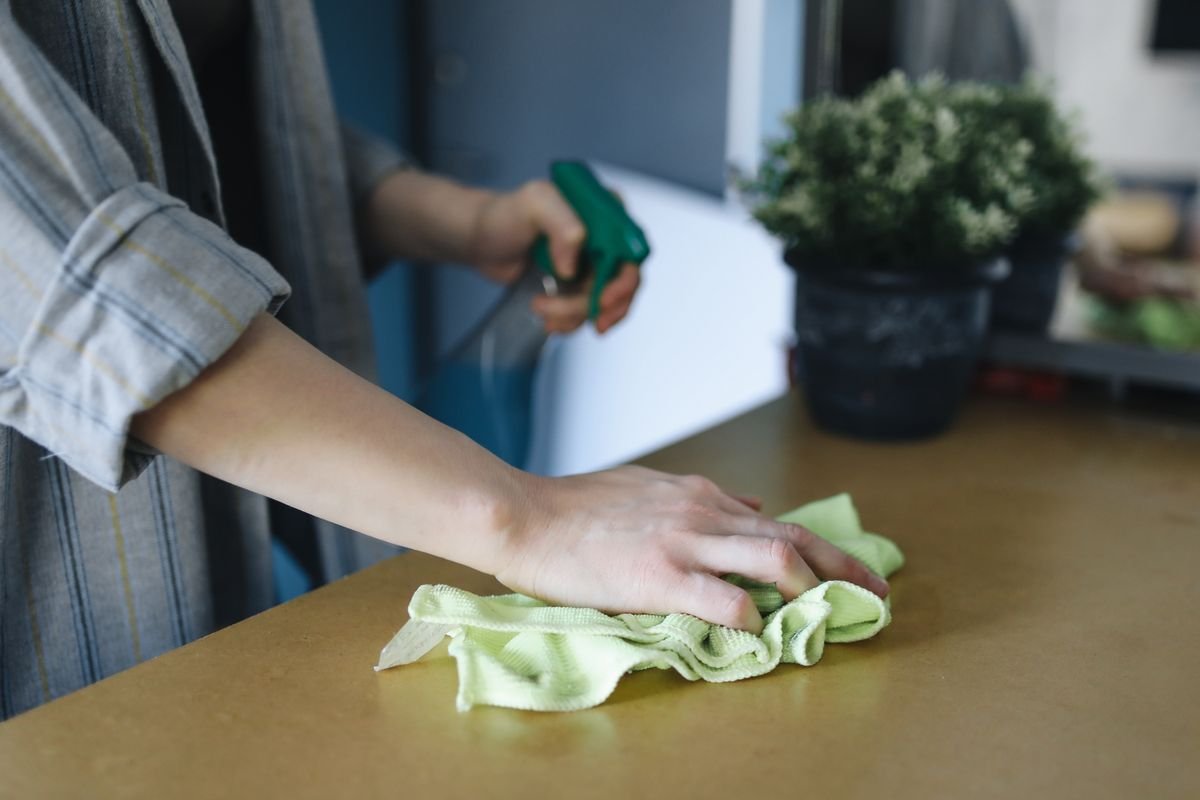
The motor housing, the stand and the control buttons collect dust too, and this dust eventually migrates back onto the blades. Wipe the housing with a dry or barely damp cloth, and use a dry brush around buttons, dials and vents where moisture could seep inside.
Never spray cleaner directly onto the housing or let liquid run into vents, switches or the area where the cord enters. If grime has settled into textured plastic, a dry toothbrush works better than any liquid.
Method 7: Adapt the Routine for Tower and Bladeless Fans
Tower fans hide their blades behind narrow vertical slots, so start with the vacuum brush attachment along every slot, then push a thin flexible duster or a ruler wrapped in a microfiber cloth into the vents. Wipe the outer shell with a damp cloth and dry it fully.
Bladeless fans are simpler: wipe the loop inside and out with a damp microfiber cloth, and clean the small intake vents at the base with the vacuum brush. Blocked vents force any cooling device to work harder than it should, and airflow choked by dust is also the reason a laptop can get hot and shut down when its own vents clog.
How to Dry Your Fan So Moisture Never Becomes a Problem
Drying matters as much as cleaning. Any moisture left on metal parts can encourage rust, and moisture near the motor can damage the electrics. After any damp method, wipe every surface with a dry towel, then leave the fan unplugged in a room with good airflow for at least an hour.
Do not use a hair dryer or any heat source to speed things up, because concentrated heat can warp plastic parts. Do not plug the fan in until every surface you touched feels completely dry. When in doubt, wait longer: an extra hour of patience costs nothing.
How Often Should You Clean Your Fan
A simple schedule keeps the job small each time:
- Every two weeks during heavy use: a quick vacuum of the grille
- Once a month: a full pass with the brush or pillowcase method
- Twice a year: the complete routine, including a damp wipe and housing clean
Homes with pets should shorten this cycle, because hair weaves into the grille and traps dust at twice the normal rate. If pet hair is your main battle, our guide on how to remove pet hair from couches uses many of the same tools and the same patient approach.
Fans in kitchens need the damp wipe step more often, since cooking grease builds the sticky layer that dry dusting cannot shift. A fan that runs daily in a humid summer, as circulator fans often do, also deserves the monthly pass rather than the seasonal one.
6 Mistakes That Can Ruin a Fan
- Cleaning while the fan is plugged in. Always unplug first, with no exceptions.
- Soaking the blades or grille. A dripping cloth sends water straight into the motor.
- Using harsh chemicals. Bleach, ammonia and abrasive powders can damage plastic and leave residues you then breathe in.
- Spraying liquid into vents or switches. Moisture in the electrics can cause a short.
- Forcing stuck parts. If a knob or dial resists, check the manual instead of pulling harder.
- Skipping the dry time. Plugging in a damp fan is the most common cause of post cleaning problems.
When Cleaning Is Not Enough
Sometimes a fan stays weak or noisy even after a thorough clean. A blade that was bent long ago will wobble no matter how clean it is, and a motor that hums loudly or smells hot may be wearing out internally. If the oscillation has stopped working or the fan only runs on one speed, the issue is electrical rather than dirt.
In these cases, check whether the fan is still under warranty before opening anything. For an older fan, compare the cost of a repair with the price of a replacement, because small fans are often cheaper to replace than to fix.
Final Takeaways
Learning how to clean a fan without taking it apart comes down to one simple sequence: unplug, vacuum dry, loosen with a brush, trap dust with a pillowcase or bag, damp wipe only as needed, clean the housing and dry everything completely. Follow that order and a job that looked like an afternoon project becomes a fifteen minute routine.
Do the quick version every couple of weeks while the fan is in daily use, and save the full routine for a seasonal deep clean. Your reward is stronger airflow, lower running costs and air that does not carry last month’s dust back into the room.
Frequently Asked Questions
Can I spray water directly onto a fan to clean it?
No. Spraying water directly can send liquid into the motor and the electrics, which is dangerous. Mist a cloth or the blades very lightly instead, and keep all moisture away from the housing and controls.
How often should I clean my fan?
Vacuum the grille every two weeks during heavy use, do a full brush or pillowcase clean once a month, and run the complete routine with a damp wipe twice a year. Shorten the cycle if you have pets or cook near the fan.
Is it safe to use a hair dryer to dry a fan after cleaning?
It is not recommended. Concentrated heat can warp plastic blades and housings. Wipe with a dry towel and let the fan air dry unplugged for at least an hour instead.
Why does my fan still smell dusty after cleaning?
The smell usually comes from dust trapped in the motor housing vents or from a greasy film on the blades that dry dusting missed. Vacuum the rear vents and do the damp wipe step with a drop of mild dish soap, then dry fully.
Can I clean a fan while it is plugged in?
Never. Always unplug the fan before any cleaning method, even a quick dry dusting. A spinning blade can injure your fingers, and any moisture near a live appliance creates a shock risk.
