
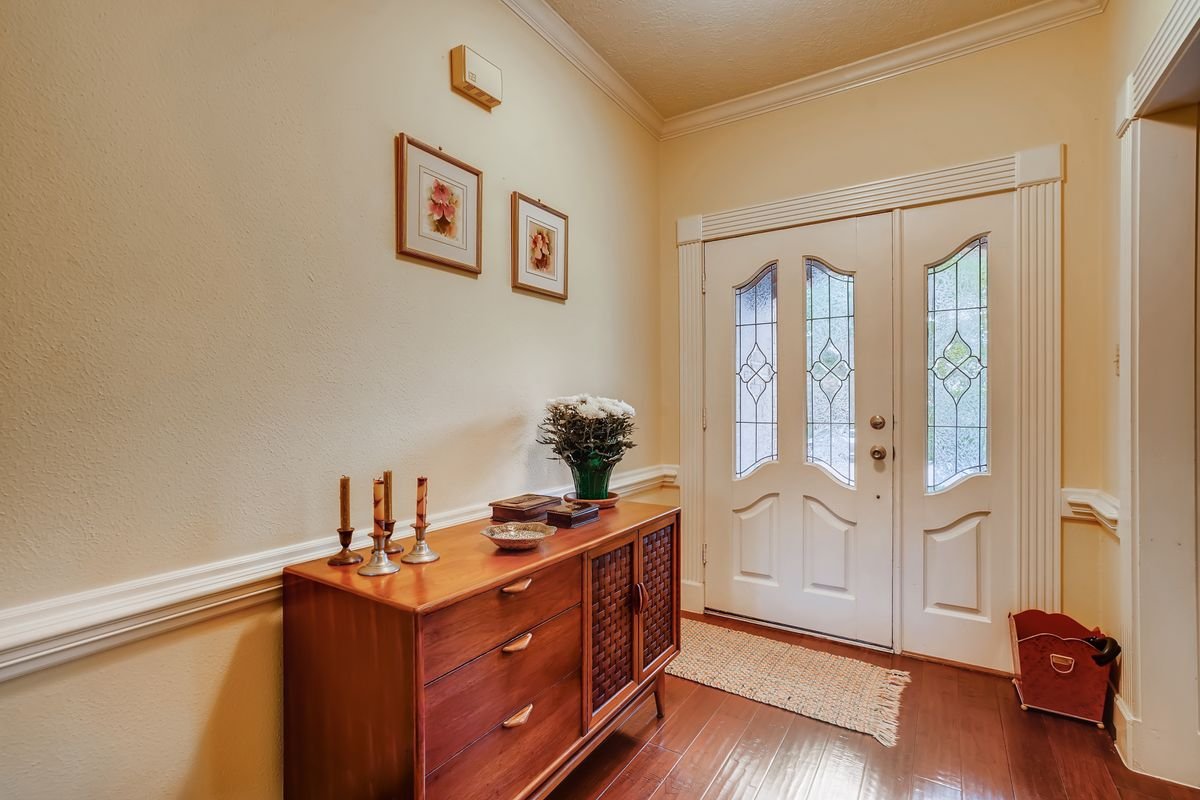
It is a cold January evening in a 1930s semi in Leeds. The heating has been on since five o clock. The living room is warm enough. The radiators are ticking away. Yet the hallway feels like a different house altogether. Every time someone walks past the front door, a thin ribbon of cold air slides across the floor and finds their ankles. The coats on the hooks sway slightly, even though every window is shut. The thermostat says 20 degrees. The hallway says otherwise.
If that scene sounds familiar, your front door is almost certainly the culprit. A gap of only a few millimetres under a door can let in as much cold air as a small open window. The fix is one of the cheapest jobs in the whole house, and most people can finish it in a single afternoon with nothing more than a tape measure, a screwdriver and a trip to a DIY shop. This guide shows you how to stop draughts under front door UK homes suffer from every winter, in the order that actually works: find the leak first, fix the biggest gap first, and know when the door itself is the problem.
Three ideas run through everything that follows. First, never buy a single seal until you know exactly where the cold air is getting in. Second, fix the gaps in order of impact per pound, because the gap under the door matters far more than a hairline crack at the top. Third, leave your designed ventilation alone. A warm house still needs fresh air, and sealing the wrong thing creates damp. Get those three ideas right and a cold hallway becomes a warm one for less than the cost of a weekly shop.
How to Stop Draughts Under Front Door UK: Start by Finding the Leak
Before you spend a penny, spend ten minutes finding the leak. Most people guess, buy the wrong product, and then wonder why the hallway is still cold. A front door can leak in four places, and each one needs a different fix. The gap under the door is usually the biggest. The gaps around the frame come next. Then the letterbox. Then the keyhole. Finding out which ones apply to your door takes one windy day and the back of your hand.
Close the front door and lock it as normal. Then, on a cold or breezy day, run the back of your hand slowly around the frame, starting at the top hinge side and working down to the threshold. Your skin will feel the cold stream the moment you cross it. Mark each cold spot with a small piece of masking tape. Do the same along the bottom edge, holding your hand flat against the floor just inside the door. If you can feel air moving at ankle height, the gap under the door is doing most of the damage.
Next, try the daylight test. Stand inside on a bright day with the door closed and the hallway lights off. Look slowly around the edge of the door. Anywhere you can see daylight, air can get through. A thin line of light along the bottom usually means the threshold seal is worn out or was never fitted. Light at the top corner often means the door has dropped on its hinges, which is a different job entirely, and we come back to that below.
A third test costs nothing and settles arguments. Hold a single sheet of tissue paper near the edge of the closed door. If it flutters, air is moving through. Move it slowly around the frame and note where the flutter is strongest. Write down what you found, in plain words, before you go shopping. A note that says “big gap under door, small gap latch side, letterbox flaps open” is worth more than any product review, because it tells you exactly what to buy.
Why a Small Gap Steals So Much Heat
It helps to understand what is happening. Warm air inside your home is lighter than cold air outside, so it rises and escapes through high gaps around windows and loft hatches. Cold air replaces it by pushing in low, through gaps at floor level. Your front door sits exactly where that cold air wants to enter, and the gap underneath it is often the largest single opening at floor level in the whole house. That is why the cold pools in the hallway and why the room nearest the door never feels as warm as the rest of the house.
Research into heat loss in UK homes suggests that uncontrolled air leaks can account for up to a fifth of the heat a home loses in winter. The Energy Saving Trust calls draught proofing one of the cheapest and most effective ways to cut that loss, and it is easy to see why. A door sweep costs less than a takeaway. A roll of foam tape costs less than a coffee. Yet together they can turn a hallway from the coldest room in the house into an ordinary one. The heating you already pay for finally stays where you want it.
There is a second benefit that people notice before the heating bill changes. A draughty hallway makes the whole house feel colder than it is, so people turn the thermostat up. Seal the draughts and the same thermostat setting suddenly feels warmer, because the cold stream across the floor has gone. That is the real prize here. Not a gadget, not a new boiler, just a door that closes the way it was designed to close.
Fix the Gap Under the Door First
The gap under the door is where most of the cold air enters, so fix it first. Measure the width of the door and the size of the gap before you buy anything. Slide a stack of coins under the door to gauge the gap. Two pound coins stacked are about 3 millimetres thick. If the gap is less than 5 millimetres, a brush strip will do. If it is between 5 and 15 millimetres, a door sweep or a drop down seal is the better choice. If it is more than 15 millimetres, check whether the door has dropped, because no seal will fix a door that hangs wrong.
A brush strip is the simplest option for most UK front doors. It is a metal bar with a row of stiff nylon bristles that screws to the inside face at the bottom of the door. The bristles sweep across the threshold as the door opens and closes, and they cope well with uneven floors because the bristles bend to follow the surface. Expect to pay around £8 to £20 for a good one at Screwfix or B and Q, and allow about 20 minutes to fit it. Measure the door width, cut the strip to length with a hacksaw, and screw it on so the bristles just touch the floor when the door is closed.
A door sweep is a rigid strip with a flexible rubber blade that screws to the bottom edge of the door. It seals better than a brush on a flat, even floor, and it also helps keep out rain and dust. The trade off is that it can drag on an uneven threshold or a thick rug, so check the floor first. Prices start at around £12 and run to about £45 for a heavy duty version. Fitting is the same job as a brush strip: measure, cut, screw, test the close.
A drop down seal is the neatest option and the best seal of the three. It sits in a groove cut into the bottom of the door and drops down automatically when the door closes, then lifts clear when the door opens. It costs more, usually £25 to £60, and it needs a steady hand with a router or a joiner to fit it. For a front door that you open and close a dozen times a day, it is worth considering, because nothing drags and nothing wears out quickly.
Then there is the fabric draught excluder, the long sausage shaped tube that sits on the floor against the door. It works in a pinch and it costs almost nothing, but it falls over, gets kicked aside, and does nothing when the door opens. Treat it as a stopgap while you wait for a proper seal, not as the solution. And if your home has a cat flap in the door, remember that the flap is a leak too. Our guide to a cat flap letting in draughts covers the fixes for that particular hole, and they pair well with the work in this article.
Seal the Gaps Around the Frame
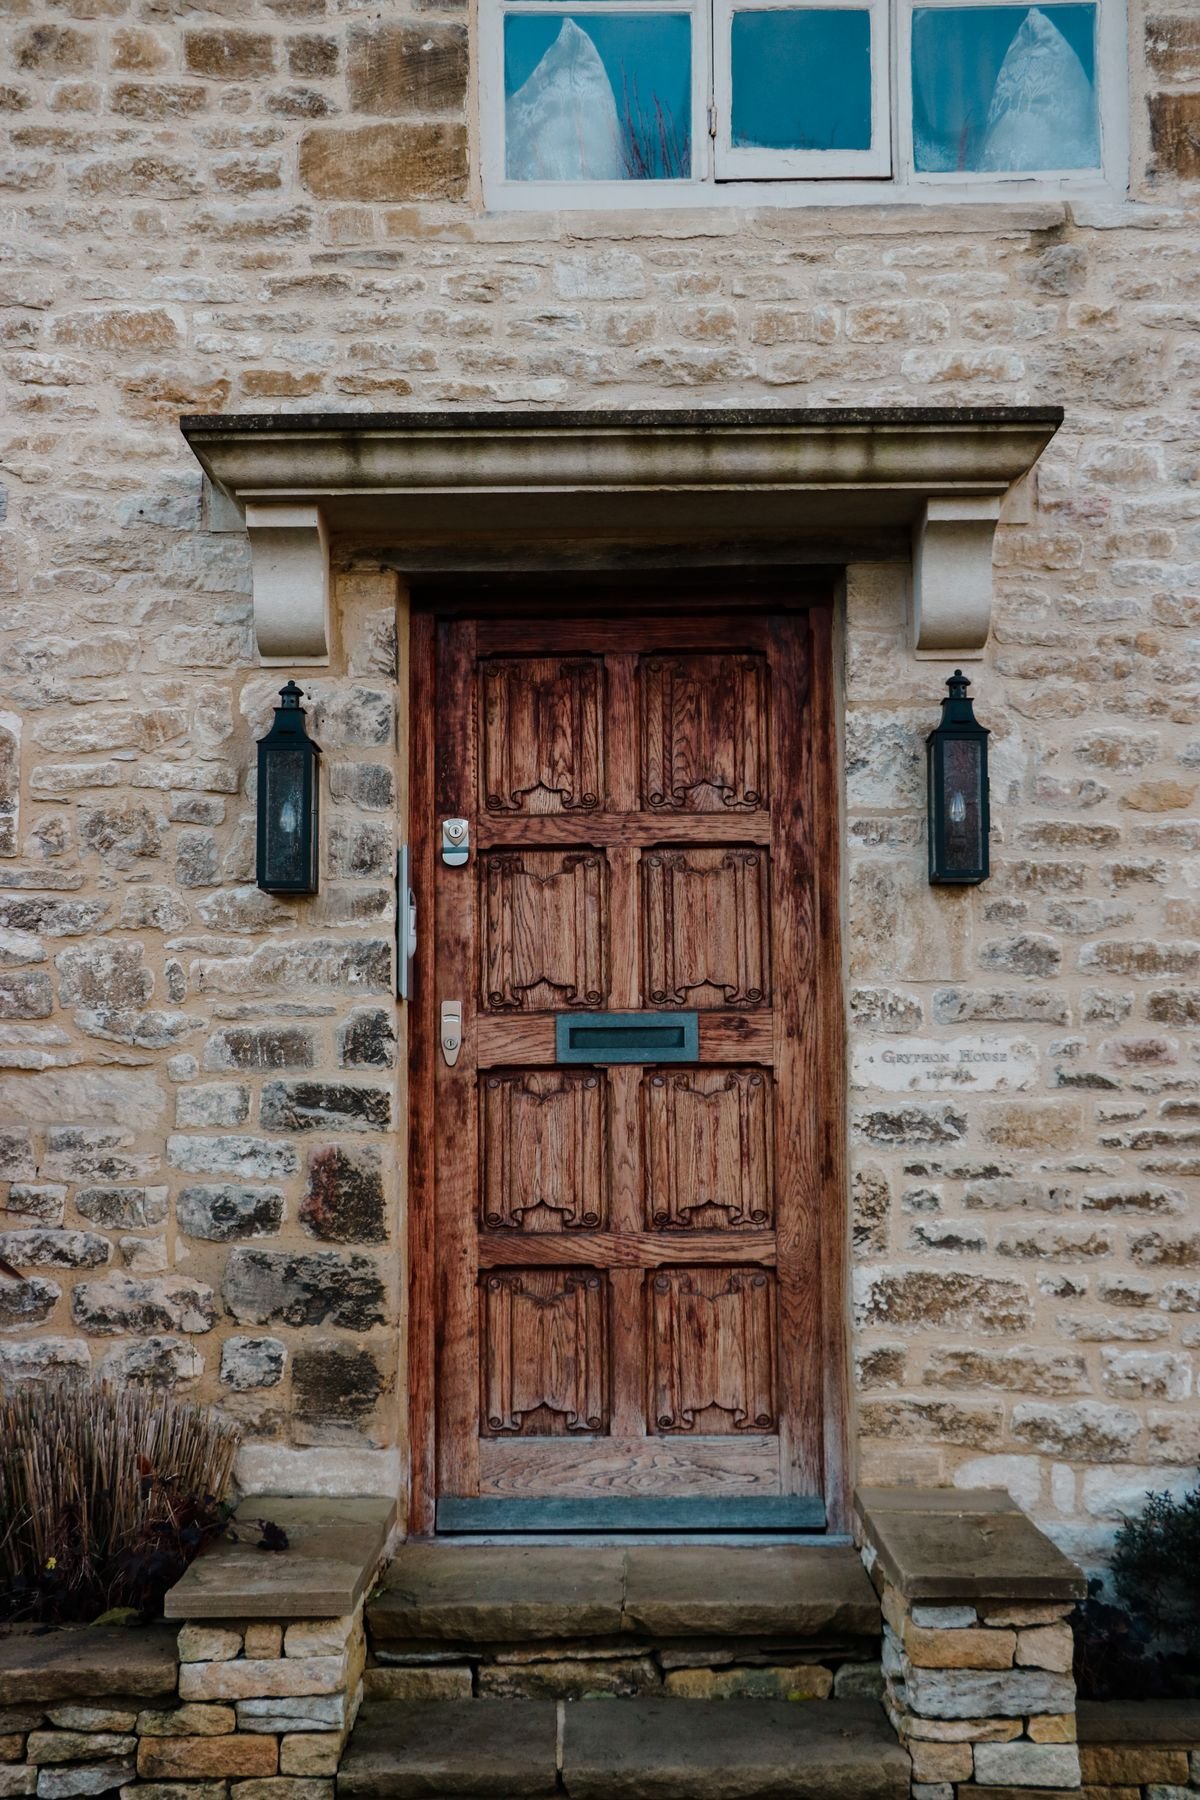
Once the bottom is sealed, move on to the frame. The gaps around the sides and the top of a front door are smaller than the gap underneath, but they still matter, and they are the cheapest gaps to fix. Start with the masking tape marks you made during the hand test. If the whole frame leaks a little, you need a full perimeter seal. If only one side leaks, fix that side and leave the rest alone.
Self adhesive foam tape is the budget option and the easiest to fit. It comes in rolls for around £3 per five metres at any DIY shop. Clean the frame with a cloth and a little methylated spirit, let it dry, then press the tape into the rebate where the door meets the frame. Close the door gently to check the fit. The tape should compress by about a quarter to a half when the door closes. Too thin and air still slips through. Too thick and the latch will not engage properly. Foam tape lasts a winter or two before it flattens, so treat it as a cheap annual job rather than a permanent fix.
Rubber compression seals last much longer. They slot into a groove cut into the door stop and press against the door when it closes, giving a firm, even seal. Kits cost around £10 to £25 and take about half an hour to fit. They suit wooden front doors particularly well, because the groove can be cut cleanly and the seal sits out of sight. If your door already has a groove from an old seal, measure the groove before you buy, because seals come in different profiles and the wrong one will either fall out or stop the door closing.
Brush pile seals are a third option, and they are useful where the gap varies along the frame, which happens often on older doors that have settled unevenly. The brush fills the gap even where it widens and narrows, and it does not go flat the way foam tape does. Whatever type you choose, fit it on the hinge side first, then the latch side, then the head of the frame. Test the door after each side. A door that closes smoothly with a gentle push is right. A door you have to shoulder shut is over sealed, and forcing it will wear the hinges and the lock.
Do Not Forget the Letterbox and the Keyhole
Most front doors leak in more than one place, so a single fix at the bottom often makes less difference than people expect. The letterbox is a hole straight through the door, and on a windy day it acts like a small vent blowing cold air into the hallway. A brush cowl fitted over the inside of the letterbox stops the wind while still letting the post through. It costs around £8 to £15, screws on in ten minutes, and makes a noticeable difference on exposed doors that face the prevailing wind.
Check the flap on the outside of the letterbox too. If it hangs loose or the spring has gone, it will flap in the wind and let in far more air than the brush cowl can stop. A replacement flap is cheap and takes minutes to fit. While you are there, look at the keyhole. An old fashioned keyhole is another small hole straight through the door, and a simple keyhole cover with a spring flap blocks it for a few pounds. It is a small detail, but draught proofing is a game of small details, and they add up.
One warning applies to all of this. Do not seal up the trickle vents on your windows, and do not block air bricks or boiler flues. Those are designed ventilation, and your home needs them to stay healthy. The gaps you are sealing are the uncontrolled ones: the worn seal under the door, the perished foam around the frame, the flapping letterbox. Keep the controlled ventilation open and you get a warm house without the damp problems that come from sealing a home too tightly. If you are also fighting damp in the house, our guide on how to dehumidify a room without a dehumidifier explains how ventilation and moisture work together, and it is worth reading before you start sealing things up.
When the Door Itself Is the Problem
Sometimes no seal will fix the draught, because the door itself has moved. Wooden front doors are heavy, and over years the top hinge can work loose, the frame can settle, or the timber can warp with damp. The result is a door that looks closed but sits crooked in its frame, with a wide gap at one corner and no gap at all at the other. Before you buy any seals, check for this, because sealing a dropped door just hides the problem and wears out the lock.
The signs are easy to spot. The door catches on the threshold or the frame when you close it. The latch only engages if you lift the handle or push the door. Daylight shows in a wedge shape, wide at one corner and nothing at the other. Or the gap under the door is much bigger on one side than the other. Any of these means the door has dropped or warped, and the fix starts with the hinges, not the seals.
Try the simple fix first. Open the door and tighten every hinge screw with a screwdriver, working from the top hinge down. If a screw spins without gripping, the hole is worn. Remove the screw, push a couple of wooden matchsticks coated in wood glue into the hole, let it set, then drive the screw back in. That alone can lift a dropped door by several millimetres. If the door still sits crooked after that, the hinges may need packing out with thin card behind the hinge leaf, or the door may need planing. Planing a front door is a job for a joiner unless you are confident with a plane, because taking off too much creates a permanent gap. Expect a joiner to charge around £60 to £120 for adjusting a door, which is still far cheaper than a replacement.
Also check the threshold itself. On older houses the wooden threshold wears down over decades until it sits below the bottom of the door, leaving a gap no brush strip can span. A new threshold strip, sometimes called a weather bar, screws on along the foot of the door on the outside and throws rainwater clear while closing the gap. If the threshold is rotten or split, replace it before you fit any seals, because seals fitted to rotten timber will not last the winter.
What It Costs and What You Save
Here is what the fixes in this guide typically cost in the UK, based on prices at Screwfix and B and Q this autumn. Your prices may vary a little, but the order of cost is right, and it shows why starting with the gap under the door gives you the best return for your money.
Foam tape for the frame costs around £3 for a five metre roll and takes about 15 minutes to fit. A brush strip for the bottom of the door costs around £8 to £20 and takes about 20 minutes. A letterbox brush and a keyhole cover together cost around £10 to £20 and take about 15 minutes. A door sweep costs around £12 to £45 and takes about 20 minutes. A rubber compression seal kit for the whole frame costs around £10 to £25 and takes about half an hour. A drop down seal costs around £25 to £60 and needs a joiner or a confident DIYer. A thermal curtain hung behind the door costs around £25 to £80 and takes about 20 minutes to hang.
Most households can fit a brush strip, renew the frame seals and add a letterbox brush in under an hour with basic tools, for a total of around £25 to £50. The Energy Saving Trust puts the saving from draught proofing a typical home at around £45 a year on heating bills, so the work can pay for itself in a single winter. The comfort saving is immediate though, and most people say they notice it the same evening, the first time they walk past the door without feeling the cold stream across their ankles.

If You Rent, You Can Still Fix It
Renters often assume draught proofing is the landlord’s job, and in law the structure of the door is the landlord’s responsibility. But the cheap, removable fixes are yours to do, and they make a real difference while you wait for the landlord to act. A fabric draught excluder needs no permission at all. Self adhesive foam tape peels off cleanly when you move out, so long as you use the removable type and not the heavy duty kind. A thermal curtain on a tension rod needs no screws and no holes.
For anything permanent, like a brush strip screwed to the door or a drop down seal, ask the landlord in writing first. Most landlords say yes, because draught proofing protects their property from damp and makes the home cheaper to heat, which keeps tenants happy. Frame your request in those terms. Tell them the hallway is cold, the heating is working hard, and a £20 seal would help. Offer to fit it yourself if they supply it. If the door has dropped or the threshold is rotten, that is a repair, not an improvement, and the landlord should arrange it. Report it in writing, with a photo of the daylight test, and keep a copy.
One thing renters should never do is seal up a vent or block an air brick to stop a draught. Those belong to the building, and blocking them can cause damp that the landlord will blame on you. Stick to the removable fixes, report the structural problems, and keep the receipts for anything you buy. Some landlords will reimburse the cost if you ask, and even if they do not, £25 for a warm hallway is money well spent.
Mistakes That Undo the Good Work
A few mistakes turn a good draught proofing job into a wasted afternoon. The first is buying seals before measuring. Guessing the gap size is how people end up with a brush strip that does not reach the floor or foam tape so thick the door will not latch. Measure twice, buy once. The second is sealing only one leak and stopping. Most front doors leak in three or four places, and fixing only the bottom leaves the frame and the letterbox still blowing cold air in. Work through the whole door in one session.
The third mistake is over sealing. A door that needs a shoulder to shut is not draught proof, it is broken. The latch will wear out, the hinges will strain, and the seals themselves will flatten and fail within weeks. If the door is hard to close after fitting a seal, the seal is too thick or the door has dropped. Fix the cause instead of forcing the close.
The fourth mistake is forgetting ventilation. A home that is sealed too tightly traps moisture from cooking, showering and drying clothes, and that moisture shows up as condensation on windows and mould in corners. Keep trickle vents open, run extractor fans while you cook and shower, and leave them running for twenty minutes afterwards. If condensation is already a problem in your home, our guide on how to stop condensation on windows overnight explains the ventilation side of the story, and it pairs naturally with the work in this article.
The fifth mistake is fitting seals to a dirty or damp surface. Foam tape stuck to a dusty frame peels off within days. Brush strips screwed into soft, damp timber work loose. Clean the frame, let it dry, and check the timber is sound before you fit anything. Ten minutes of preparation saves a job that needs redoing in January.
A Simple Seven Day Test
Here is a test that turns all of this from theory into proof. On the evening before you start, stand in the hallway in socks and note how it feels. Write down one sentence about it. Then take a photo of the thermometer in the hallway and the thermostat setting. Fit the seals the next day, working in the order this guide suggests: under the door first, then the frame, then the letterbox and keyhole.
Seven days later, stand in the same spot in socks at the same time of evening and write down one sentence again. Compare the two notes. Most people write something like “cold air on my ankles” the first time and “hallway feels like the rest of the house” the second. Check the thermometer too. The hallway should sit within one or two degrees of the living room, where before it may have been four or five degrees colder. If it is still cold, go back to the hand test and find the leak you missed. There usually is one, and it is usually the letterbox.
Conclusion
Knowing how to stop draughts under front door UK homes suffer from each winter is one of the best value jobs in any UK home. It costs little, it takes an afternoon, and it changes how the whole house feels every single day of winter. The method is simple, and it works because it follows the order that matters. Find the leak first with the back of your hand and a sheet of tissue. Fix the gap under the door first, because that is where most of the cold air enters. Then seal the frame, the letterbox and the keyhole. Check whether the door itself has dropped before you buy a single seal, and leave your trickle vents and extractor fans alone so the house can still breathe.
The takeaways are easy to carry into the weekend. Measure before you buy. Fix the biggest gap first. Do the whole door in one session, not just one corner of it. Expect to spend around £25 to £50 and an hour of your time, and expect the hallway to feel warmer the same evening. That cold ribbon of air across the floor is not something you have to live with until spring. It is a gap, and gaps can be sealed. Start with the hand test tonight, and by the weekend your hallway can feel like part of your home again.
Frequently Asked Questions
How much does it cost to stop draughts under a front door in the UK?
Most households spend around £25 to £50 on materials. Foam tape costs about £3, a brush strip about £8 to £20, and a letterbox brush with a keyhole cover about £10 to £20. Fitting takes under an hour with basic tools, and the work can pay for itself in a single winter through lower heating bills.
What is the best draught excluder for a front door?
It depends on the size of the gap. A brush strip suits most UK front doors, especially where the floor is uneven, because the bristles bend to follow the surface. A door sweep seals better on a flat, even floor. A drop down seal gives the neatest and longest lasting result but costs more and needs a joiner to fit. A fabric excluder is only a stopgap.
Can I draught proof a front door if I rent?
Yes. Removable fixes like a fabric draught excluder, removable foam tape and a thermal curtain on a tension rod need no permission. For permanent fixes like a screwed on brush strip, ask the landlord in writing first. Most landlords agree because draught proofing protects the property and cuts heating costs. A dropped door or rotten threshold is a repair the landlord should arrange.
Will draught proofing my front door cause damp?
Not if you only seal the uncontrolled gaps and leave designed ventilation alone. Keep trickle vents open, run extractor fans while cooking and showering, and do not block air bricks. Damp comes from sealing a home too tightly and trapping moisture inside, not from fixing a worn door seal.
How do I know if my front door has dropped?
Look for a door that catches on the frame, a latch that only works if you lift the handle, or daylight showing in a wedge shape around the edge. Try tightening the hinge screws first, starting with the top hinge. If a screw spins without gripping, pack the hole with matchsticks and wood glue and try again. If the door still sits crooked, ask a joiner to adjust it before fitting any seals.
