
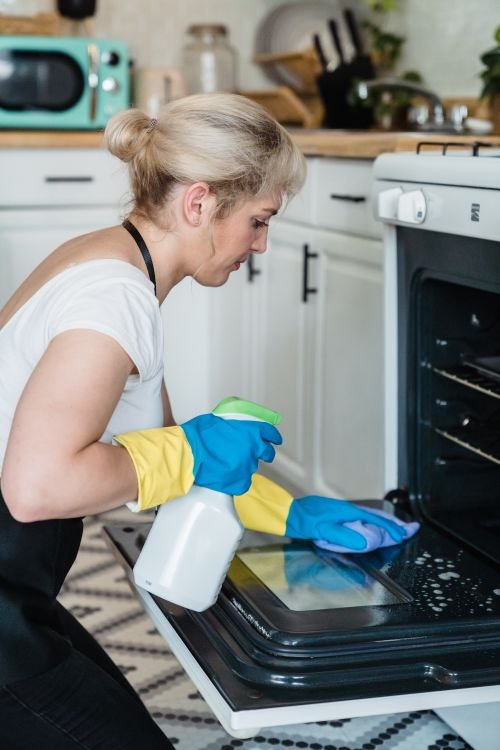
If you have ever scrubbed the inside of your oven door until it shines, then stepped back and noticed a cloudy film sitting right there in the middle of the glass, you are not imagining things. That haze is not on a surface you can reach. It is trapped between the panes, stuck to the inner faces of the glass that make up the door. In this guide you will learn exactly how to clean between oven door glass, starting with a simple method that needs no disassembly, and moving on to a deeper clean for the grime that will not shift any other way.
Most people never think about the space between the panes until it starts to look dirty. Grease from roasting, steam from baking, and the odd boil over all send fine droplets into the door through small vent slots. Over months and years that residue builds into a brownish film or a set of streaks that no amount of wiping the visible surfaces will touch. The good news is that you can fix it yourself with items you probably already own, and you will only need to take the door apart if the buildup is severe.
Why dirt gets trapped between the panes
Oven doors on most modern ranges are built with two or three panes of tempered glass. The layers act as insulation, keeping the outer surface cool enough to touch while the inside reaches full baking temperature. To keep the door from overheating, manufacturers leave narrow vent slots along the bottom edge or the top edge of the door so air can move through the gap.
Those vents are the reason dirt gets in. When you roast a chicken or bake a tray of cookies, tiny droplets of grease and moisture rise in the hot air. Some of them drift into the vent slots and settle on the inner faces of the glass. Because you cannot reach those faces during normal cleaning, the film keeps building. Eventually the door looks permanently dirty, with streaks that seem to sit inside the glass itself.
It helps to know that this is normal. Appliance repair techs see it on almost every oven that is more than a couple of years old, especially in homes where roasting and broiling happen often. It is not a sign that your oven is broken, and it does not mean you have been cleaning badly. It is simply a part of the oven that most cleaning guides skip.
Can you reach the grime without taking the oven apart
Yes, in most cases. Nearly every freestanding range sold in the United States from brands like GE, Whirlpool, Frigidaire, Samsung, and LG has vent slots you can reach from outside the door. If your oven has a warming drawer or a storage drawer under the main cavity, the slots are usually along the bottom edge of the door, and you can see them clearly once the drawer is open. Some models have the slots along the top edge near the handle instead.
The no disassembly method works well for light to moderate buildup: general cloudiness, grease film, and streaks that appeared gradually. It struggles with thick carbonized deposits that have baked on over many years, because a cloth on a thin wand can only reach so far and can only apply so much pressure. If you can see heavy brown or black patches that look like burnt food, plan on removing the door for a proper clean.
One safety note before we start. Always let the oven cool completely. The glass and the metal frame hold heat for a long time after the oven is turned off, and you do not want to learn that the hard way. You do not need to disconnect power for the vent method, but keep your tools gentle and never force anything into a slot that resists.
How to clean between oven door glass without taking the door apart
This is the method most people should try first. It takes about twenty minutes, costs nothing, and it solves the problem completely in the majority of homes. The idea is simple: you slide a thin cloth wrapped tool through the vent slots and wipe the inner glass from the inside of the door.
What you will need
- A wire coat hanger, a wooden ruler, a paint stirrer, or any thin rigid rod at least a foot long
- Two or three clean microfiber cloths
- Rubber bands or painter tape to hold the cloth in place
- Warm water and a few drops of dish soap, or a 50/50 mix of white vinegar and water in a spray bottle
- A flashlight to spot the vent slots and check your progress
Find the vent slots
Open the drawer below the oven all the way and look at the bottom edge of the oven door. You should see a row of thin rectangular slots, usually two to four of them, running along the edge. If your oven has no bottom drawer, check the top edge of the door just under the handle. Shine the flashlight along the edge and you will see the openings clearly. These slots lead straight into the space between the glass panes.
Before you slide anything in, take a look at the gap with the flashlight to judge how dirty the glass is. Light cloudiness and faint streaks are ideal for this method. Thick crusty patches may need the door removed, which we will cover next. It is better to know that now than after ten minutes of wiping.
Build the cleaning wand
Untwist the wire hanger so it forms a long straight rod, leaving a small hook or bend at the end to hold the cloth. Wrap a microfiber cloth around one end of the rod, covering any exposed metal completely so nothing can scratch the glass. Secure it with two rubber bands or a strip of painter tape, pulling it snug so the cloth cannot slip off inside the door. A lost cloth rattling around between the panes would turn a small job into a big one.
Lightly dampen the wrapped cloth with your cleaning solution. Damp is the key word here. You want the cloth moist enough to lift grease, not wet enough to drip. Liquid pooling inside the door can fog the glass or reach electrical parts, so wring out any excess before you start. If you are using the vinegar and water mix, a few spritzes from the spray bottle is plenty.
Wipe through the vents
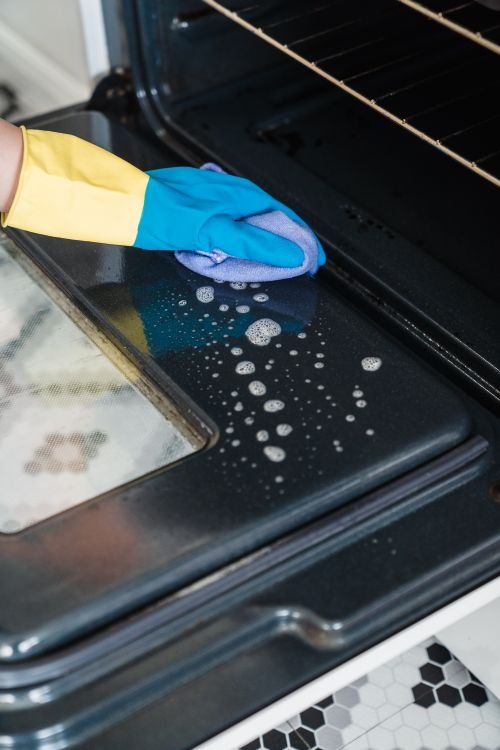
Slide the cloth covered end of the wand gently into one of the vent slots and guide it upward between the panes. Use slow side to side sweeping motions rather than hard scrubbing. Work across the full width of the glass, then pull the wand out, check the cloth, and refold it to a clean section when it gets dirty. Move to the next slot and repeat until you have covered the whole pane.
Take your time with this part. The glass is further away than it feels, and short impatient strokes leave untouched stripes. Long smooth passes give you even coverage. If a section of grime resists, leave it for the second pass rather than pressing harder. Pressure on a thin wand can flex the glass or bend the rod against the door frame, and neither helps.
Finish with a dry pass
Once the glass looks clear, swap the damp cloth for a fresh dry microfiber cloth on the same wand and repeat the passes. This removes any remaining moisture and stops new streaks from forming as the glass dries. Then close the door and look through it from the front and from the side, because some haze only shows when light hits at an angle. If you spot missed patches, repeat the damp pass on those areas only.
Most people are surprised by how much difference this makes. The door goes from permanently grubby to looking nearly new, and you never touched a screw. If the glass still shows heavy patches after two rounds, though, accept that the vent method has done all it can and move on to removing the door.
When the vent trick is not enough: removing the oven door
Some ovens accumulate deposits that a wand simply cannot shift. Baked on carbon, old grease that has hardened over years, and spills that seeped deep into the door all call for taking the door apart. This sounds intimidating, but on most US ranges the door lifts off its hinges in under a minute once you know the trick. The whole job takes about forty five minutes including reassembly.
Safety first
Make sure the oven is completely cool, and this time disconnect the power too. You can flip the breaker or unplug the range if the plug is accessible. Lay a folded towel or a moving blanket on the counter or a sturdy table to protect the glass while you work. Keep a small bowl nearby for screws so none of them wander off. Finally, check your manual or the manufacturer website for your exact model, because hinge locks and screw positions vary between brands.
Lift the door off its hinges
Open the door to the broil stop position, which is usually about a quarter of the way open, or lay it fully flat depending on what your manual says. Many hinges have small locking levers that flip down to hold the hinge open. Once the locks are engaged, grip the door firmly on both sides and lift it straight up and out of the hinge slots. Set it flat on your protected work surface with the handle facing away from you.
If the door feels stuck, do not yank it. Some models need the door fully open before it will lift, and others need a slight rocking motion. Your manual will have the exact move for your model. A door that resists is telling you that you missed a lock, not that you need more force.
Separate the glass panels
Look along the edges of the inner door panel for the screws that hold it in place. They are often along the bottom edge or hidden under small covers near the hinges. Remove them one by one into your bowl, noting where each one came from since they are not always the same length. Gently lift the inner panel away to expose the glass layers.
Some doors use clips instead of screws, and a few have the panes held by a metal frame that lifts away as one piece. Work slowly and take a photo with your phone before you remove anything, so you have a reference for reassembly. If you meet serious resistance, stop and look for a hidden screw rather than forcing the panel.
Clean each pane properly
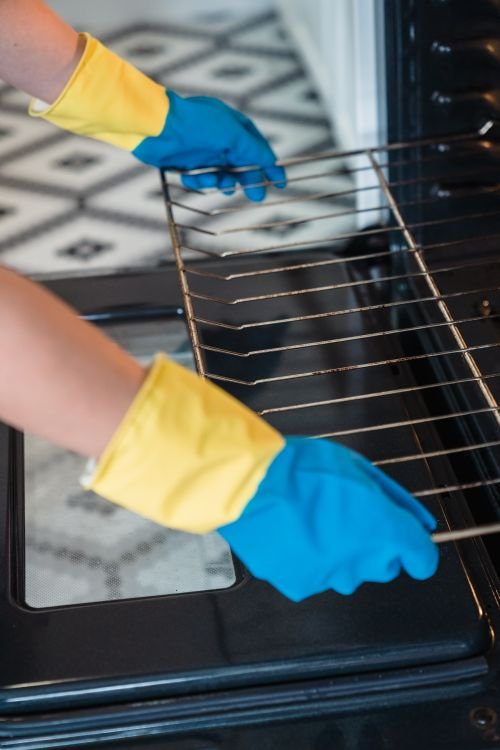
Now you can clean every surface of the glass directly, which is the big advantage of this method. Wash each pane with warm water and dish soap using a soft microfiber cloth. For stubborn spots, spread a paste of baking soda and water over the stain, let it sit for ten to fifteen minutes, then wipe it away with a damp cloth. Finish every pane with a dry microfiber cloth so no moisture gets sealed back inside the door.
While the door is open, wipe the metal frame and the vent slots themselves, since dirt there can fall back onto your clean glass. Check the door gasket too. A worn or torn gasket lets more grease into the door, so if yours looks damaged this is a good time to order a replacement.
Put it all back together
Reverse the steps carefully. Set the glass panes back in their tracks, reattach the inner panel, and replace every screw in its original position. Lift the door back onto the hinges, making sure both sides seat fully, then flip the hinge locks back to their normal position. Close the door slowly and check that it sits flush and opens smoothly.
Reconnect the power and run the oven at a low temperature for a few minutes while you watch the door. This confirms everything is seated correctly and dries out any last trace of moisture. If the glass fogs slightly, leave the door ajar until it clears. Persistent fogging after a day means moisture got trapped somewhere, and you may need to open the door again to dry that spot.
Which cleaners are safe to use on oven door glass
Oven door glass is tempered, which makes it tough against heat but still vulnerable to scratching and harsh chemicals. The cleaners below are safe for the glass and for the seals and coatings inside the door. Stick to this list and you will not damage anything.
- Warm water and dish soap. The default choice for the first pass. It cuts everyday grease without leaving residue, and it is safe on every type of oven glass.
- White vinegar and water, mixed 50/50. The mild acid dissolves grease film and light mineral haze. If you enjoy vinegar based cleaning, our guide on how to clean a microwave with lemon and vinegar shows how well these gentle acids handle kitchen grime on other appliances too.
- Baking soda paste. Mix baking soda with just enough water to form a thick paste, spread it on stubborn spots, and let it sit before wiping. It is mildly abrasive in the gentlest sense, lifting cooked on food without scratching. This paste is also the hero of our guide to how to clean a burnt saucepan without scrubbing, which proves how versatile it is around the kitchen.
- Ammonia free glass cleaner. Fine for a final polish on the outer pane, but spray it on the cloth rather than the glass when working between the panes, to keep liquid out of the door cavity.
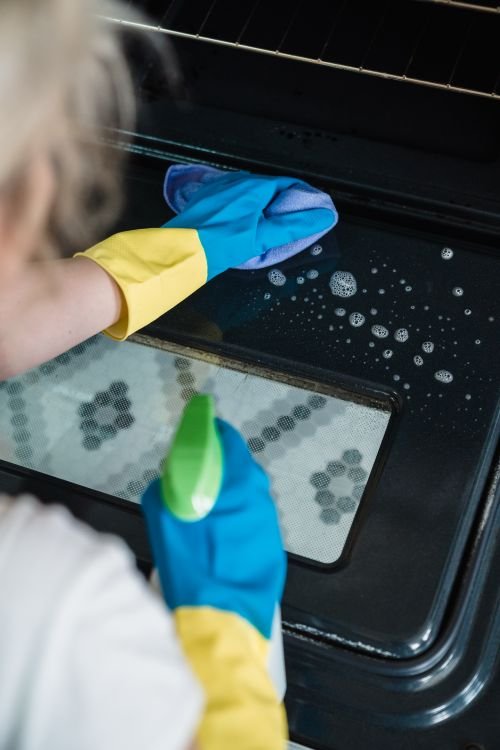
Just as important is knowing what to avoid. Skip steel wool, scouring pads, and any powder cleaner labeled abrasive, because they leave micro scratches in tempered glass that catch dirt and look worse over time. Do not spray commercial oven cleaner on the door glass or between the panes. Those sprays are formulated for the oven interior and can damage door seals, coatings, and any electronics in a modern range. Razor blades are a common internet suggestion, but one slip can gouge the glass or cut a gasket, so leave them in the toolbox.
What to do if the glass still looks cloudy
Sometimes the cloudiness is not dirt at all. If you have cleaned both sides of every pane and the glass still looks milky, the problem may be a damaged heat reflective coating on one of the panes. These coatings can break down after years of high heat, especially if the oven has run many high heat cleaning cycles. No cleaner will fix a failed coating, and at that point the realistic options are living with it or replacing the glass panel.
Moisture is the other common culprit. If the glass fogs up after cleaning, you probably left too much liquid inside the door. Leave the door open for a few hours in a dry room, or run the oven at its lowest setting for thirty minutes with the door closed to evaporate the trapped moisture. In most cases the fog clears completely and does not return.
For renters, there is a practical consideration worth mentioning. Taking the door apart is usually fine, but check your lease or ask your landlord first if you are unsure. The vent method is always safe to try, since it involves no disassembly at all. If the buildup is beyond the vent method and your landlord handles appliance maintenance, a quick message with a photo of the door may get you a professional clean for free.
How to keep the glass clear for longer
Once the glass is clean, a few small habits keep it that way. Wipe up spills and boil overs as soon as the oven cools enough to touch, before they have a chance to bake on and migrate toward the vents. When roasting, use a pan with sides high enough to contain splatter, or tent the food loosely with foil for the first part of cooking. A lid on a bubbling casserole does more for your oven door than any cleaner ever will.
Grease that bakes onto oven surfaces is also one of the main sources of lingering kitchen smells, so keeping the door and cavity clean pays off beyond looks. Our guide on how to remove cooking smells from house fast covers the full routine for chasing cooking odors out of the kitchen if they have already settled in.
Finally, repeat the vent method every three to six months as part of your normal kitchen cleaning. It takes twenty minutes, and doing it regularly means the buildup never reaches the point where you need to remove the door again. Think of it like cleaning behind the fridge: a small job that stays small only if you do not skip it for years.
The bottom line
Learning how to clean between oven door glass comes down to two approaches. The vent slot method with a simple cloth covered wand handles light and moderate buildup with no disassembly, and it should always be your first try. Removing the door takes more effort and care, but it gives you full access to every pane for the heavy deposits that the wand cannot reach. Use gentle cleaners like dish soap, vinegar and water, or baking soda paste, keep liquid to a minimum, and dry every pane before reassembly.
The takeaway is simple: that cloudy film between the panes is not permanent. With a wire hanger, a microfiber cloth, and twenty minutes of patience, most oven doors look close to new again. And with a quick vent clean twice a year, they stay that way.
Frequently asked questions
Can you clean between oven door glass without taking the door apart?
Yes. Most ovens have vent slots along the bottom or top edge of the door. Slide a microfiber cloth wrapped around a wire hanger or thin rod through the slots and wipe the inner glass with slow sweeping motions, then finish with a dry cloth. This handles light to moderate buildup with no disassembly.
Why does my oven door have streaks that look like they are inside the glass?
Grease and steam from cooking drift into the door through vent slots and settle on the inner faces of the glass panes. Over time this builds into streaks and a cloudy film that you cannot reach by wiping the visible surfaces. It is normal on ovens more than a couple of years old.
Is it safe to take the oven door apart to clean the glass?
On most ranges it is safe if you follow your manual. Let the oven cool fully, disconnect the power, and work on a protected surface. Lift the door off its hinges, remove the screws holding the inner panel, clean each pane, and reassemble in reverse order. Take a photo before disassembly so you remember where every screw goes.
Will white vinegar damage oven door glass?
No. Diluted white vinegar is safe on tempered oven glass and effective against grease film. Use a 50/50 mix with water, apply it to the cloth rather than spraying it into the door, and keep the cloth damp rather than dripping. Avoid abrasive pads and commercial oven cleaner sprays on the glass.
How often should I clean between the glass panes?
Every three to six months is enough for most households. The vent slot method takes about twenty minutes, so it fits easily into a seasonal deep clean. If you roast or broil often, check the door every couple of months and clean at the first sign of cloudiness.
