
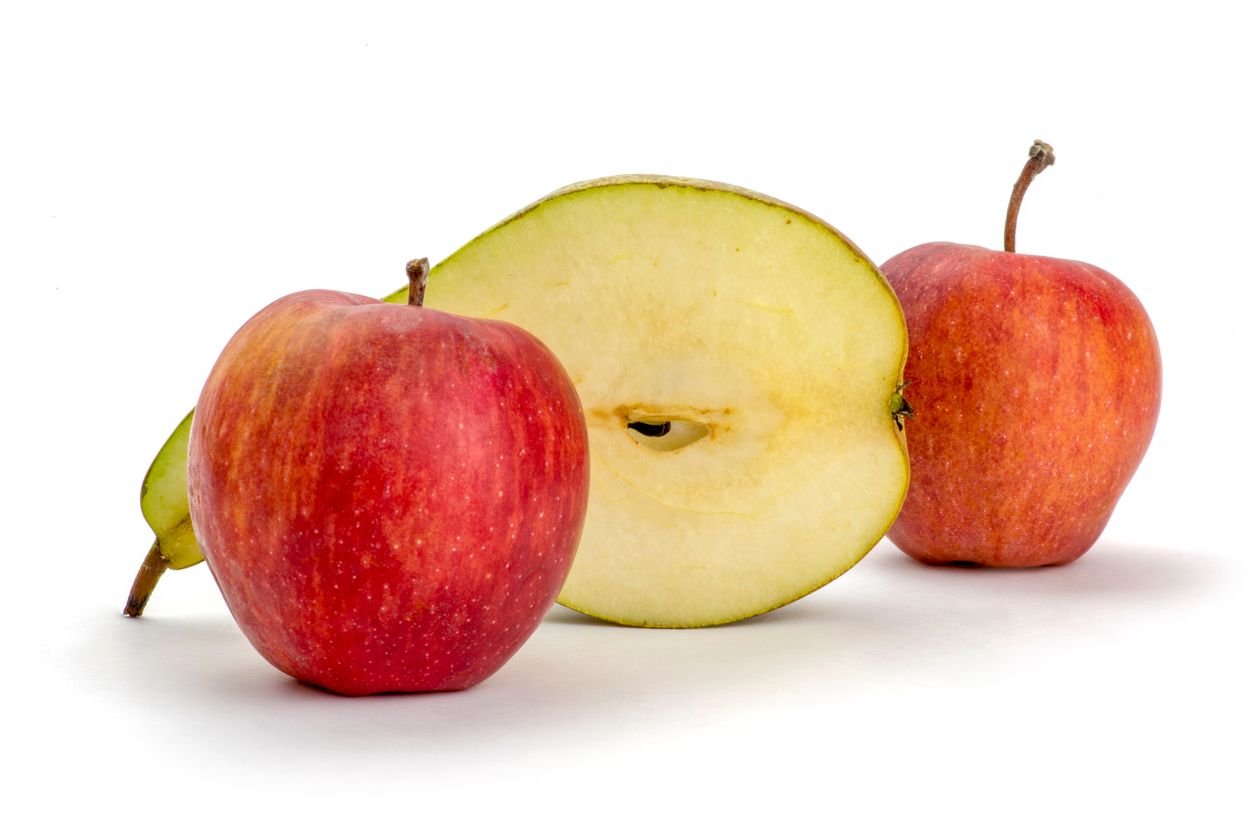
You slice an apple for a packed lunch at 7 in the morning, pop the wedges into a lunchbox, and by midday they have turned an unappetising shade of brown. It is one of the most common kitchen frustrations for parents, and learning how to keep cut apples from browning is genuinely worth the two minutes it takes. Browned apple slices are perfectly safe to eat, but let us be honest: most children will take one look at them and push the box away.
The good news is that you do not need any special products or fiddly equipment. Every method in this guide uses things you almost certainly have in your kitchen already, and each one has been chosen because it actually works in real world conditions: school runs, meal prep Sundays, and picnic baskets in the British summer. Some keep slices fresh for hours, others for most of a week in the fridge.
Why Cut Apples Turn Brown So Quickly
The moment a knife breaks through the skin, the flesh of the apple is exposed to air. That exposure wakes up a natural enzyme called polyphenol oxidase, which reacts with oxygen and turns the cut surface brown. It is the exact same process that darkens a cut avocado or a sliced banana, and it is completely harmless. The apple tastes the same; it just looks tired.
Some varieties brown faster than others. Soft, sweet, older apples are the worst offenders, while firm and acidic ones hold their colour much longer. Warmth speeds the reaction up too, which is why slices packed into a warm school bag at room temperature brown faster than ones kept cool. All of the methods below work by doing one of two things: blocking the air, or slowing the enzyme down.
Method 1: The Salt Water Soak (The Overall Winner)
If you only try one method from this guide, make it this one. A simple salt water soak is the most reliable way to stop browning, and it works better than lemon juice in most home tests. The salt calms the browning enzyme and limits how much oxygen reaches the cut surface, and because you rinse the slices afterwards there is no salty taste at all.
Here is exactly how to do it:
1. Stir half a teaspoon of fine salt into one cup (about 240 ml) of cold water until it dissolves completely.
2. Drop your apple slices into the bowl and make sure every piece is fully submerged.
3. Leave them to soak for 10 minutes. Set a timer, because soaking for much longer can start to affect the flavour.
4. Drain the slices through a sieve or colander.
5. Give them a quick rinse under cold running water, pat them dry with a clean tea towel or kitchen paper, and pack them into an airtight container.
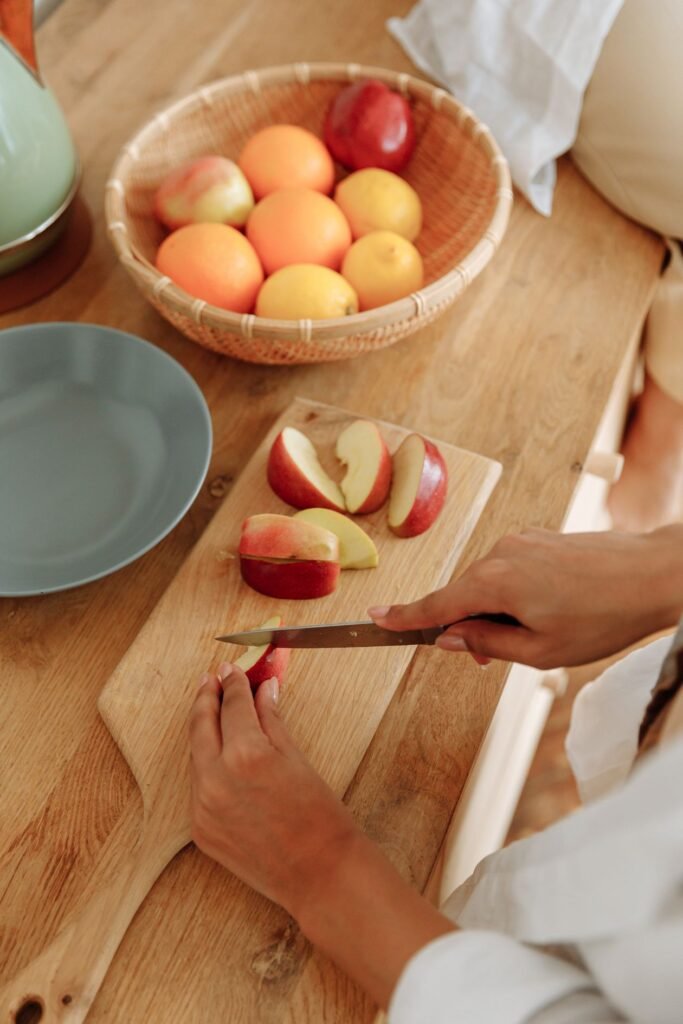
Treated this way, your slices will stay bright and white for up to 5 days in the fridge. I have tested this side by side with lemon juice on identical apples, and the salt water slices looked noticeably fresher after 48 hours. It is the method I recommend to every parent who asks.
Method 2: Lemon Juice and Other Citrus Tricks
This is the method most of us learned from our grandparents, and it does work. The acid in citrus juice lowers the pH on the surface of the apple, which makes life difficult for the browning enzyme. It is also an antioxidant, which means it grabs oxygen before the oxygen can reach the apple flesh.
You can simply squeeze half a lemon over your slices and toss them gently to coat every surface. For more even coverage, mix one tablespoon of lemon juice into one cup of cold water and soak the slices for 3 to 5 minutes, then drain and pack. Orange juice and pineapple juice work on the same principle and taste sweeter, which makes them a better choice if children find lemon too sharp.
The one drawback is flavour. Even a light coating leaves a faint citrus tang, and some children will notice it. If your kids are fussy about taste, the salt water method above or the honey method below are better bets.
Method 3: Honey Water for a Sweeter Fix
Honey is a surprisingly effective anti browning treatment, and it is the friendliest option for children because it adds a gentle sweetness instead of sourness. Honey contains a natural compound that slows the browning enzyme, and dissolved in water it forms a thin barrier between the apple flesh and the air.
Stir half a teaspoon of clear honey into one cup of lukewarm water until it dissolves, then let the water cool a little before adding your apple slices. Soak them for 5 minutes, drain, and pack into an airtight container. The result is a faint honeyed sweetness that most children genuinely enjoy.
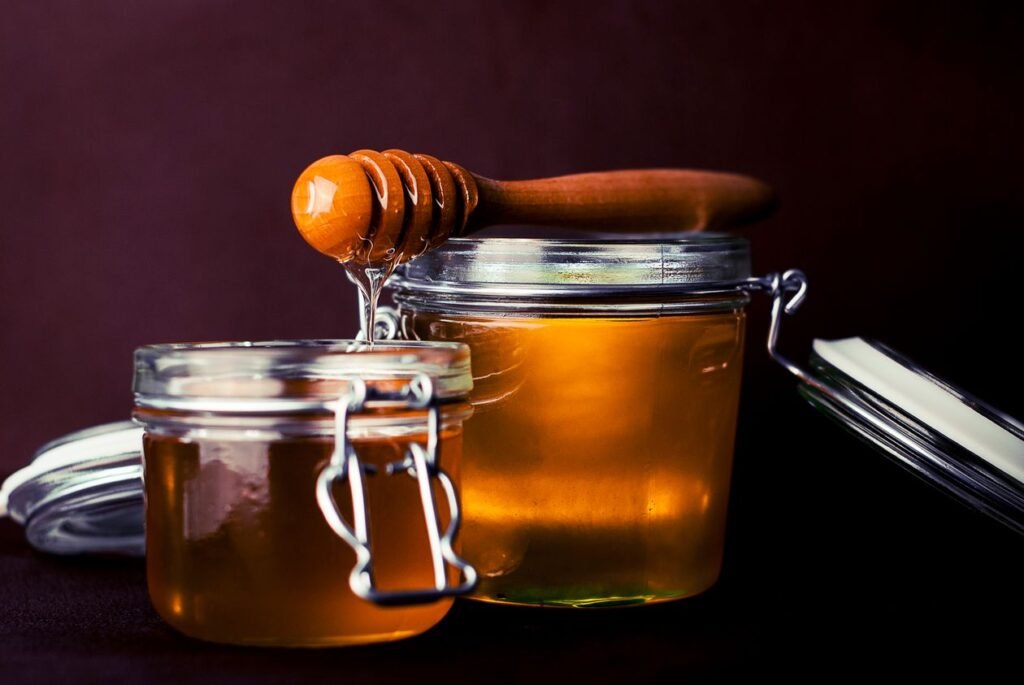
One honest note: this method is not quite as powerful as the salt water soak for very long storage. For a school lunch eaten the same day it is superb, and it wins on taste. For meal prep that needs to last several days, salt water still takes the crown.
Method 4: The Rubber Band Trick (Perfect for Lunchboxes)
Sometimes the cleverest solution is also the simplest. The rubber band trick does not use any liquid at all. Instead, you cut the apple into wedges, push the pieces back together into the original apple shape, and secure the whole thing with a clean rubber band. With the cut faces pressed against each other, barely any air can reach the flesh.
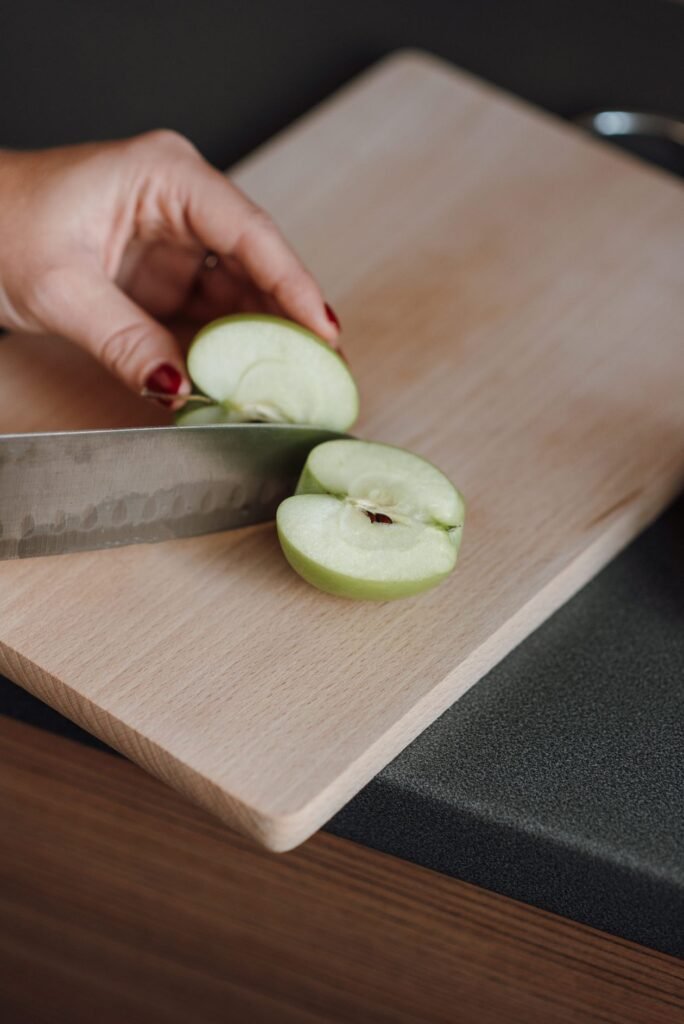
This works brilliantly for packed lunches because there is no soaking, no rinsing, and no extra flavour. Your child unwraps what looks like a whole apple at lunchtime and the inside is still pale and fresh. For best results, use a sharp knife so the cut faces are smooth and sit neatly back together, and choose a firm apple that holds its shape well.
Method 5: Fizzy Lemon and Lime Drinks
This one sounds like an internet myth but it genuinely works. Clear lemon and lime fizzy drinks contain citric acid, which is the same active ingredient doing the work in the lemon juice method. Simply pour enough of the drink into a bowl to cover your apple slices, soak them for 5 minutes, then drain, rinse lightly, and pack.
It is a fun backup if you have no lemons and no time to make a salt soak, and children find the novelty of it delightful. The slices do pick up a hint of sweetness, so rinse them if you want a cleaner apple flavour. I would not choose this as my everyday method, but it is a handy trick to know when you are caught short.
Method 6: Plain Water for Short Term Prep
If you only need to buy yourself an hour or two, plain water does the job. Submerging apple slices in cold water blocks the air completely, which pauses the browning process. Lay a clean sheet of kitchen paper or a small plate on top to keep the slices below the surface, since they love to float.
This is ideal when you are prepping fruit for guests and want to slice everything ahead of time, or when the children are asking for a snack and dinner is still an hour away. Just do not expect it to last all day: once the slices come out of the water and sit in the air, they will start to brown within an hour or two.
Method 7: Choose Slow Browning Apple Varieties
Your choice of apple makes a real difference, and it requires zero effort. Firm, acidic varieties such as Granny Smith, Pink Lady, Jazz, and Braeburn brown noticeably slower than soft, sweet ones. If you are buying apples specifically for slicing into lunchboxes, reach for the firmest fruit on the shelf.
Freshness matters too. An apple that has been sitting in the fruit bowl for two weeks will brown faster than a crisp one fresh from the shop, simply because its flesh is softer and more vulnerable. Buy firm, slice just before treating, and you are already halfway there. For more fruit keeping know how, see our guide to keeping bananas fresh for longer.
How to Store Treated Apple Slices for the Best Results
Whichever method you choose, storage makes or breaks the result. Always pack your treated slices into an airtight container rather than an open bowl or a loose sandwich bag. Air is the enemy, and every gap you leave is an invitation for browning to start again.
Tuck a folded sheet of kitchen paper into the bottom of the container before adding the slices. It absorbs any surface moisture and keeps the apples crisp instead of soggy. Keep the container in the fridge at 4 degrees or below, and the slices will stay fresh for 3 to 5 days depending on the method you used. Label the container with the date so you know exactly how long they have been stored.
Two things to avoid: do not freeze treated slices unless you plan to cook with them later, as the texture turns mushy on defrosting, and do not leave the container at room temperature for hours. For school lunchboxes, pop the container next to a small reusable ice pack or freeze a water bottle to keep everything cool until lunchtime. If you are on a food storage roll, our guide to keeping bread fresh for longer and our tips on keeping fresh herbs fresh in the fridge will save you even more trips to the shop.
Which Method Should You Choose
Here is the honest summary, so you can pick in seconds:
1. Salt water soak: best overall. Cheapest, most effective, no flavour change after rinsing.
2. Lemon juice soak: quick and classic. Slight citrus tang, great for adults and cooking.
3. Honey water soak: best for fussy eaters. Adds gentle sweetness children love.
4. Rubber band trick: zero mess and zero ingredients. Ideal for lunchboxes.
5. Fizzy lemon and lime drink: the fun backup when cupboards are bare.
6. Plain water: fine for an hour or two of prep, nothing more.
7. Slow browning varieties: free insurance that works with every method above.
For a school lunchbox, I would combine methods: soak in salt water, rinse, pack in an airtight container with a kitchen paper liner, and keep it cool with an ice pack. For a dinner party fruit platter, the lemon juice soak gives an elegant finish and nobody will notice the tang under everything else.
Final Thoughts on Keeping Cut Apples Fresh
Learning how to keep cut apples from browning is one of those small kitchen skills that pays you back every single week. No more sad brown wedges coming home uneaten in the lunchbox, no more throwing away half a bowl of fruit salad because it looks tired, and no more last minute rushing to slice fruit at the exact moment it is needed.
Start with the salt water soak, since it is the most reliable method with the least fuss. Once you have seen it work, add the rubber band trick to your lunchbox routine and the honey water soak for the children who notice every little flavour change. A crisp, pale, appetising apple slice is a small thing, but it is exactly the kind of small thing that gets eaten instead of wasted.
Frequently Asked Questions
Are brown apple slices safe to eat?
Yes, completely. Browning is a cosmetic reaction between a natural enzyme and oxygen. It does not create anything harmful, and the apple tastes the same. Browned slices are just less appealing, which is why so many end up uneaten.
How long will treated apple slices stay fresh in the fridge?
Slices treated with the salt water soak or lemon juice soak stay fresh for 3 to 5 days in an airtight container in the fridge. Honey water and plain water treatments are better suited to same day use. Always check that they still smell fresh and look crisp before eating.
Will the salt water soak make my apples taste salty?
No, as long as you rinse them. The soak uses a very dilute solution and only lasts 10 minutes. A quick rinse under cold water afterwards removes any trace of salt, leaving the apple tasting exactly as it should.
Can I prepare apple slices the night before school?
Yes. Treat the slices with any of the soak methods in this guide, pack them into an airtight container with a kitchen paper liner, and refrigerate overnight. They will be pale and crisp at lunchtime the next day. The rubber band trick also works well for next day packing.
Which apple varieties brown the least when cut?
Firm, acidic varieties such as Granny Smith, Pink Lady, Jazz, and Braeburn brown much more slowly than soft, sweet ones. Buying firm, fresh apples and slicing them just before treating gives every method in this guide a head start.

1 Comment
Pingback: - Daily Spark News