
You do not need a blender to make fresh pumpkin puree at home. If your blender broke, if you never owned one, or if you simply prefer a quieter and more hands on approach, you can still turn a whole pumpkin into smooth and flavorful puree. This guide shows you exactly how to make pumpkin puree without a blender using simple tools you probably already own, plus the one cooking step that makes hand mashing easy instead of frustrating.
Homemade pumpkin puree tastes brighter and fresher than the canned kind, and it costs less when pie pumpkins are in season. You also control the texture and the ingredients, which means nothing but pumpkin. Best of all, the no blender methods below take about the same total time as the blender method, because most of the work happens in the oven anyway.
Why Skip the Blender
A blender is convenient, but it is far from required. Cooked pumpkin flesh is naturally soft, so it breaks down easily with basic hand tools. Skipping the blender also means less noise, fewer parts to wash, and more control over the final texture.
Hand methods shine when you work in small batches. If you only need two cups of puree for a pie, dragging out the blender and cleaning it afterward takes longer than mashing by hand. You will also avoid the common blender problem of adding too much water just to get the blades moving, which is the main reason homemade puree turns out thin and watery.
Start With the Right Pumpkin
The single biggest factor in good puree is the pumpkin you choose. Look for small pie pumpkins, often labeled sugar pumpkins or sugar pie pumpkins, which usually weigh 2 to 4 pounds. These have sweet, dense, smooth flesh that mashes beautifully. Big carving pumpkins look festive, but their flesh is watery and stringy, and your puree will suffer for it.
Pick a pumpkin that feels heavy for its size with firm, unbroken skin and no soft spots. A 3 pound pie pumpkin yields roughly 2 to 3 cups of puree, which is close to the amount in two standard 15 ounce cans from the store.
Store whole pumpkins in a cool, dark, dry spot and they will keep for several weeks before you are ready to cook. The same storage rules that help you keep potatoes from sprouting work well for whole pumpkins too: steady cool temperatures, good air flow, and no direct sunlight.
How to Make Pumpkin Puree Without a Blender Starts With Roasting
Here is the secret that makes every hand method work: roast the pumpkin until it is very soft before you mash anything. Raw or undercooked pumpkin fights back, but well roasted pumpkin practically falls apart. Roasting also deepens the flavor and drives off excess water, which gives you thicker and sweeter puree.
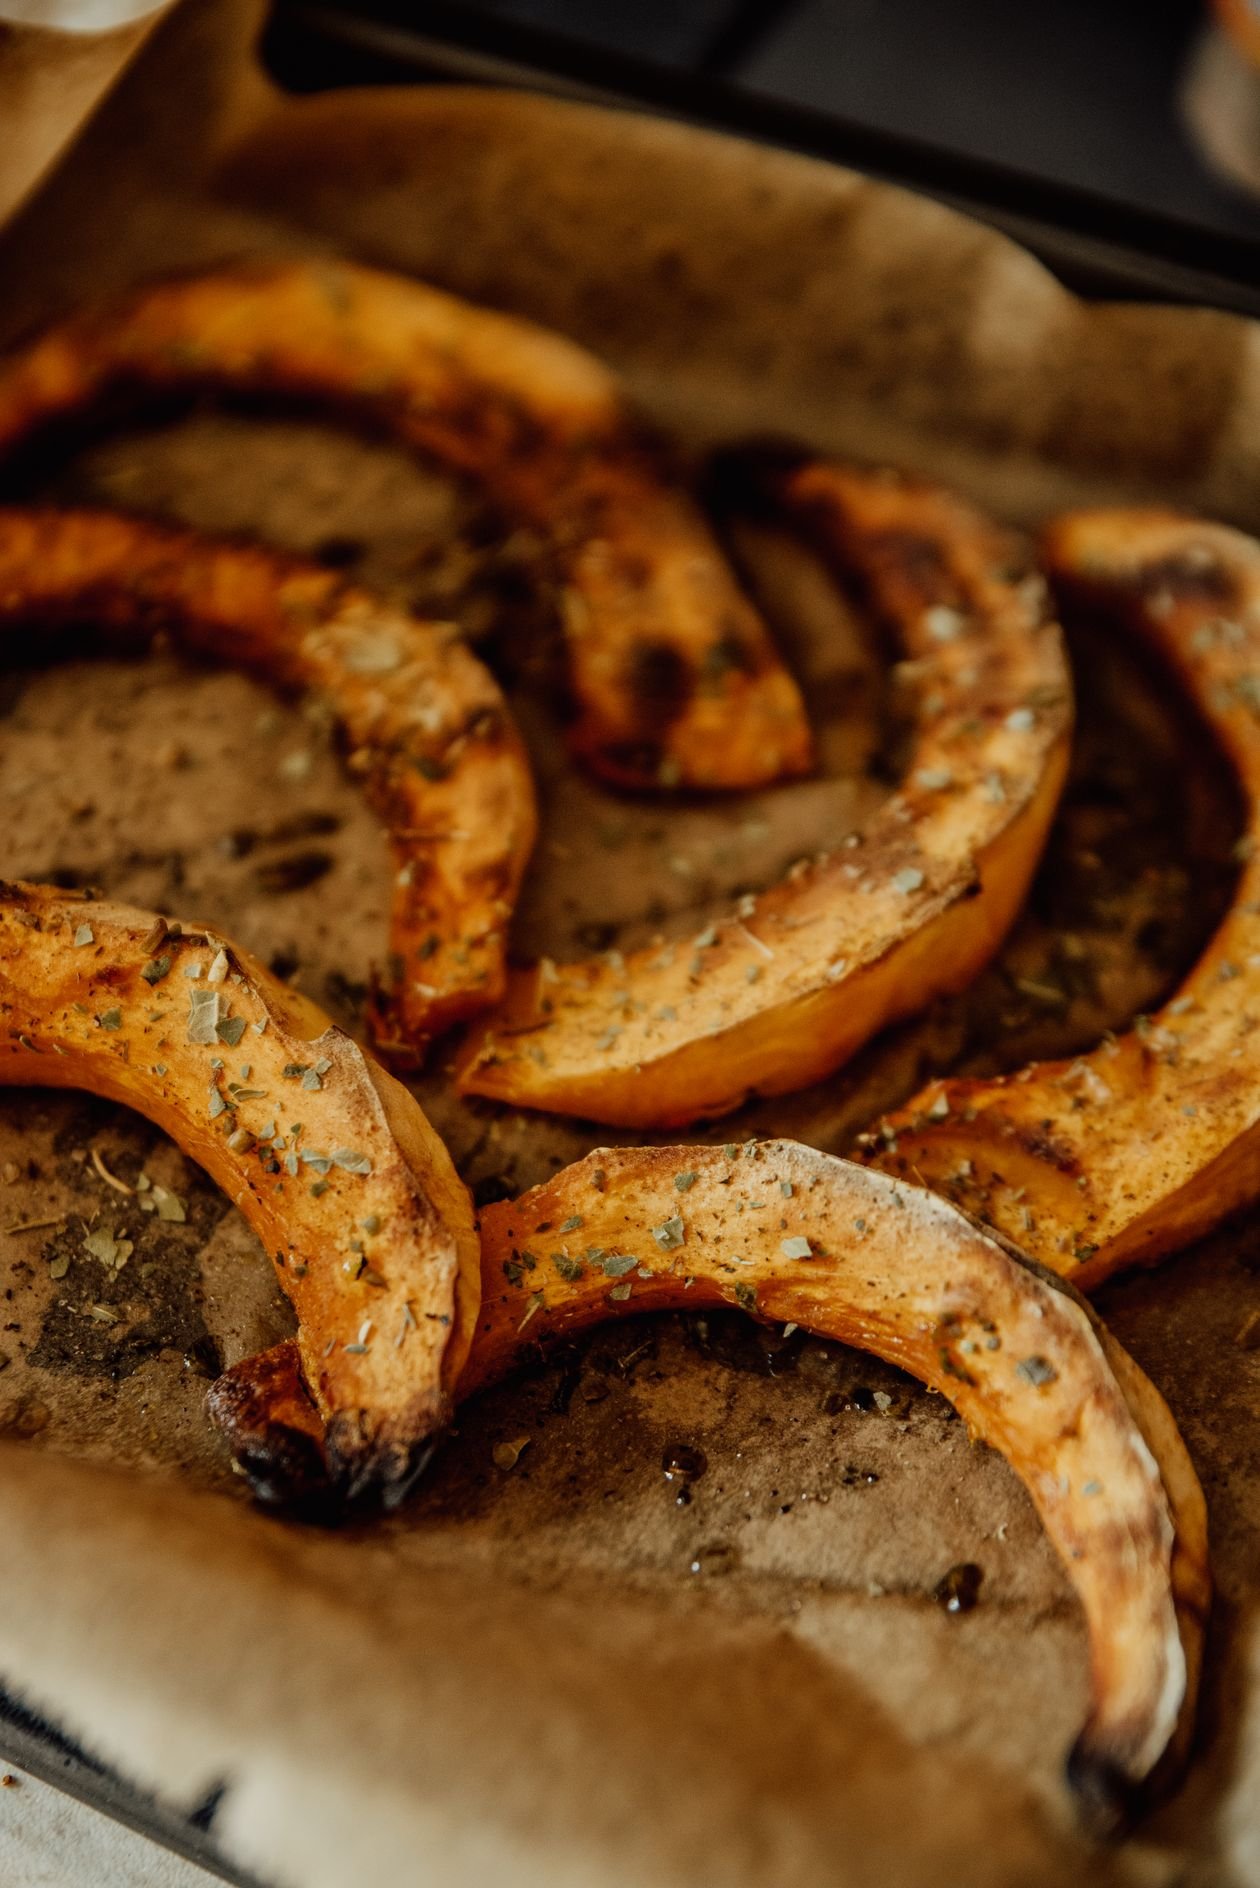
Preheat your oven to 375 degrees F. Cut the pumpkin in half from stem to base with a large sharp knife, then scoop out the seeds and stringy pulp with a sturdy spoon. Save the seeds for roasting as a snack if you like.
Place the halves cut side down on a baking sheet lined with parchment paper. Roast for 45 to 60 minutes, depending on size, until a fork slides into the flesh with no resistance and the skin looks slightly shriveled. Let the halves cool until you can handle them comfortably, then scoop the soft flesh away from the skin into a large bowl.
Should You Boil Pumpkin Instead of Roasting
Boiling works in a pinch, but roasting gives better flavor every time. Boiling adds water to the flesh, which makes watery puree more likely and dilutes the natural sweetness. If you do boil, cut the peeled pumpkin into 1 inch cubes, simmer until very tender, then drain thoroughly in a colander for at least 10 minutes before mashing.
Method 1: Mash With a Potato Masher
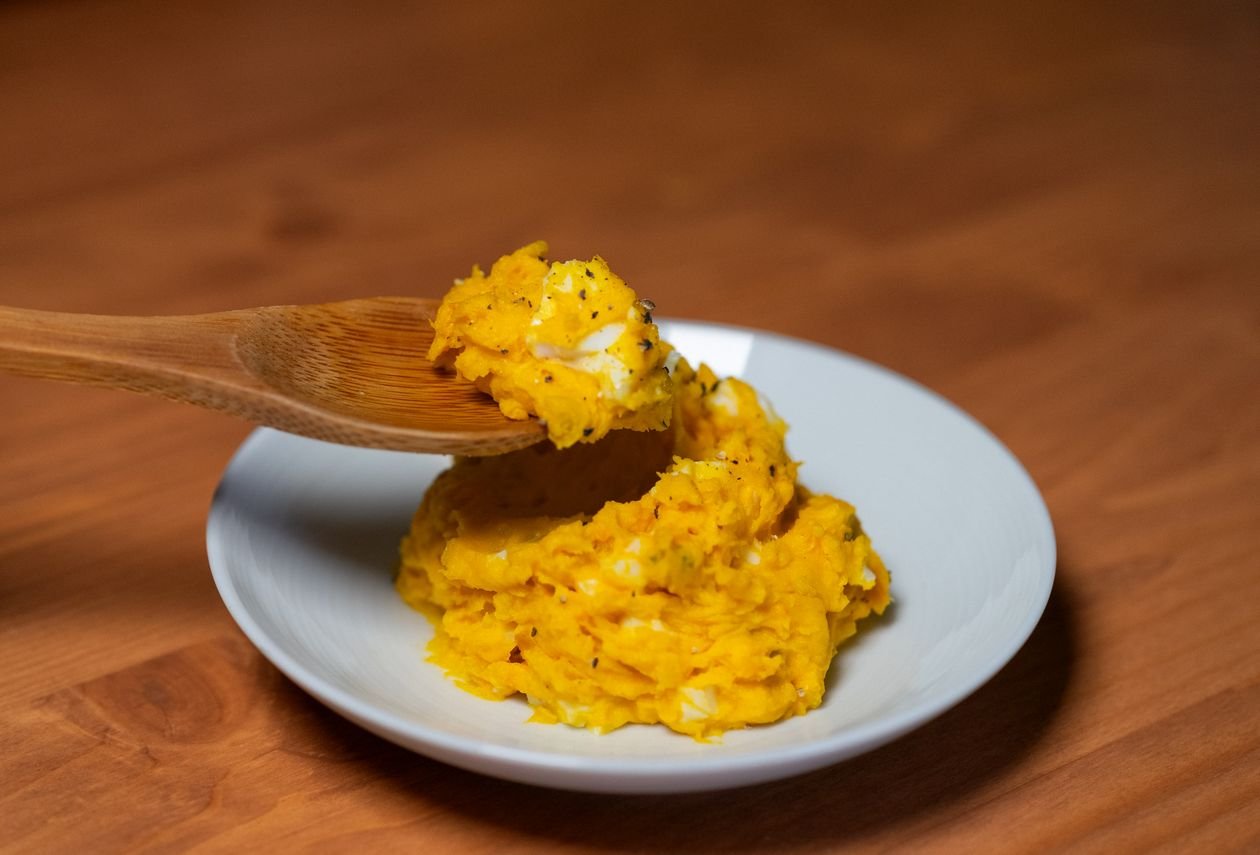
The potato masher is the easiest and most reliable tool for this job. While the roasted flesh is still warm, press the masher straight down and twist slightly, working through the bowl in sections. Warm pumpkin mashes much more easily than cold pumpkin, so do not wait until it cools completely.
If the mash feels too thick and dry, add water one tablespoon at a time and keep mashing until it loosens up. If it looks too wet, do not add anything yet. You will deal with excess moisture later. For the smoothest result, mash in two passes: mash everything once, let it rest for 5 minutes so the steam escapes, then mash again.
Tips for the Smoothest Mash
Remove any tough or stringy bits before you start mashing, since they will not break down no matter how long you work. Use a deep bowl rather than a shallow plate so the pumpkin does not escape over the sides. Short, firm presses work better than wild stirring, which just pushes the mash around without breaking it down.
Method 2: Press Through a Food Mill
A food mill gives you the closest thing to blender smooth puree without any electricity. This hand cranked tool pushes cooked pumpkin through a perforated disc, which breaks down fibers and catches anything stringy in one step.
Set the food mill over a large bowl, add the warm roasted flesh in batches, and turn the crank steadily. The smooth puree falls through while skins and fibers stay behind. Use the medium disc if your mill has interchangeable plates. This method takes a little longer than mashing, but the texture is noticeably silkier, which matters for pie filling and custards.
If you do not own a food mill and bake often, it is worth the small investment. The same tool makes excellent applesauce, tomato sauce, and mashed potatoes, so it earns its shelf space quickly.
Method 3: Use a Fork for Small Batches
For one or two cups of puree, a simple dinner fork does the job. Spread the warm roasted flesh in a shallow layer in a wide bowl and press with the back of the fork, dragging it through the pumpkin in overlapping strokes. This takes a few minutes, but the shallow layer means every bit gets worked evenly.
The fork method will not give you perfectly silky puree, and that is fine. It is ideal for rustic recipes where a little texture disappears anyway, like pumpkin soup, chili, oatmeal, or pancake batter. Nobody will ever know the difference in those dishes.
Method 4: Push Through a Fine Mesh Sieve
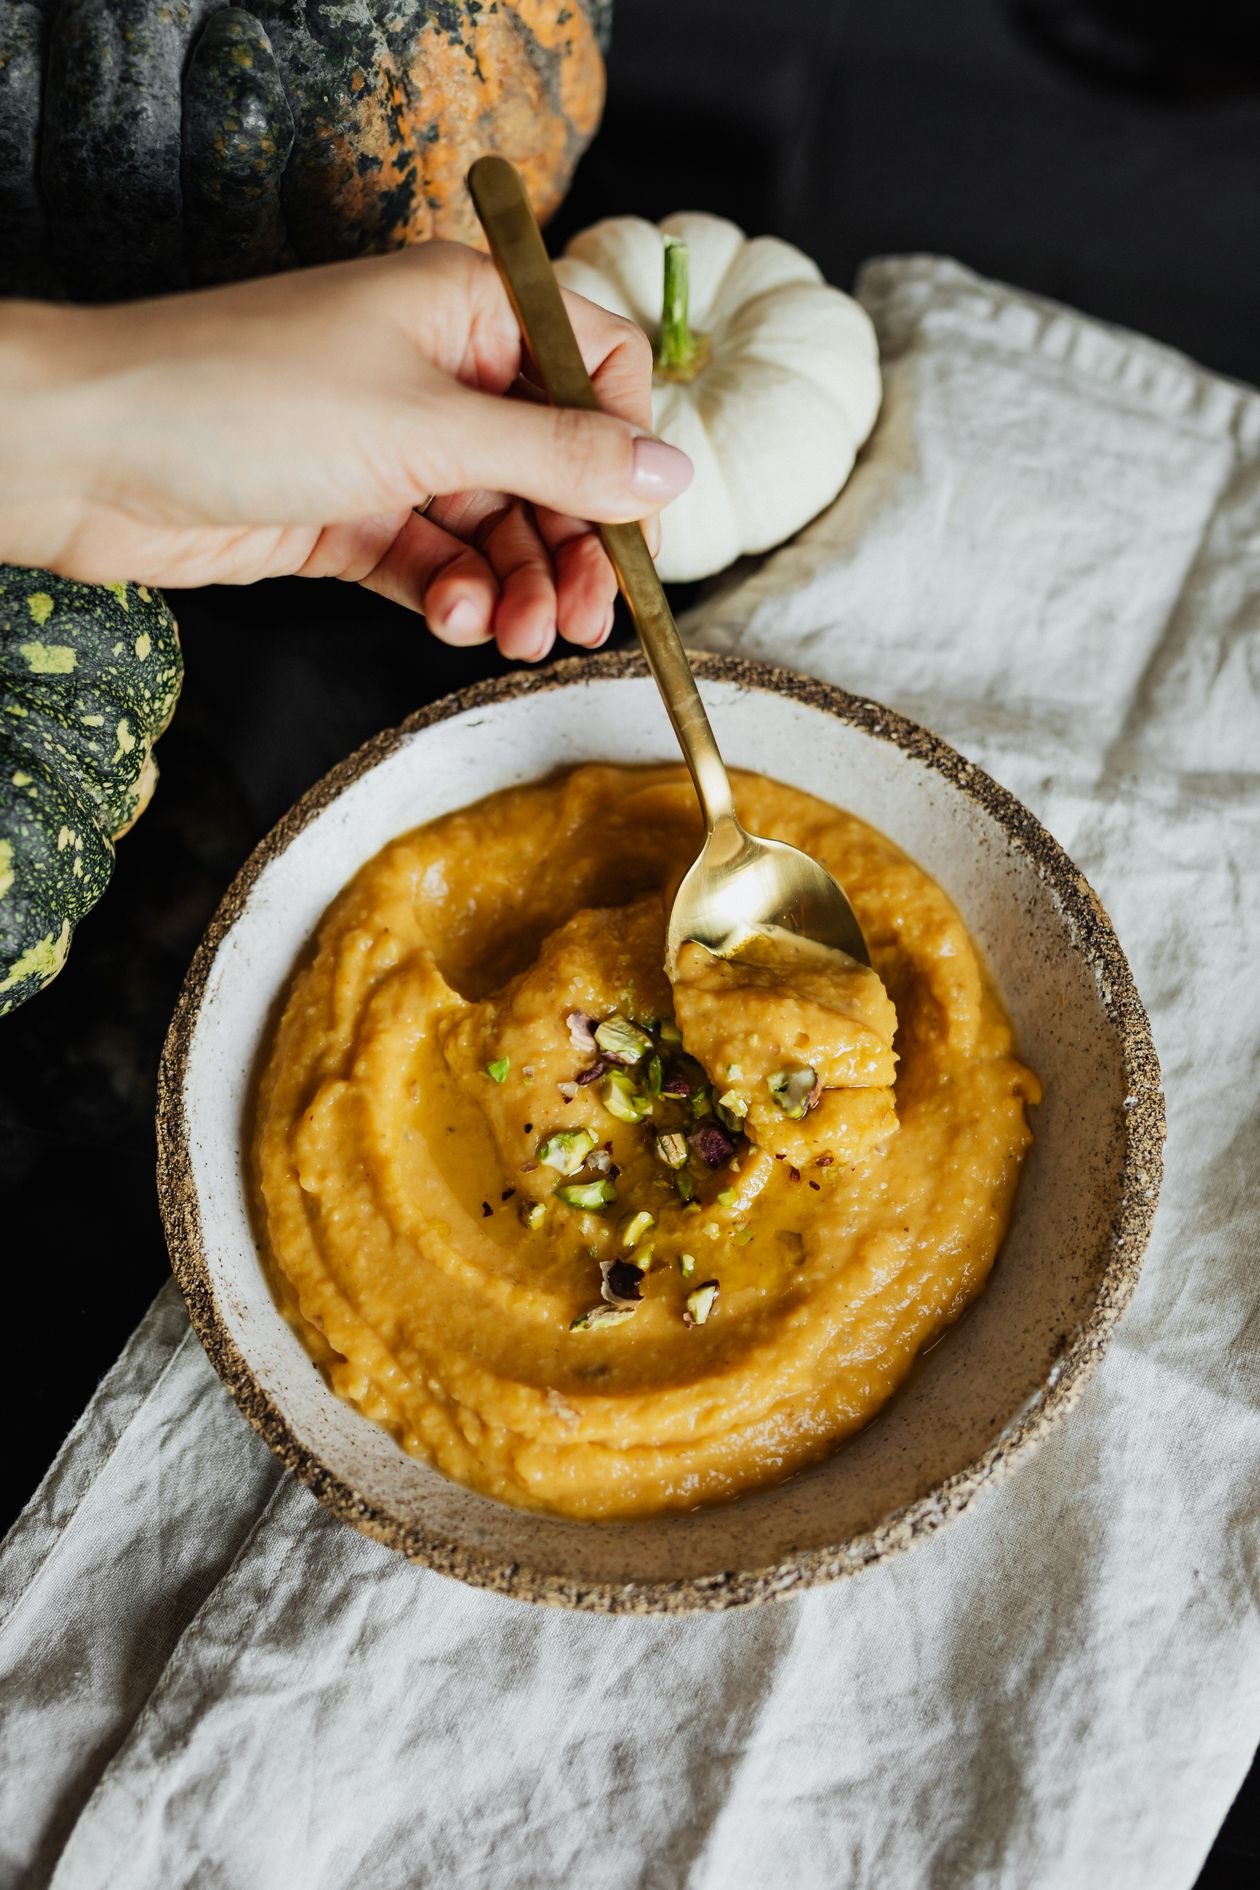
For the silkiest hand made puree, press the mashed pumpkin through a fine mesh sieve with the back of a large spoon or a flexible spatula. Work in small batches, pressing and scraping until only dry fibers remain in the sieve. This extra step removes the last lumps and stringy bits.
Use this method after the potato masher whenever the recipe needs a truly smooth texture, like pumpkin pie, cheesecake, or frostings. It takes about 10 minutes per batch, which is a fair trade for bakery smooth results without a single electric appliance.
How to Get It Extra Smooth
Watery puree is the most common complaint with homemade pumpkin puree, and the fix is simple. Line a sieve with a double layer of cheesecloth, add the puree, and let it drain over a bowl for 30 to 60 minutes in the fridge. You will be surprised how much liquid comes out, and the puree left behind will be thick and rich.
If you are short on time, spread the puree in a wide skillet over medium low heat and stir for 5 to 8 minutes. The gentle heat cooks off excess water and concentrates the flavor. Let it cool before using it in recipes.
For food safety, follow the same rules the USDA recommends for cooked vegetables: refrigerate your puree within 2 hours of cooking, and never leave it sitting on the counter all afternoon while you finish other projects.
How to Store Homemade Pumpkin Puree
Fresh puree keeps in an airtight container in the fridge for up to one week. For longer storage, the freezer is your friend. Spoon the puree into freezer bags in 1 cup portions, press out the air, and flatten the bags so they stack neatly and thaw quickly. Frozen puree keeps its best quality for 3 to 6 months.
Label each bag with the date and the amount, because frozen puree all looks the same after a month. Thaw it in the fridge overnight, or use the defrost setting on your microwave if you need it faster. Give thawed puree a good stir, since a little liquid may separate during freezing.
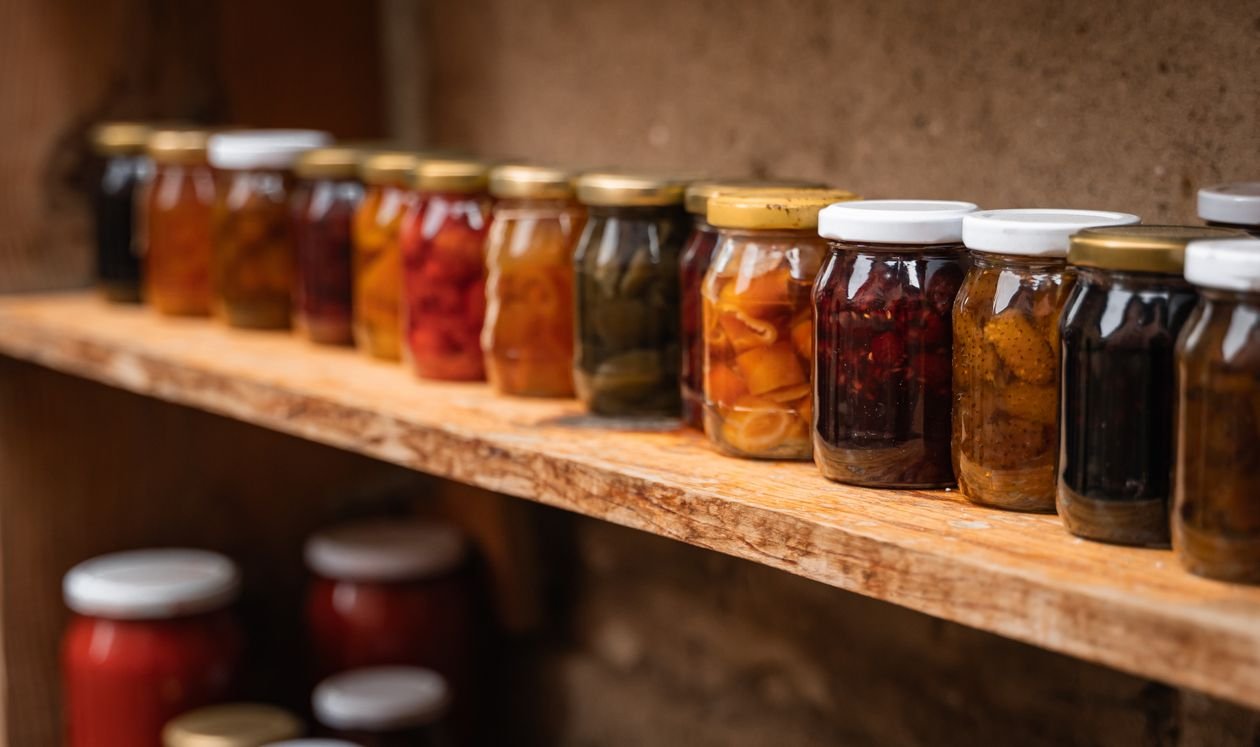
If you prefer jars, store the puree in clean glass mason jars in the fridge, leaving a little headspace at the top. Do not try to can pumpkin puree in a boiling water bath at home. Pumpkin is a low acid food, and the USDA warns that water bath canning cannot make it safe. Freezing is the safe home preservation method for puree.
Ways to Use Your Fresh Puree
Once you have a batch of smooth homemade puree, the recipe possibilities open up fast. It works as a one to one swap for canned pumpkin in almost any recipe, though you may want to drain it first if your recipe is sensitive to moisture, like pie filling.
Classic uses include pumpkin pie, pumpkin bread, muffins, and pancakes. If you bake a batch of muffins with your fresh puree, check out these tips on why muffins stick to the paper liners so they release cleanly every time. For pumpkin bread, it also helps to know how to keep bread fresh for longer, since homemade loaves go stale faster than store bought ones.
On the savory side, stir puree into soups, chilis, pasta sauces, and curries for body and gentle sweetness. It also blends into smoothies and oatmeal for an easy fall breakfast. A spoonful even makes a nice addition to homemade dog treats, though skip the spices for pets.
Troubleshooting Common Problems
Watery puree is almost always caused by a watery pumpkin variety or by adding too much liquid during mashing. Drain it through cheesecloth or cook it down in a skillet as described above. Next time, choose a pie pumpkin and roast instead of boiling.
Lumpy puree usually means the pumpkin was under roasted. If you catch it early, return the halves to the oven for another 15 minutes. If the pumpkin is already mashed, press it through a fine mesh sieve to smooth it out.
Stringy bits come from carving pumpkins or from skipping the seed removal step. Pick pie pumpkins, scoop thoroughly, and finish with the sieve method. A few fibers are harmless and disappear in cooked recipes, so do not stress over perfection.
Bland flavor often means the puree needs draining. Excess water dilutes taste, so thickening the puree concentrates the flavor at the same time. A pinch of salt also wakes up the natural sweetness, even in sweet recipes.
Conclusion
Learning how to make pumpkin puree without a blender comes down to three things: choose a pie pumpkin, roast it until completely tender, and mash it with simple hand tools. The potato masher handles everyday batches, the food mill gives the silkiest texture, the fork covers small amounts, and the sieve finishes everything to a smooth polish.
Drain or cook down any excess water, store your puree properly in the fridge or freezer, and you will have fresh pumpkin ready for pies, breads, soups, and more all season long. Once you taste the difference that fresh roasting makes, the canned stuff may never fully win you back.
Frequently Asked Questions
Can you make pumpkin puree without any special equipment
Yes. A potato masher or even a dinner fork is enough once the pumpkin is roasted until very soft. The key is thorough roasting, because well cooked flesh breaks down easily with basic hand tools.
Is homemade pumpkin puree the same as canned pumpkin
It works the same in recipes, but the flavor and texture differ. Homemade puree tastes fresher and can be thinner or thicker depending on your pumpkin. Drain it through cheesecloth if it looks watery before using it in pie filling.
How long does homemade pumpkin puree last in the fridge
Store it in an airtight container in the fridge and use it within one week. For longer storage, freeze it in portioned bags for 3 to 6 months.
Can I freeze pumpkin puree
Absolutely. Freezing is the best way to preserve homemade puree. Portion it into 1 cup amounts in freezer bags, press out the air, label with the date, and lay the bags flat so they stack and thaw quickly.
What is the best pumpkin for puree
Small pie pumpkins, also called sugar pumpkins, give the sweetest and smoothest puree. Avoid large carving pumpkins, which are watery and stringy. Butternut squash also makes excellent puree with a similar method.

2 Comments
Pingback: How to Get Candle Wax Out of Carpet Without an Iron - Daily Spark News
Pingback: How to Ripen Persimmons Quickly at Home - Daily Spark News